




-

About Flexfilm 2
-

Getting Started 10
-
Core Fundamentals 10
-
-

Orders & Support 83
-
Shipping 10
-
Dealer Rewards 13
-
Ordering & Account 7
-
Pre-Cut Patterns 2
-
General 9
-
Warranty 6
-
Billing & Tax 3
-
Route Package Protection 2
-
Returns & Refunds 2
-
Shop Pay 2
-
Training 1
-
Dealer & Installer Program 4
-
Selling & Quoting 9
-
Marketing & Growth 8
-
Business Operations 5
-
-

Installation Resources 19
-
Architectural 4
-
Automotive 5
-
General 10
-
-

Architectural Window Film 54
-
Safety & Compatibility 17
-
Ownership 2
-
Fundamentals 16
-
Buying Guides 4
-
Performance & Privacy 6
-
Product Guides 9
-
-

Automotive Window Film 40
-
Installation & Ownership 18
-
Product Guides 11
-
Legal & Compliance 3
-
Buying Guides 8
-
-

Tools 10
-
Cutting & Prep 3
-
Application 3
-
Measurement & Layout 2
-
Specialty 2
-
-

Plotters 8
-
Ownership 6
-
Buying Guides 2
-
-

FlexCut Software 25
-
Account & Licensing 5
-
Getting Started 10
-
Troubleshooting 2
-
Using FlexCut 8
-
-

Paint Protection Film (PPF) 10
-
Ownership 3
-
Fundamentals 4
-
Product Guides 3
-
-

Surface Coatings 13
-
Product Guides 7
-
Fundamentals 3
-
Ownership 3
-
Common Installation Defects


Common Installation Defects
Even experienced installers occasionally encounter installation defects. Understanding the most common issues, what causes them, and how they can be prevented can help improve installation quality and reduce costly rework.
Many installation defects are related to contamination, moisture management, film handling, or installation technique.
What Is an Installation Defect?
An installation defect is any visible imperfection that affects the appearance of the finished film installation.
Some defects are cosmetic and may improve during the curing process, while others require corrective action or film replacement.
Identifying the cause of a defect is often the first step toward preventing it in future installations.
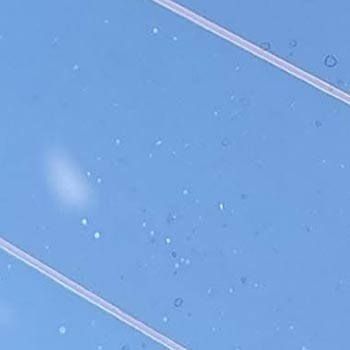
Dust Contamination
Dust contamination is one of the most common installation issues.
Dust particles trapped beneath the film may appear as small bumps or raised spots.
Common causes include:
- Insufficient glass cleaning
- Dirty work environments
- Contaminated towels or tools
- Improper handling of the film
Thorough cleaning and contamination control are the best ways to prevent dust-related defects.
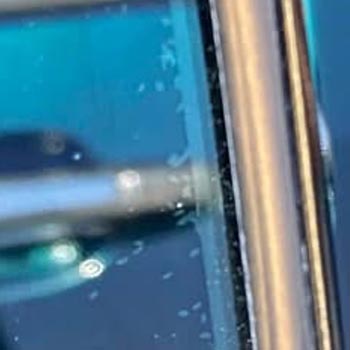
Lint Contamination
Lint appears similar to dust but is typically larger and more noticeable.
It is often introduced by:
- Low-quality towels
- Dirty microfiber cloths
- Clothing fibers
- Contaminated installation areas
Using clean, lint-free materials can help reduce this issue.
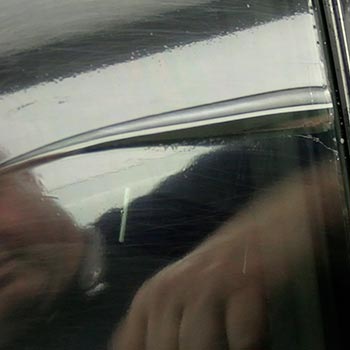
Fingers
Fingers are raised sections of film caused by excess material that has not been properly shrunk or positioned.
They are most commonly seen on curved automotive glass, particularly rear windows.
Proper heat shrinking and installation techniques help eliminate fingers before final installation.
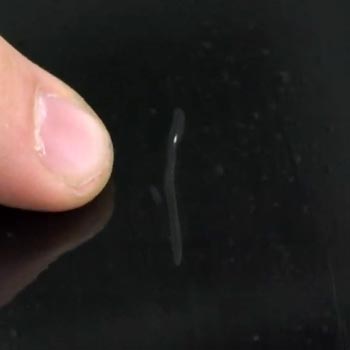
Creases
Creases occur when film is folded or bent sharply during handling or installation, and it's worth distinguishing between two different things installers often lump together as "creases."
A true zipper crease — a sharp, permanent fold line — genuinely cannot be removed once it happens; the only fix is replacing that section of film. But a pinch (a small pocket of trapped, folded film that happens during heat shrinking) is a different, much more common problem, and it can usually be fixed on the spot. Lift the film enough to get air back underneath the pinch, then apply quick, direct heat with a heat gun right over the pinch and immediately swipe it flat — the key is doing it in one fast motion, not heating and waiting before swiping. Deal with pinches before the film goes down for good; once installed, they become far more difficult to fully remove.
Careful film handling and proper shrinking techniques help minimize the risk of creasing in the first place.
Light Gaps
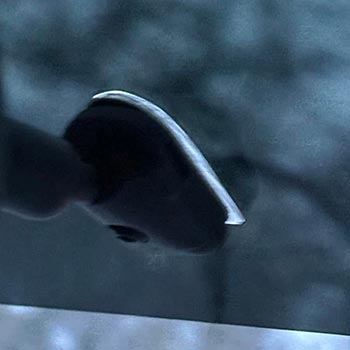
Light gaps are small spaces between the edge of the film and the edge of the glass.
Some edge gap is necessary to allow window operation and prevent peeling.
However, excessively large or inconsistent gaps may be considered an installation defect.
Silvering
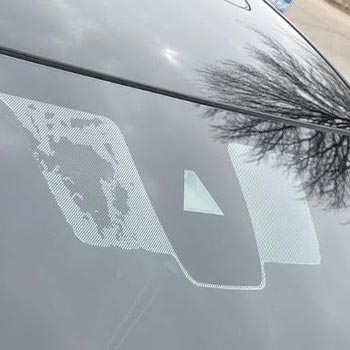
Silvering occurs when air or moisture becomes trapped beneath the film, causing certain areas to appear lighter or reflective.
Silvering is most commonly seen in dot matrix areas due to the uneven surface created by ceramic dots.
Some silvering may improve during curing, while other cases may remain visible due to the glass design.
Water Pockets
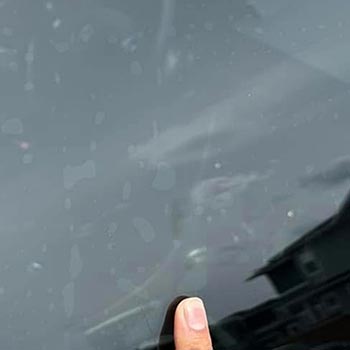
Water pockets are areas where installation solution remains trapped beneath the film.
They often appear as larger bubbles or fluid-filled areas immediately after installation.
Many water pockets disappear naturally as the film cures.
Proper squeegee technique can help reduce excess moisture retention.
Haze
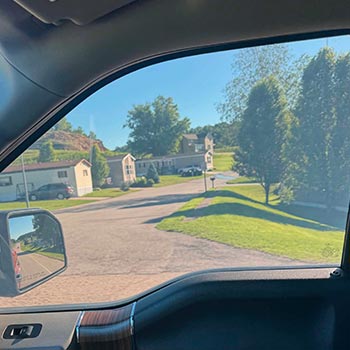
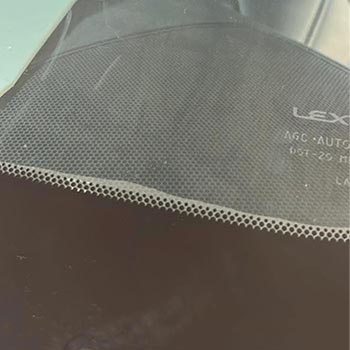
Haze is a cloudy appearance that can sometimes be visible immediately after installation.
It is typically caused by moisture trapped within the adhesive system during the curing process.
In many cases, haze diminishes as the film fully cures.
Edge Lift
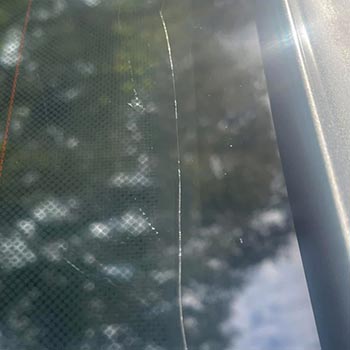
Edge lift occurs when the edge of the film begins separating from the glass.
Common causes include:
- Contaminated glass
- Insufficient edge cleaning
- Improper moisture removal
- Film handling issues
Proper preparation and installation technique help minimize edge lift.
Knife Marks
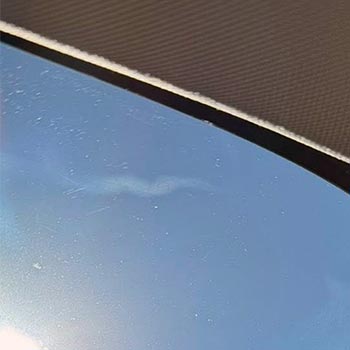
Knife marks occur when cutting tools damage glass, trim, gaskets, or other vehicle components.
Using computer-cut patterns and proper cutting techniques can help reduce this risk.
Ghosting
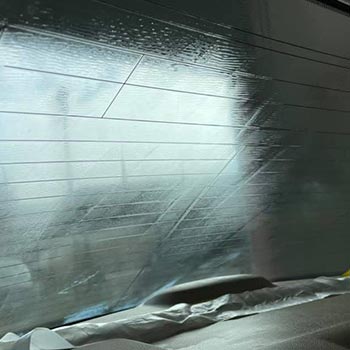
Ghosting refers to visible marks, impressions, or irregularities that appear beneath the film after installation.
These may be caused by contamination, handling damage, or imperfections already present on the glass.
Careful inspection before installation can help identify potential problem areas.
Adhesive Distortion
Adhesive distortion may appear as visual irregularities caused by pressure, contamination, or improper handling during installation.
Many minor adhesive distortions improve as the film cures.
Following manufacturer-recommended installation procedures helps minimize the likelihood of these issues.
Which Defects Are Temporary?
Some installation conditions are normal during the curing process and may improve over time.
Examples include:
- Minor water pockets
- Haze
- Moisture distortion
- Certain forms of silvering
Installers should allow adequate cure time before evaluating the final appearance of the film.
Which Defects Are Permanent?
Some defects typically do not improve with curing and may require replacement.
Examples include:
- Creases
- Large contamination particles
- Knife damage
- Major edge lift
- Physical film damage
Proper installation procedures are the best way to avoid these issues.
How Can Installation Defects Be Prevented?
- Clean glass thoroughly.
- Use proper prep and slip solutions.
- Work in a clean environment.
- Practice proper heat shrinking techniques.
- Use clean tools and towels.
- Allow adequate curing time before inspection.
Consistent installation practices often produce the most consistent results.
Key Takeaways
- Contamination is one of the most common installation defects.
- Some defects improve during curing, while others are permanent.
- Fingers, creases, silvering, and edge lift are common installation issues.
- Proper cleaning and preparation help prevent many defects.
- Heat shrinking is essential for curved automotive glass.
- Consistent installation techniques lead to better results.




