




-

About Flexfilm 2
-

Getting Started 10
-
Core Fundamentals 10
-
-

Orders & Support 83
-
Shipping 10
-
Dealer Rewards 13
-
Ordering & Account 7
-
Pre-Cut Patterns 2
-
General 9
-
Warranty 6
-
Billing & Tax 3
-
Route Package Protection 2
-
Returns & Refunds 2
-
Shop Pay 2
-
Training 1
-
Dealer & Installer Program 4
-
Selling & Quoting 9
-
Marketing & Growth 8
-
Business Operations 5
-
-

Installation Resources 19
-
Architectural 4
-
Automotive 5
-
General 10
-
-

Architectural Window Film 54
-
Safety & Compatibility 17
-
Ownership 2
-
Fundamentals 16
-
Buying Guides 4
-
Performance & Privacy 6
-
Product Guides 9
-
-

Automotive Window Film 40
-
Installation & Ownership 18
-
Product Guides 11
-
Legal & Compliance 3
-
Buying Guides 8
-
-

Tools 10
-
Cutting & Prep 3
-
Application 3
-
Measurement & Layout 2
-
Specialty 2
-
-

Plotters 8
-
Ownership 6
-
Buying Guides 2
-
-

FlexCut Software 25
-
Account & Licensing 5
-
Getting Started 10
-
Troubleshooting 2
-
Using FlexCut 8
-
-

Paint Protection Film (PPF) 10
-
Ownership 3
-
Fundamentals 4
-
Product Guides 3
-
-

Surface Coatings 13
-
Product Guides 7
-
Fundamentals 3
-
Ownership 3
-
How to Remove Window Tint


How to Remove Window Tint
Whether a customer got a ticket for tint that's too dark, wants to switch to a different shade, or the old film has failed, a clean removal is the foundation of a good re-tint job. Steam and a proper adhesive remover give the cleanest results.
Why Steam Works
A steamer heats and softens the adhesive holding the film to the glass. The goal is to get the adhesive soft enough that it releases from the glass while staying attached to the back of the film as you pull — that gives you a clean removal with the least amount of leftover glue to deal with afterward.
Removing the Film
- Use a knife to lift a starting corner after a brief initial steaming — getting the removal started is often the trickiest part.
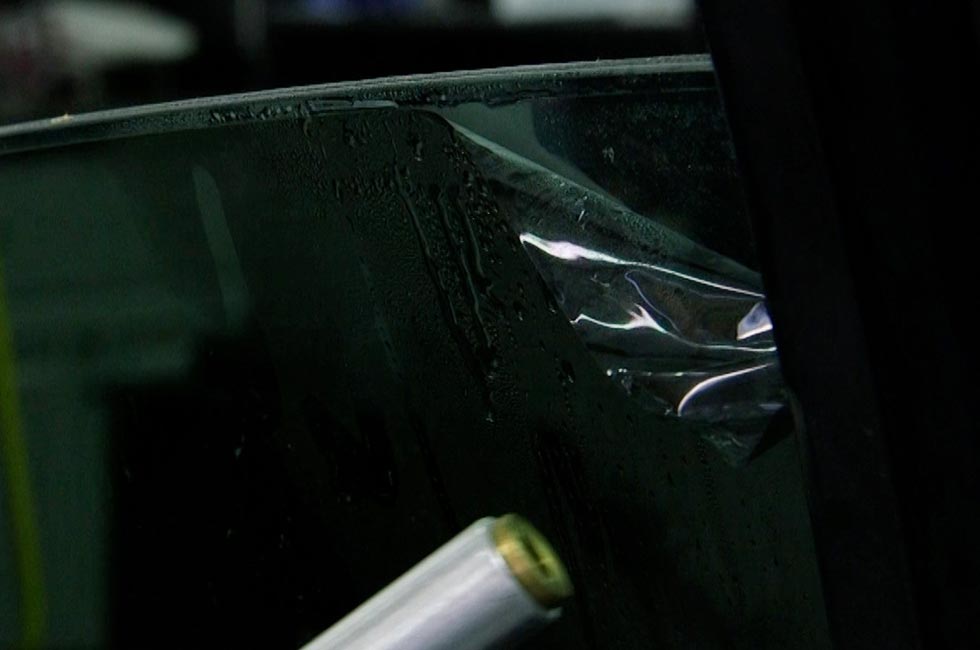
- Once you have a grip, pull slowly and steadily while continuing to apply steam just ahead of where you're pulling. Let the steam do the work rather than forcing the pull.
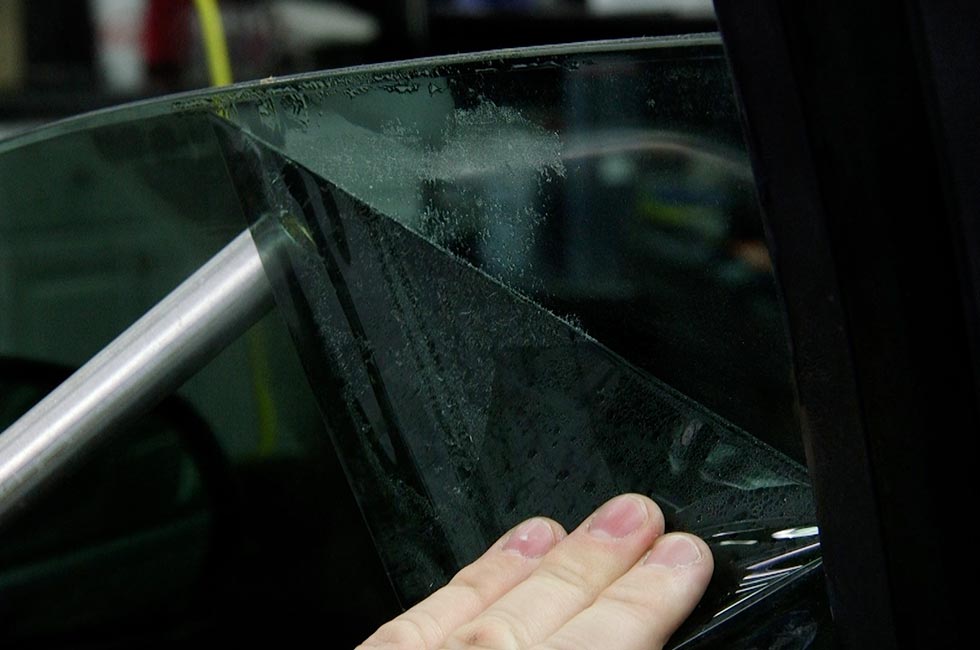
- Go slower in areas where you want a cleaner result, since rushing tends to leave more adhesive behind on the glass instead of on the film.

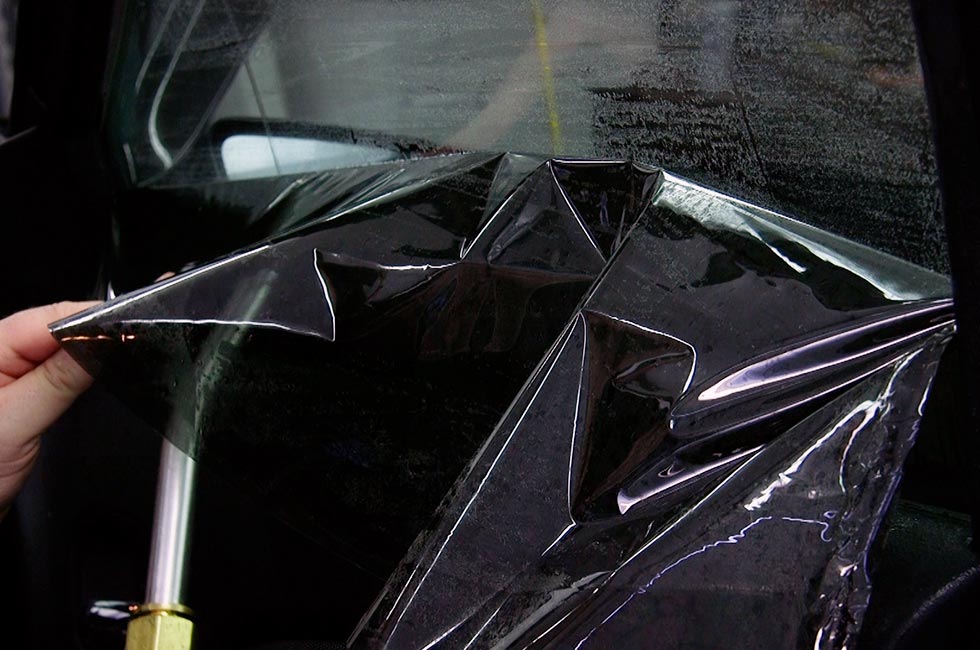
- On door glass, rolling the window down about an inch from the top (rather than all the way) lets the remaining film act as a makeshift tent, trapping steam against the glass for more efficient heating, and also gives you a drop cloth of sorts to protect the door panel from moisture and adhesive residue.
Removing Leftover Adhesive
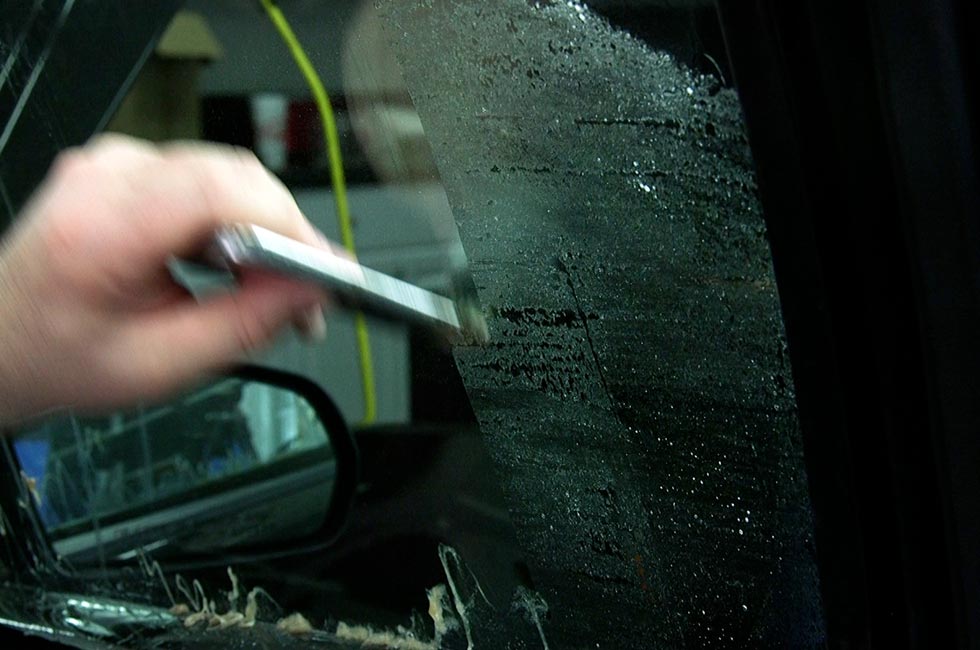
Some adhesive residue on the glass is normal, especially if the film wasn't in great condition to begin with. A dedicated adhesive remover breaks the remaining glue down quickly — often in as little as 15 seconds, especially while the glass is still warm from the steamer. A retractable razor scraper works well on open glass areas; for tight spots near seals, felt, or edges a blade can't reach cleanly, an open utility knife blade gives you better access.
Final Cleanup
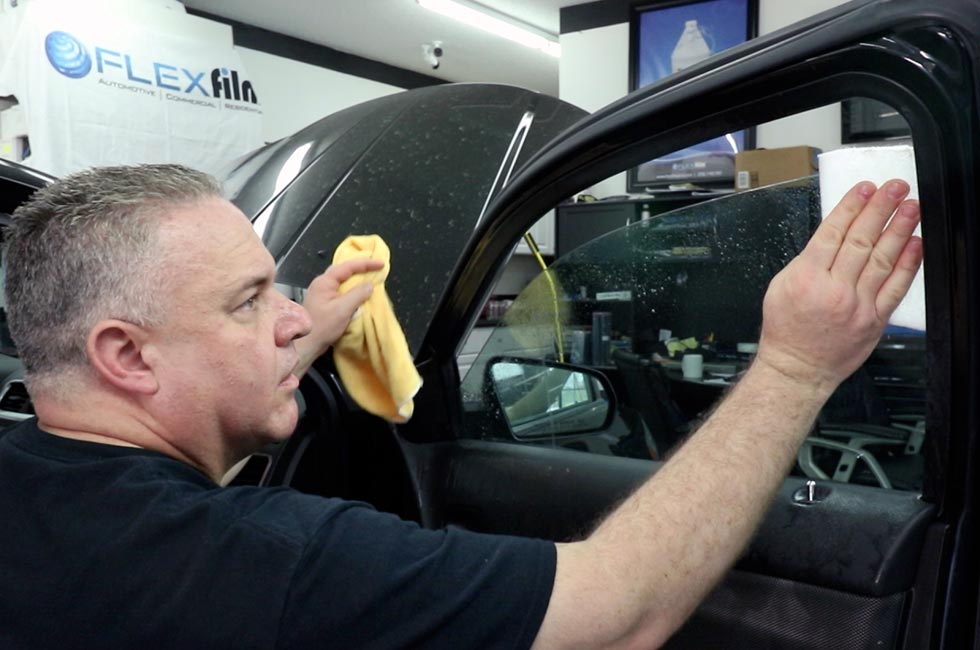
Once the bulk of the adhesive is gone, a white scrub pad picks up any remaining small spots, followed by a microfiber towel to dry the glass. Roll the window fully down afterward and inspect the seals and felt channel — leftover adhesive can work its way into the track over time and interfere with the window rolling smoothly.
A Note on Safety
Steamer output is very hot and can cause serious burns if you're not careful. Heat-resistant gloves are available if you'd rather not handle the film and glass directly during the hottest part of the process.
Key Takeaways
- Steam softens the adhesive so it releases from the glass and stays on the film, giving the cleanest removal.
- Pull slowly and let the steam do the work rather than forcing it — rushing leaves more adhesive on the glass.
- A dedicated adhesive remover clears leftover glue quickly, especially while the glass is still warm.
- Finish with a scrub pad and microfiber towel, and inspect the window seals before re-tinting.




