




-

About Flexfilm 2
-

Getting Started 10
-
Core Fundamentals 10
-
-

Orders & Support 83
-
Shipping 10
-
Dealer Rewards 13
-
Ordering & Account 7
-
Pre-Cut Patterns 2
-
General 9
-
Warranty 6
-
Billing & Tax 3
-
Route Package Protection 2
-
Returns & Refunds 2
-
Shop Pay 2
-
Training 1
-
Dealer & Installer Program 4
-
Selling & Quoting 9
-
Marketing & Growth 8
-
Business Operations 5
-
-

Installation Resources 19
-
Architectural 4
-
Automotive 5
-
General 10
-
-

Architectural Window Film 54
-
Safety & Compatibility 17
-
Ownership 2
-
Fundamentals 16
-
Buying Guides 4
-
Performance & Privacy 6
-
Product Guides 9
-
-

Automotive Window Film 40
-
Installation & Ownership 18
-
Product Guides 11
-
Legal & Compliance 3
-
Buying Guides 8
-
-

Tools 10
-
Cutting & Prep 3
-
Application 3
-
Measurement & Layout 2
-
Specialty 2
-
-

Plotters 8
-
Ownership 6
-
Buying Guides 2
-
-

FlexCut Software 25
-
Account & Licensing 5
-
Getting Started 10
-
Troubleshooting 2
-
Using FlexCut 8
-
-

Paint Protection Film (PPF) 10
-
Ownership 3
-
Fundamentals 4
-
Product Guides 3
-
-

Surface Coatings 13
-
Product Guides 7
-
Fundamentals 3
-
Ownership 3
-
How to Splice a Rear Window: The Two-Piece Technique


How to Splice a Rear Window: The Two-Piece Technique
Modern film can heat-mold onto most rear windows in one piece, so splicing isn't something every installer needs anymore. But it's a genuinely useful technique to have — a way to tint a wide, deeply curved back window using narrower rolls (20″ rolls, for example), and a technique that's often faded out of the trade as heat-moldable film became standard.
Why Splice at All
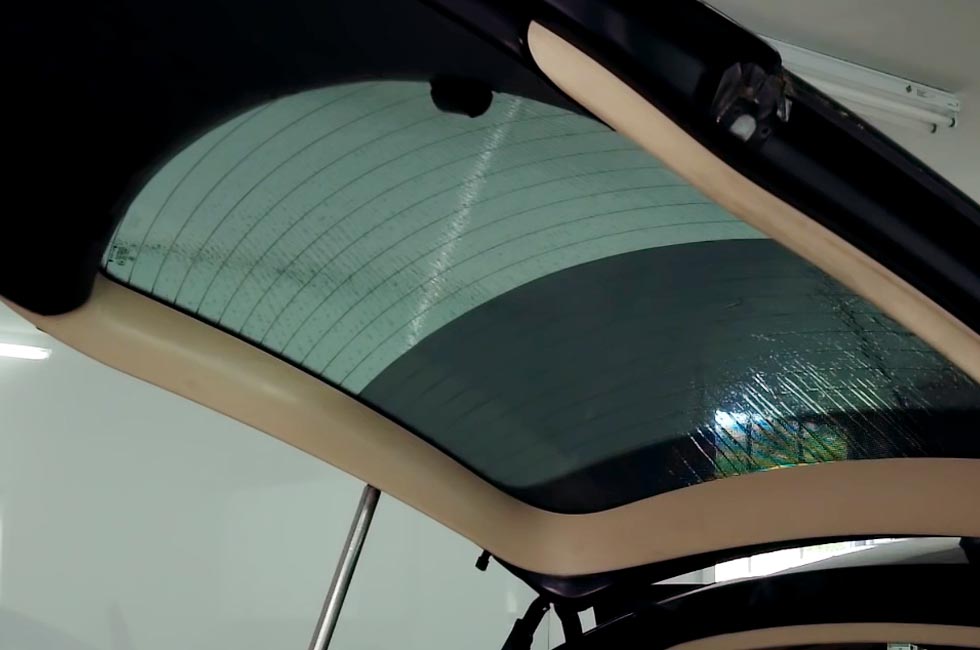
Splicing lets you install a rear window in two pieces that reads as one continuous piece once it's done — useful for very difficult, deeply curved back windows (a classic VW Beetle is a commonly cited example) where a one-piece install would otherwise mean smaller fingers you can't fully work out, or a longer, more frustrating shrink. It can also be a practical option for price-conscious jobs, since narrower rolls typically cost less than wide ones.
The One Rule That Makes or Breaks the Splice
Film isn't perfectly consistent edge to edge, even within the same roll. If you splice using two opposite edges from your rolled-out pieces, you'll get a visible color or shade mismatch at the seam. The fix: always splice using the same edge from both pieces — if you use the edge closest to you on the first pull, use that same relative edge on the second pull too. Getting this backwards is the single most common way this technique goes wrong.
Choosing Your Splice Line
On a rear window with a defroster grid, pick a defroster line roughly in the middle of the glass to splice on — it gives you a natural, already-existing line to hide the seam against. Also factor in how much shrinking each half will need; if one half requires noticeably more shrinking than the other, sizing that piece a little smaller and the other a little larger can reduce your overall shrinking effort.
Step-by-Step Process
- Roll out and cut your first piece to the window's full width, keeping track of which edge you intend to splice on.
- Position it on the glass, decide on your splice line, and heat-shrink and finger this piece as you normally would — wet or dry shrinking both work.
- Roll out the second piece using the identical width, making sure to use the same edge for the splice as the first piece.
- Position the second piece so it overlaps the first by roughly 1/4″ to 1/2″ past your chosen splice line, then shrink and finger it the same way.
- Once both pieces are laying flat and fully overlapping at the splice line, trim the entire perimeter as you normally would for a one-piece install.
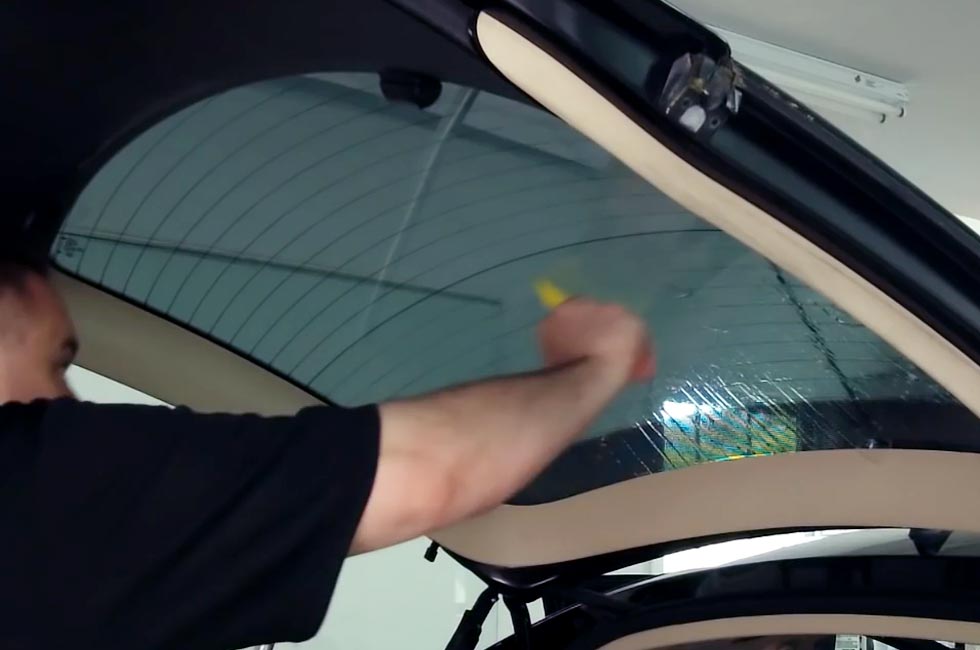
- To cut the actual splice line, work slowly and steadily along the chosen line with a fresh blade, using a light behind the glass (or propping yourself up for a clear sightline) to see exactly where to cut. Discard the excess overlap from both pieces once the cut is made.
Lining Up the Splice During Installation
Install the top piece first, aligning it to your cut line rather than watching the outer piece of film still in place on the outside of the glass — the outside piece can actually throw off your alignment. Once the top piece is squeegeed into position, install the bottom piece and focus on matching the two cut edges together as precisely as possible; a light held behind the glass makes the seam much easier to see and align. Squeegee along the seam left to right rather than up and down to avoid disturbing the join.
What to Expect
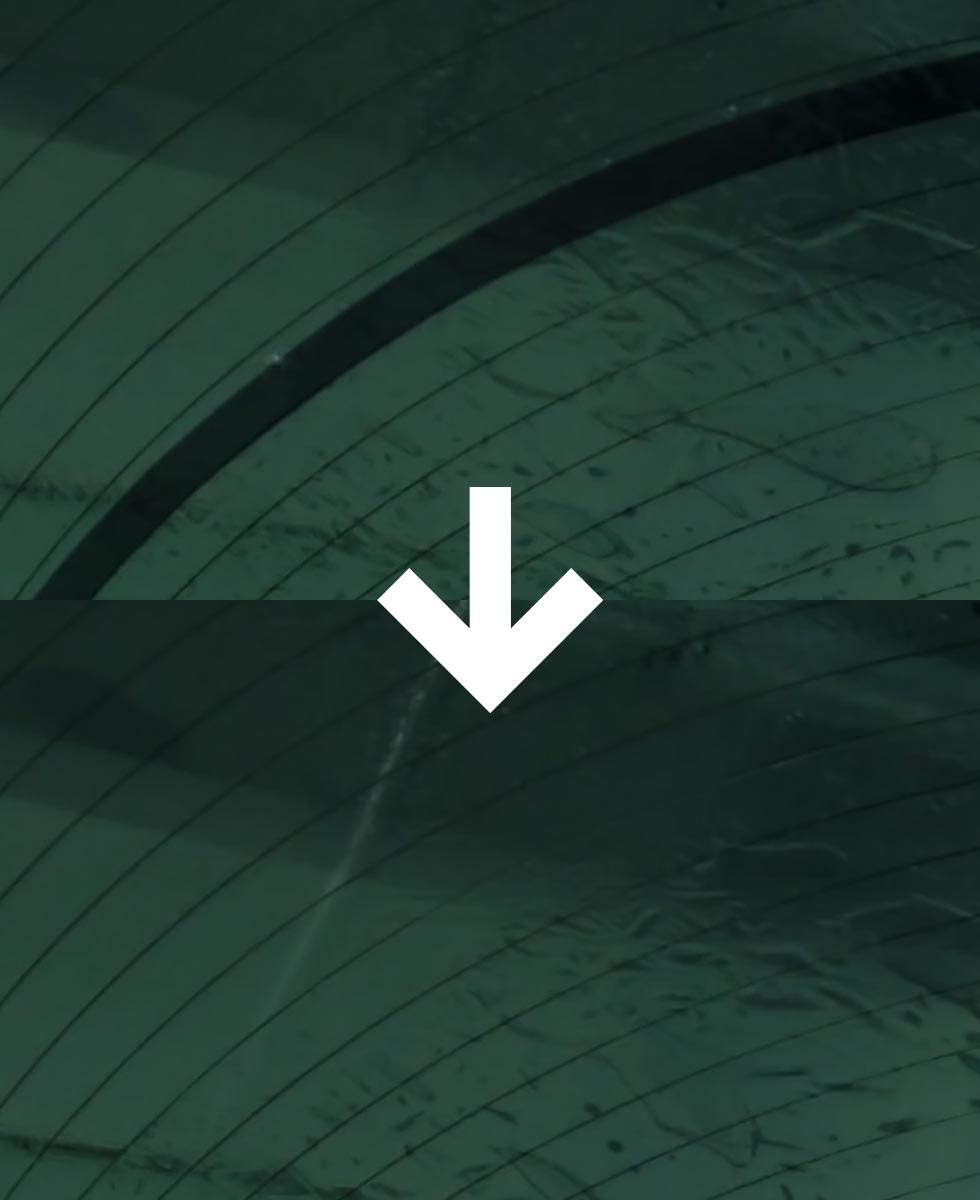
Done well, a spliced rear window is genuinely difficult to tell apart from a one-piece install once it's finished and cleaned up — the seam sits directly on an existing defroster line, and customers generally won't notice it's there at all.
Key Takeaways
- Always splice using the same relative edge from both pieces of film to avoid a visible color mismatch.
- Pick a defroster line near the middle of the glass as your splice point.
- Overlap your two pieces by about 1/4″ to 1/2″ before making the final splice cut.
- Align to the cut line itself during install, not the outer piece of film still on the glass.




