




-

About Flexfilm 2
-

Getting Started 10
-
Core Fundamentals 10
-
-

Orders & Support 83
-
Shipping 10
-
Dealer Rewards 13
-
Ordering & Account 7
-
Pre-Cut Patterns 2
-
General 9
-
Warranty 6
-
Billing & Tax 3
-
Route Package Protection 2
-
Returns & Refunds 2
-
Shop Pay 2
-
Training 1
-
Dealer & Installer Program 4
-
Selling & Quoting 9
-
Marketing & Growth 8
-
Business Operations 5
-
-

Installation Resources 19
-
Architectural 4
-
Automotive 5
-
General 10
-
-

Architectural Window Film 54
-
Safety & Compatibility 17
-
Ownership 2
-
Fundamentals 16
-
Buying Guides 4
-
Performance & Privacy 6
-
Product Guides 9
-
-

Automotive Window Film 40
-
Installation & Ownership 18
-
Product Guides 11
-
Legal & Compliance 3
-
Buying Guides 8
-
-

Tools 10
-
Cutting & Prep 3
-
Application 3
-
Measurement & Layout 2
-
Specialty 2
-
-

Plotters 8
-
Ownership 6
-
Buying Guides 2
-
-

FlexCut Software 25
-
Account & Licensing 5
-
Getting Started 10
-
Troubleshooting 2
-
Using FlexCut 8
-
-

Paint Protection Film (PPF) 10
-
Ownership 3
-
Fundamentals 4
-
Product Guides 3
-
-

Surface Coatings 13
-
Product Guides 7
-
Fundamentals 3
-
Ownership 3
-
Test Cut


Test Cut
A test cut checks whether your plotter is ready for use. You can perform a test cut even if you do not have a USB dongle. The software allows you to cut up to 15 nodes while in DEMO mode.
Performing a Test Cut
-
Make sure you have completed the Patterns Database update.
-
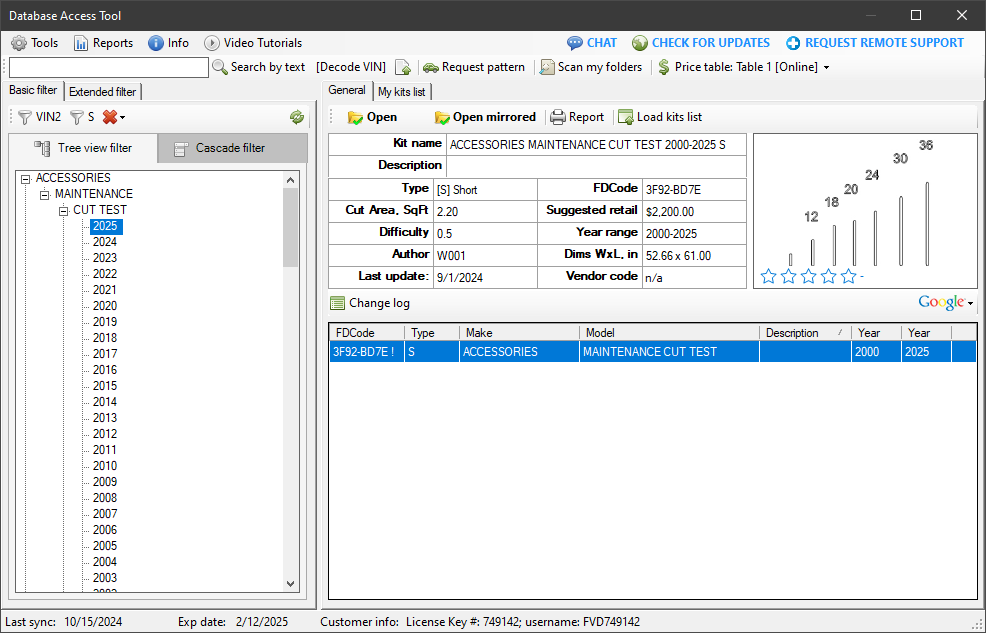
Start the software and open the Database Access Tool.
-
Navigate to: ACCESSORIES > MAINTENANCE > CUT TEST
-
Open the CUT TEST pattern.
-
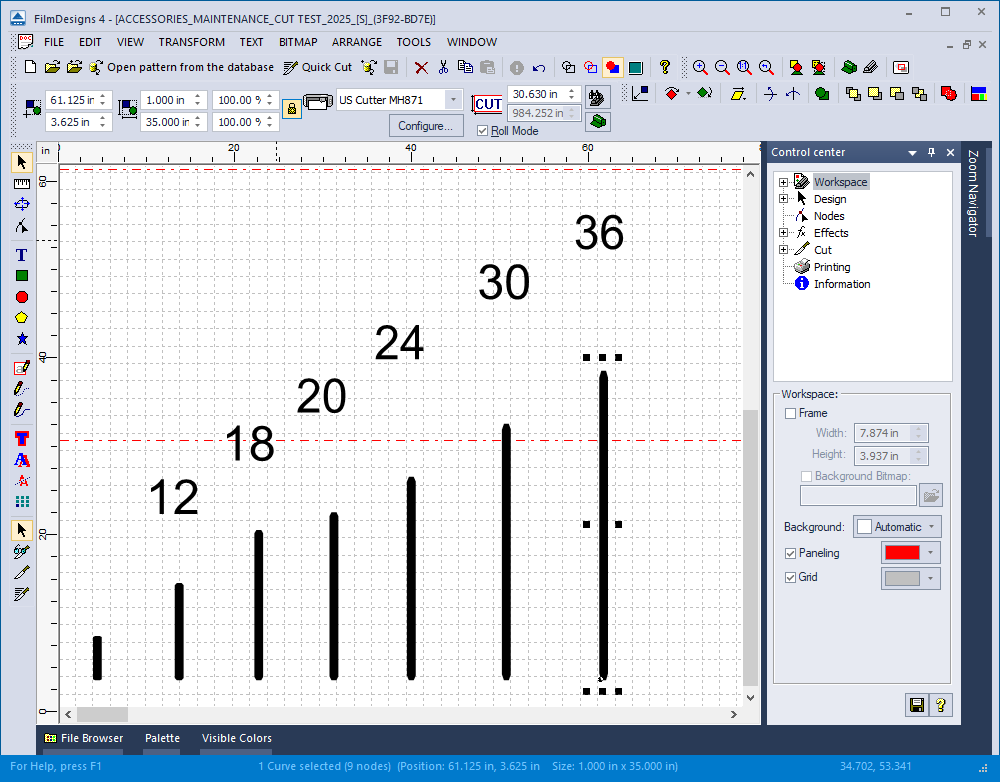
Select the test shape with a size that is close to the width of the film roll you are using.
-
Send the selected shape to the plotter.
Check the Test Cut
Check the finished cut. The film should peel easily from the liner.
If the blade cuts completely through the film and liner, or if the cut is not deep enough, adjust the blade and perform another test cut.


esc


