




-

About Flexfilm 2
-

Getting Started 10
-
Core Fundamentals 10
-
-

Orders & Support 83
-
Shipping 10
-
Dealer Rewards 13
-
Ordering & Account 7
-
Pre-Cut Patterns 2
-
General 9
-
Warranty 6
-
Billing & Tax 3
-
Route Package Protection 2
-
Returns & Refunds 2
-
Shop Pay 2
-
Training 1
-
Dealer & Installer Program 4
-
Selling & Quoting 9
-
Marketing & Growth 8
-
Business Operations 5
-
-

Installation Resources 19
-
Architectural 4
-
Automotive 5
-
General 10
-
-

Architectural Window Film 54
-
Safety & Compatibility 17
-
Ownership 2
-
Fundamentals 16
-
Buying Guides 4
-
Performance & Privacy 6
-
Product Guides 9
-
-

Automotive Window Film 40
-
Installation & Ownership 18
-
Product Guides 11
-
Legal & Compliance 3
-
Buying Guides 8
-
-

Tools 10
-
Cutting & Prep 3
-
Application 3
-
Measurement & Layout 2
-
Specialty 2
-
-

Plotters 8
-
Ownership 6
-
Buying Guides 2
-
-

FlexCut Software 25
-
Account & Licensing 5
-
Getting Started 10
-
Troubleshooting 2
-
Using FlexCut 8
-
-

Paint Protection Film (PPF) 10
-
Ownership 3
-
Fundamentals 4
-
Product Guides 3
-
-

Surface Coatings 13
-
Product Guides 7
-
Fundamentals 3
-
Ownership 3
-
How to Install DIY Architectural Window Film


How to Install DIY Architectural Window Film
Installing architectural film yourself is very doable if you work clean, take your time, and follow each step. Read the full guide before starting, and consider practicing on a small scrap piece first — a second set of hands makes larger windows much easier.
Before You Begin
- Apply when the glass is cool — window temperature between 45–90°F.
- No direct sunlight or freezing conditions.
- Keep a clean, dust-free workspace — turn off fans.
Tools You'll Need
- Slip solution, spray bottle, squeegee, utility knife, trim guide, microfiber towel
- Helpful household items: single-edged razor blade, ruler/tape measure, transparent tape, scissors
Mixing Your Slip Solution
- Tint-Tac: 2 capfuls per 32 oz spray bottle
- Dish soap: a light 3-second squeeze per 32 oz bottle — original formula only
- Baby shampoo: not recommended
Installation Steps
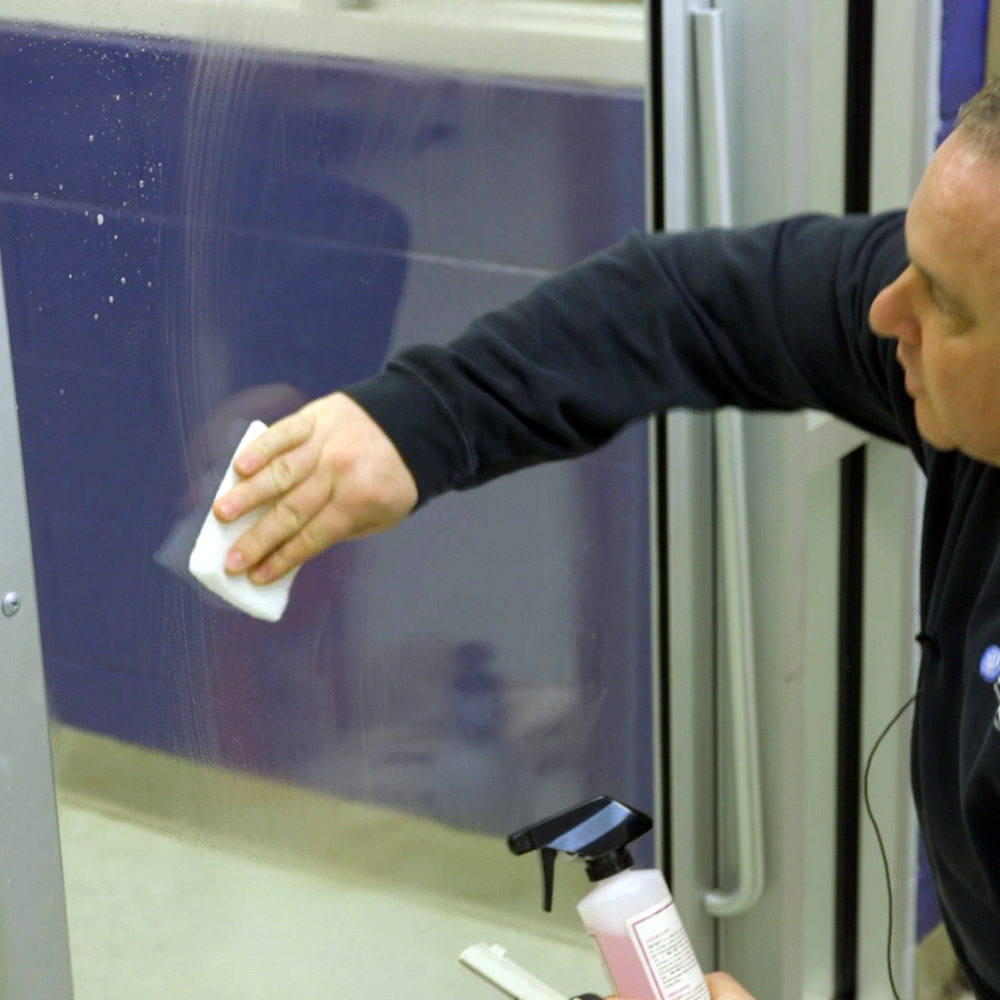
- Clean the window. Spray generously with slip solution, use a razor blade on stubborn dirt or paint (especially corners), rewet, and squeegee downward. Wipe the frame edges clean. For best clarity, clean the outside too.
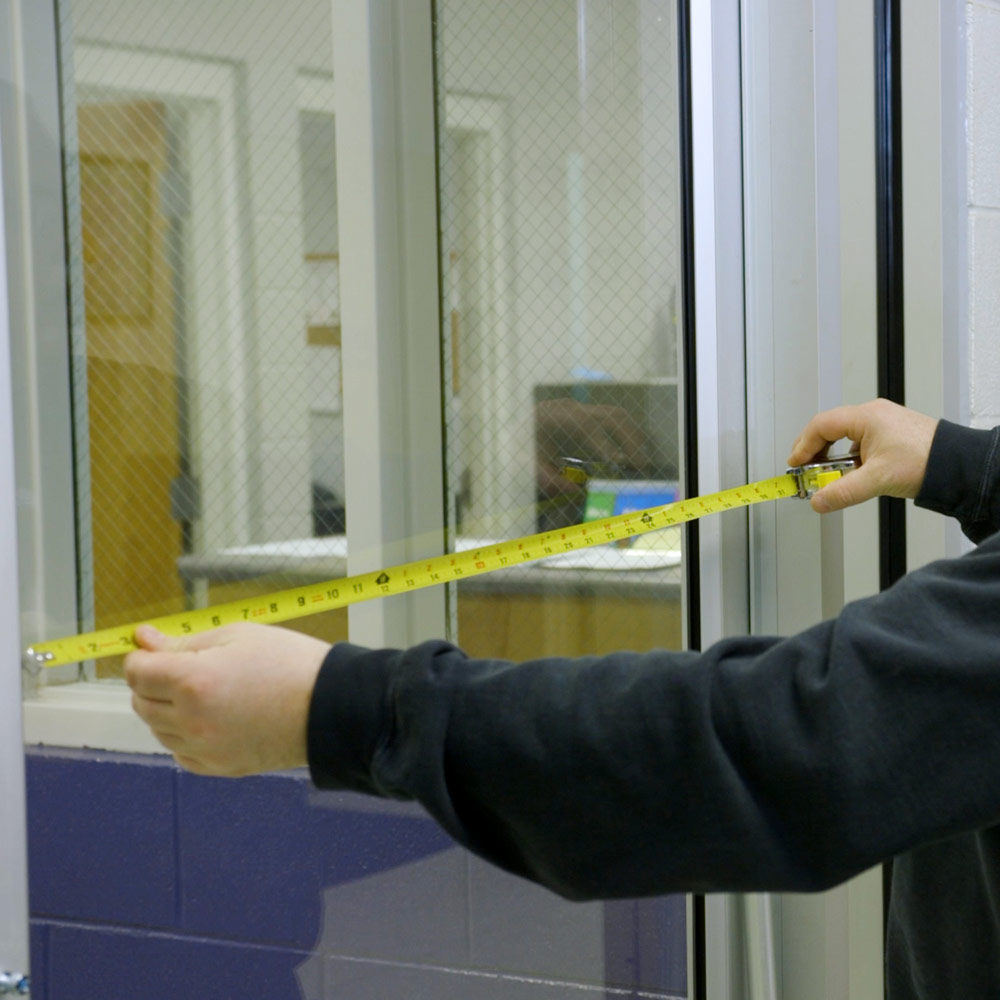
- Measure and cut the film at least 1 inch larger than the glass on all four sides. Use a factory edge where possible for easier positioning.
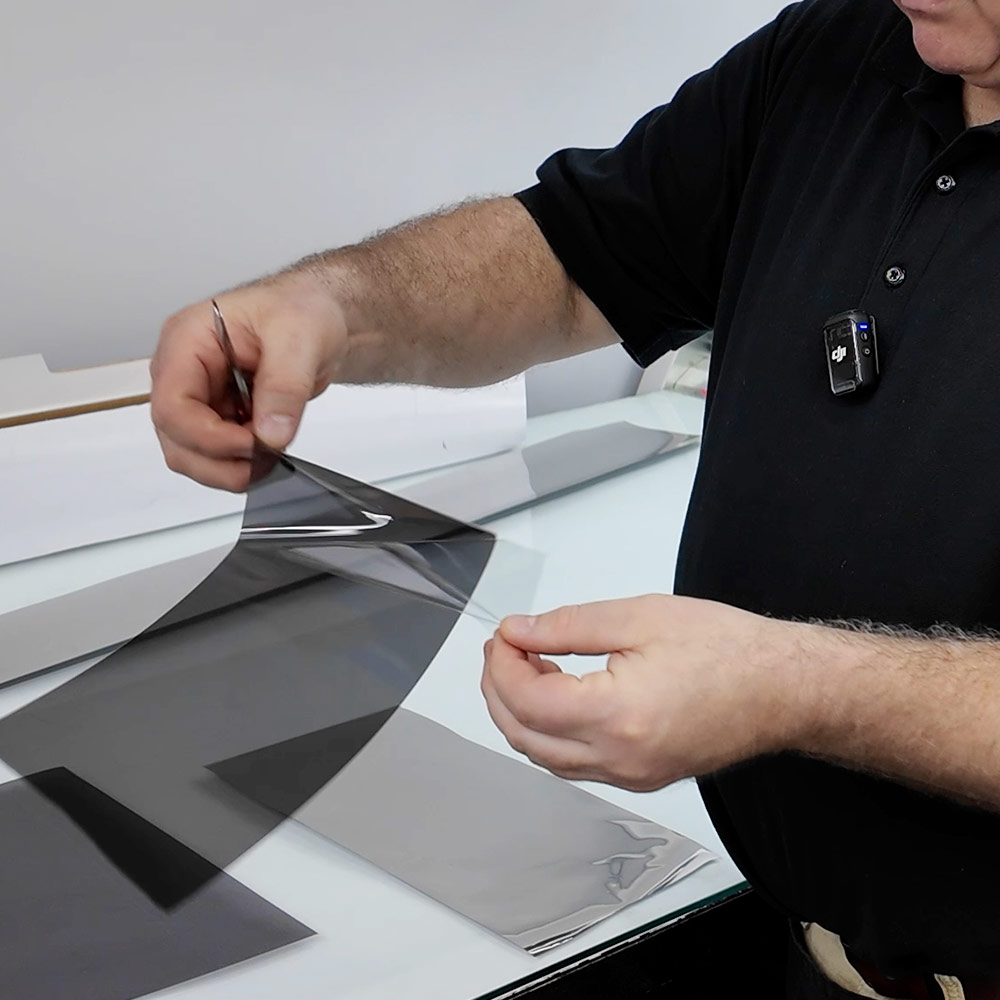
- Identify the clear liner. Tape one strip to the film and one to the liner at a corner, press together, then pull apart to start separating them. Note: on most films the liner faces in; on Architectural Ceramic film it faces out.
- Wet the window and film. Lightly spray slip solution on the interior glass and both sides of the film to reduce curl and static.

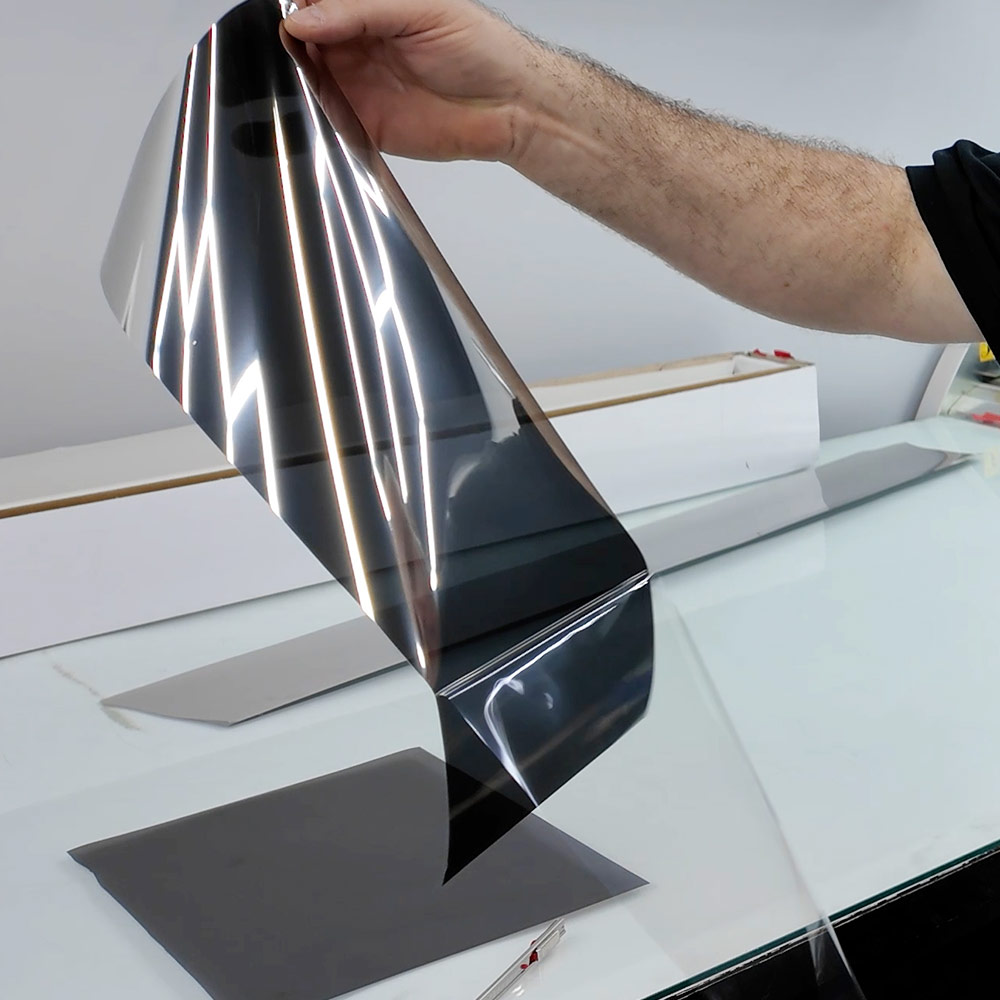
- Remove the clear liner while spraying the exposed adhesive with slip solution, keeping the film from touching itself.
- Apply the film to the glass, adhesive side facing the glass, overlapping evenly by about 1 inch on all sides.
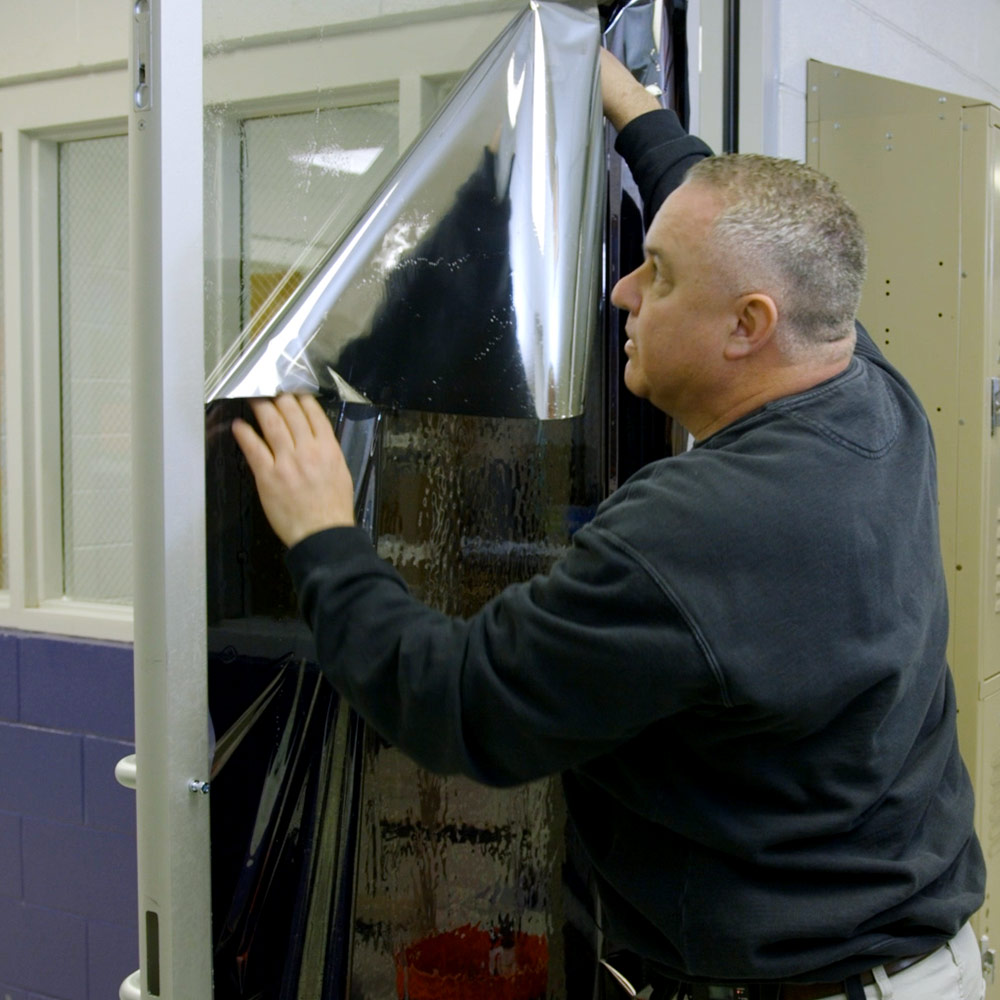
- Smooth the film. Spray the outside surface, squeegee a centerline top to bottom, then work from center outward on each side, leaving a 2-inch unsqueegeed perimeter for now.
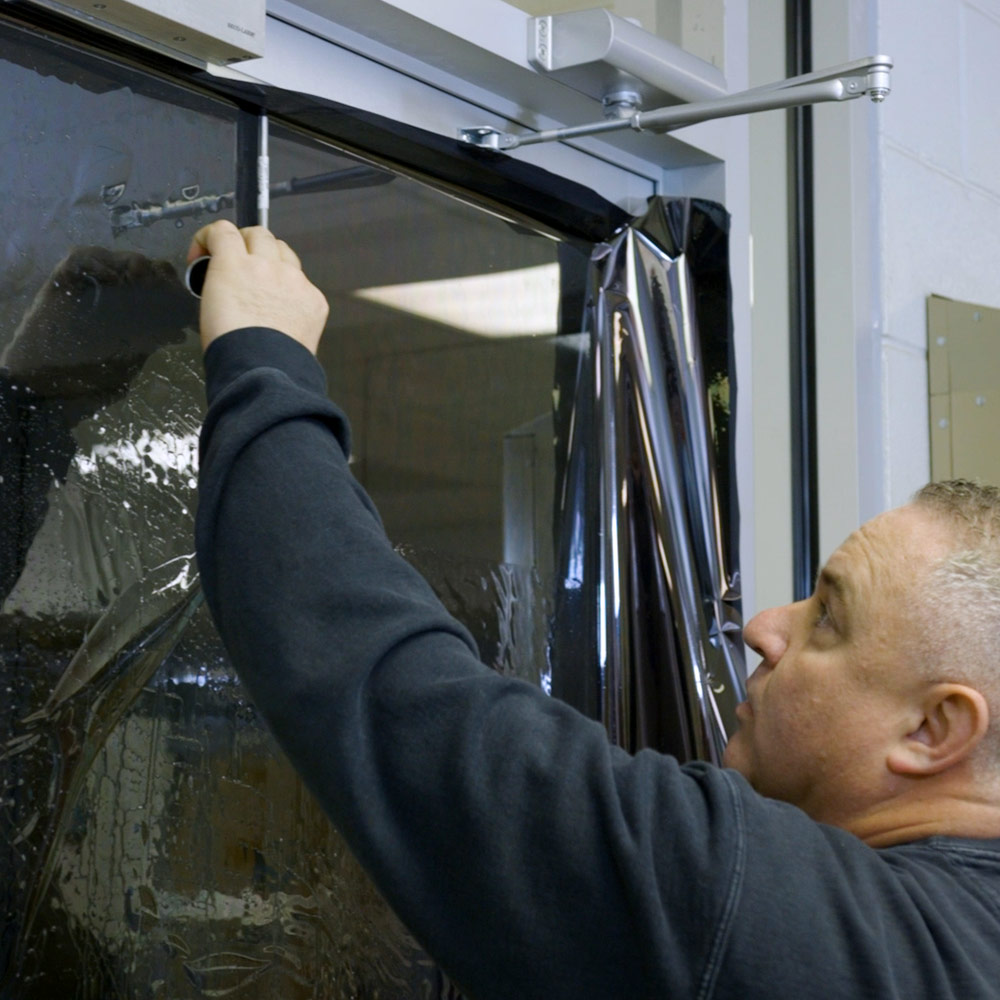
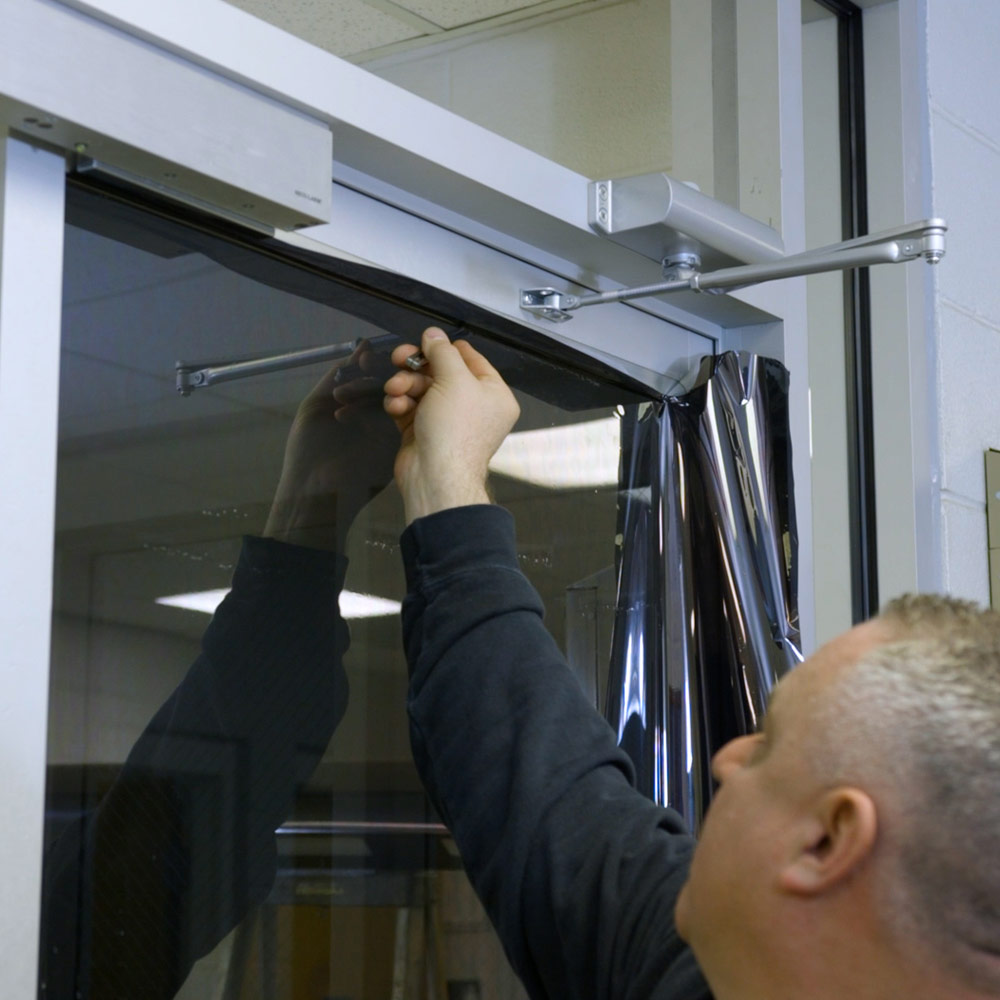
- Trim the film using a utility knife in an edging tool, working down each edge from a top corner. This leaves about a 1/16-inch gap needed for thermal expansion. Replace the blade every 10 feet to avoid tearing.
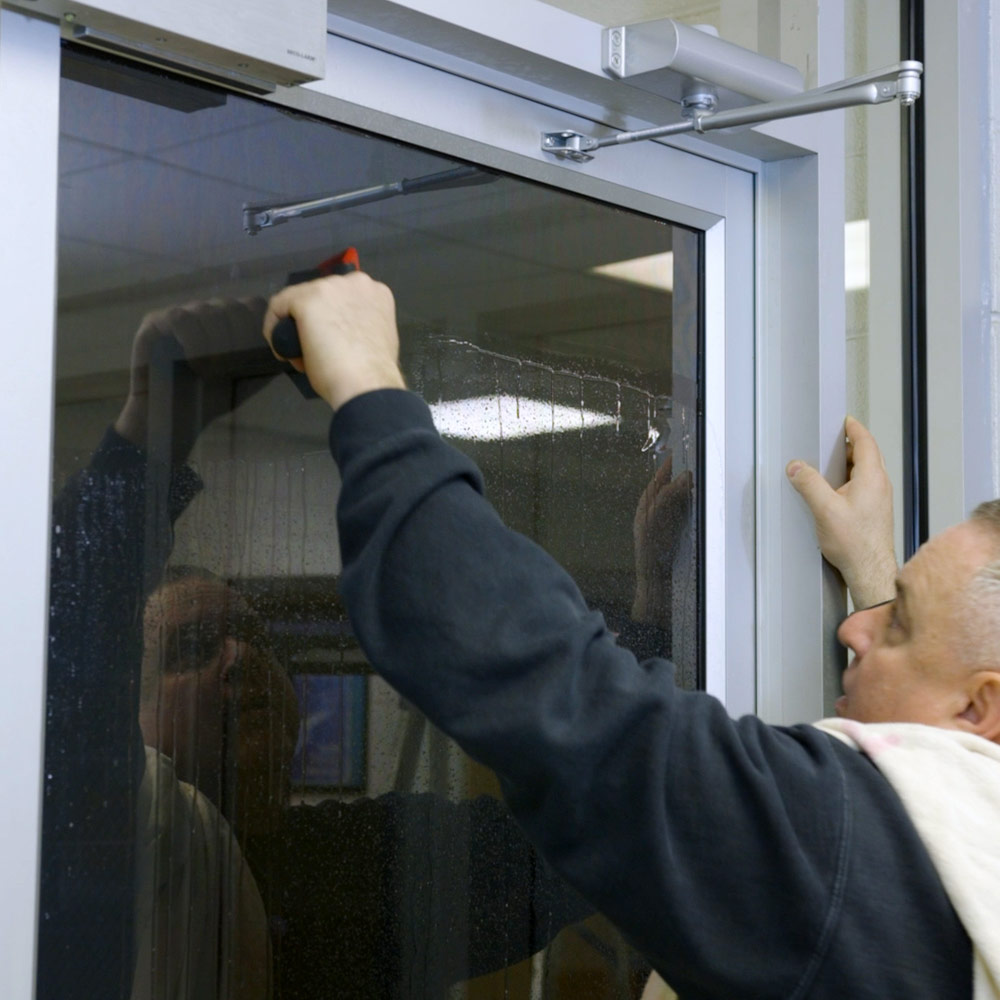
- Squeegee dry. Rewet and squeegee again center-to-edge, top to bottom, using firm pressure so the adhesive can cure cleanly.
- Let it cure — typically 7 to 10 days, faster in warm, sunny weather. Small water bubbles should clear as it dries.
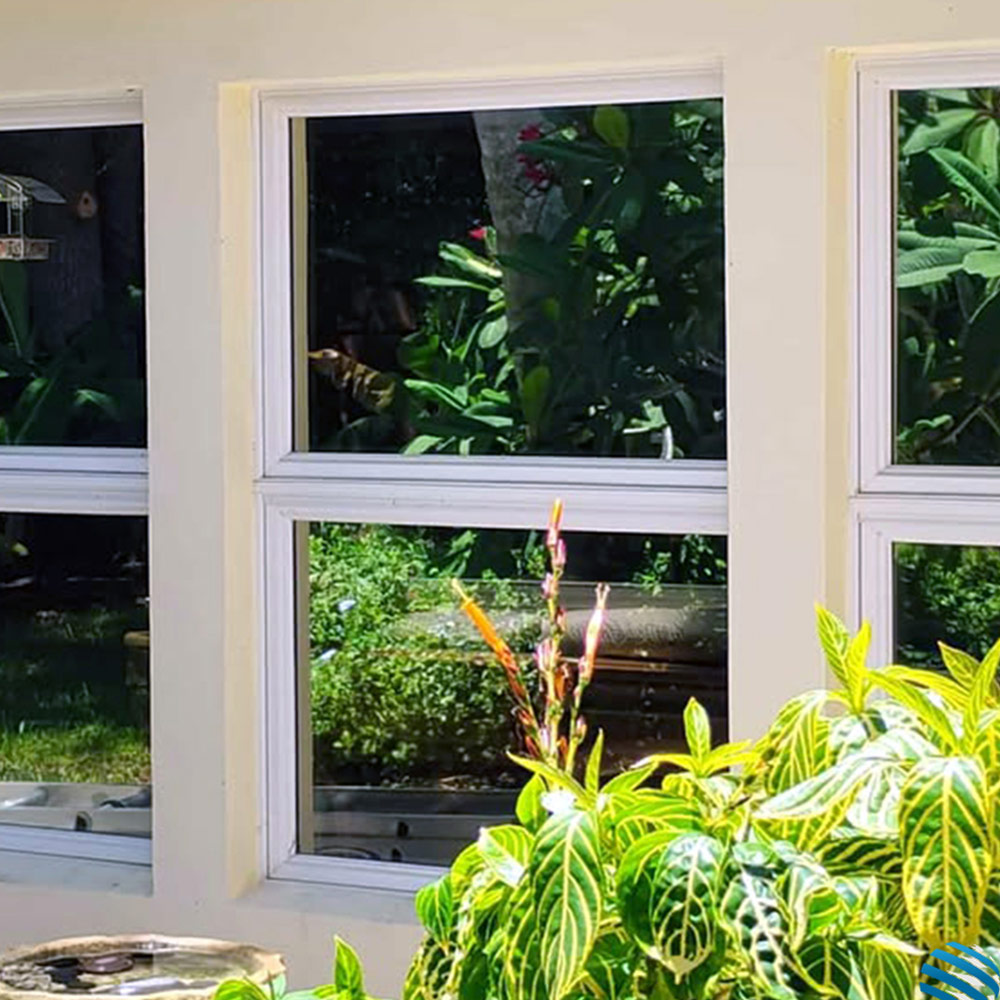
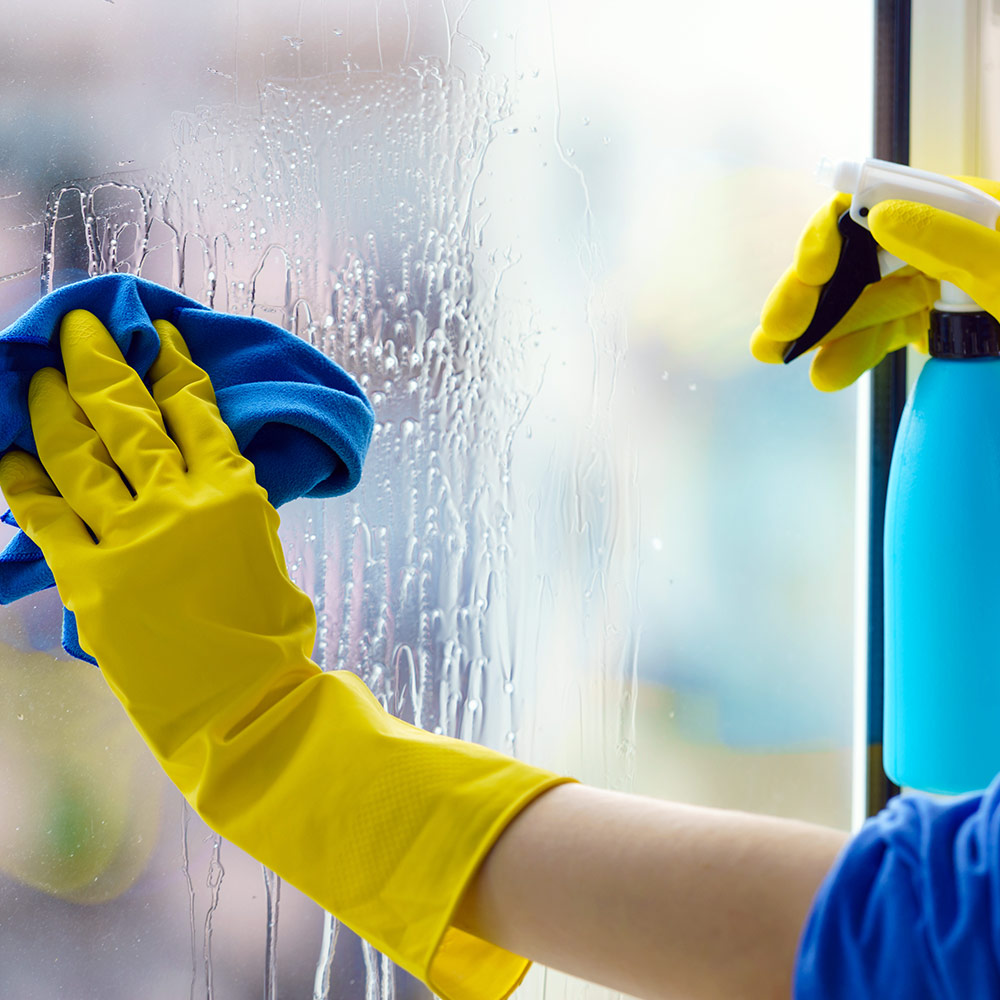
- Care and maintenance. Use Flexfilm's Pre-Tac prep solution when possible, with a rubber squeegee or low-lint cloth. If using an ammonia-based cleaner, don't leave it on the film for more than 2 minutes.
- Important Limitations
This guide is for applying film to the inside of standard 1/8-inch single- and dual-pane glass — including patio doors, French doors, half-rounds, and removable storm panes. Do not apply to motor vehicle windows, frosted glass, etched glass, leaded glass, cracked or defective glass, or glass more than 40 years old.
Large Windows
If a window is wider than the film, overlap two pieces vertically, cut through the center of both layers with a ruler as a guide, remove the loose top strip and waste underneath, then rewet, reapply, and squeegee. One week later, waterproof the seam with a coat of clear nail polish.
Removing the Film
Peel it away from the glass. If it's been installed for several years or doesn't come off easily, a removal solution and/or razor blade may help.
Common Questions
Inside or outside? Inside — this film is designed for interior installation only.
Do I need a slip solution? Yes; dry installs don't work. Tint-Tac or a proper slip solution is recommended.
Can I use soap and water instead? You can, but results are inconsistent — too much soap and the film won't stick right, too little and it grabs too fast.
Is this for car windows? No — flat glass only (home windows, storefront glass, office glass).
Will darker film block more heat? Not always — some lighter films reject more heat than darker ones. Shade isn't the same as performance.
Is this one-way privacy? During the day, yes, for reflective films. At night, if it's brighter inside than outside, people can see in.
How much film do I need? Depends on window size — a 36" x 15' roll typically covers several standard home windows. Measure before ordering.




