




-

About Flexfilm 2
-

Getting Started 10
-
Core Fundamentals 10
-
-

Orders & Support 83
-
Shipping 10
-
Dealer Rewards 13
-
Ordering & Account 7
-
Pre-Cut Patterns 2
-
General 9
-
Warranty 6
-
Billing & Tax 3
-
Route Package Protection 2
-
Returns & Refunds 2
-
Shop Pay 2
-
Training 1
-
Dealer & Installer Program 4
-
Selling & Quoting 9
-
Marketing & Growth 8
-
Business Operations 5
-
-

Installation Resources 19
-
Architectural 4
-
Automotive 5
-
General 10
-
-

Architectural Window Film 54
-
Safety & Compatibility 17
-
Ownership 2
-
Fundamentals 16
-
Buying Guides 4
-
Performance & Privacy 6
-
Product Guides 9
-
-

Automotive Window Film 40
-
Installation & Ownership 18
-
Product Guides 11
-
Legal & Compliance 3
-
Buying Guides 8
-
-

Tools 10
-
Cutting & Prep 3
-
Application 3
-
Measurement & Layout 2
-
Specialty 2
-
-

Plotters 8
-
Ownership 6
-
Buying Guides 2
-
-

FlexCut Software 25
-
Account & Licensing 5
-
Getting Started 10
-
Troubleshooting 2
-
Using FlexCut 8
-
-

Paint Protection Film (PPF) 10
-
Ownership 3
-
Fundamentals 4
-
Product Guides 3
-
-

Surface Coatings 13
-
Product Guides 7
-
Fundamentals 3
-
Ownership 3
-
How to Apply a Ceramic Coating


How to Apply a Ceramic Coating
Coating Farm USA products fall into a few distinct groups, and each group follows its own application process. Below are the confirmed instructions by product type, pulled directly from each product's own page.
Before You Begin
- Wash the vehicle thoroughly and dry it completely.
- Decontaminate the surface with a clay bar or an iron/limescale remover to clear embedded contaminants a wash alone won't lift.
- For the best, longest-lasting results, correct the paint first — a coating locks in whatever condition the paint is in underneath it.
- Work in a wind- and dust-free, room-temperature environment. Direct sun or a breezy driveway makes most of these products flash too fast to work with evenly.
Pad-Applied Paint & PPF Ceramic Coatings
Alpha Prime Graphene 10H, Aqua Coat Prime 9H, Alpha PPF Coat, and Alpha Base Coat 10H all share the same process, working in smaller sections with a shorter buff window:
- Shake the bottle thoroughly.
- Apply a thick layer of product to the coating pad — too little product is a common cause of streaking.
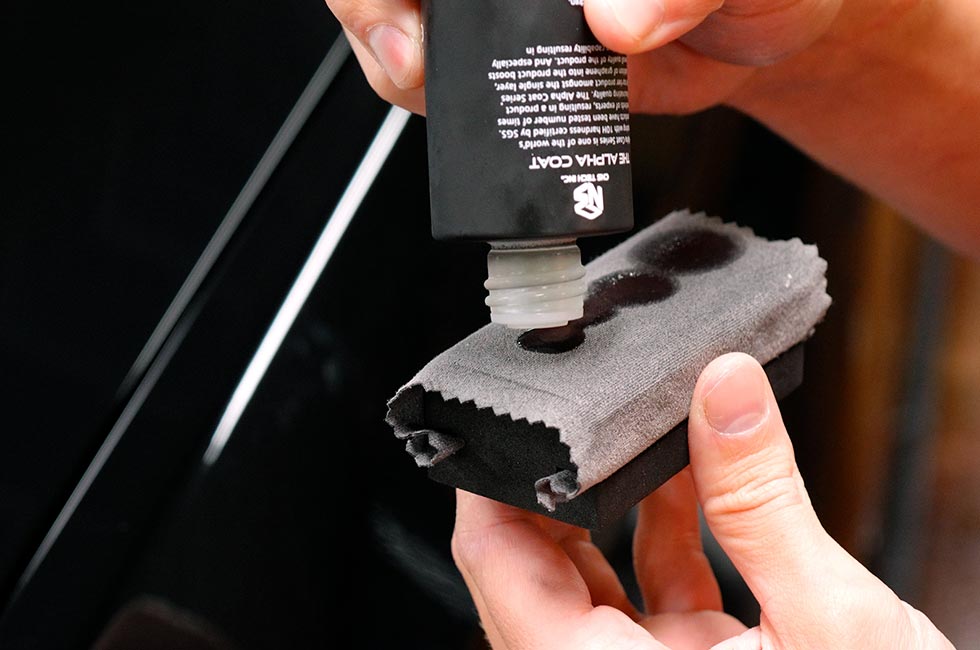
- Work about 1/3 of the hood at a time (normal-size sedan); don't leave the coating sitting longer than 100 seconds before buffing.
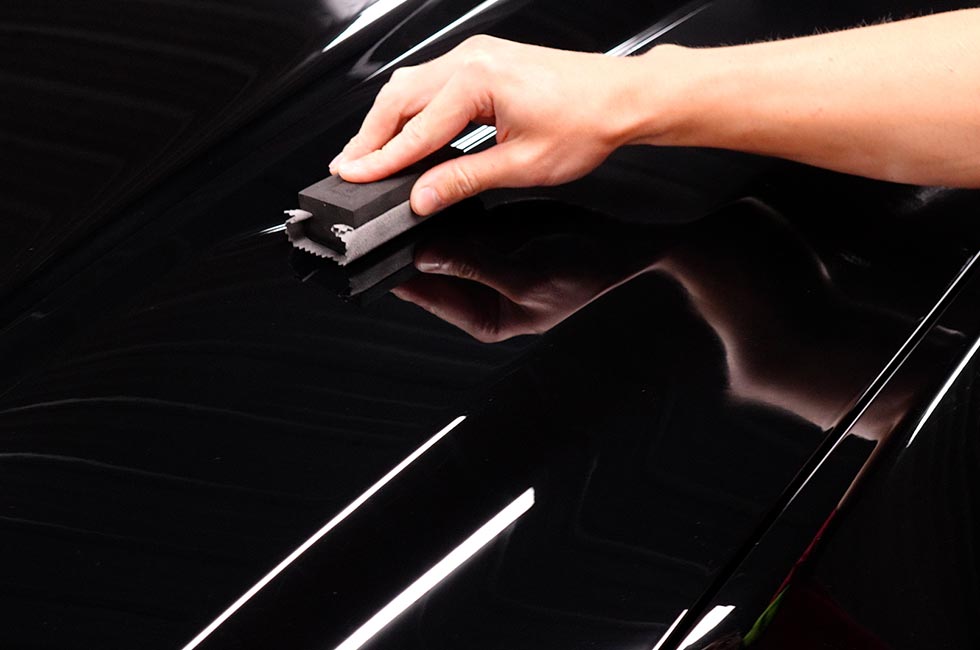
- Buff the coated surface with a clean microfiber towel.
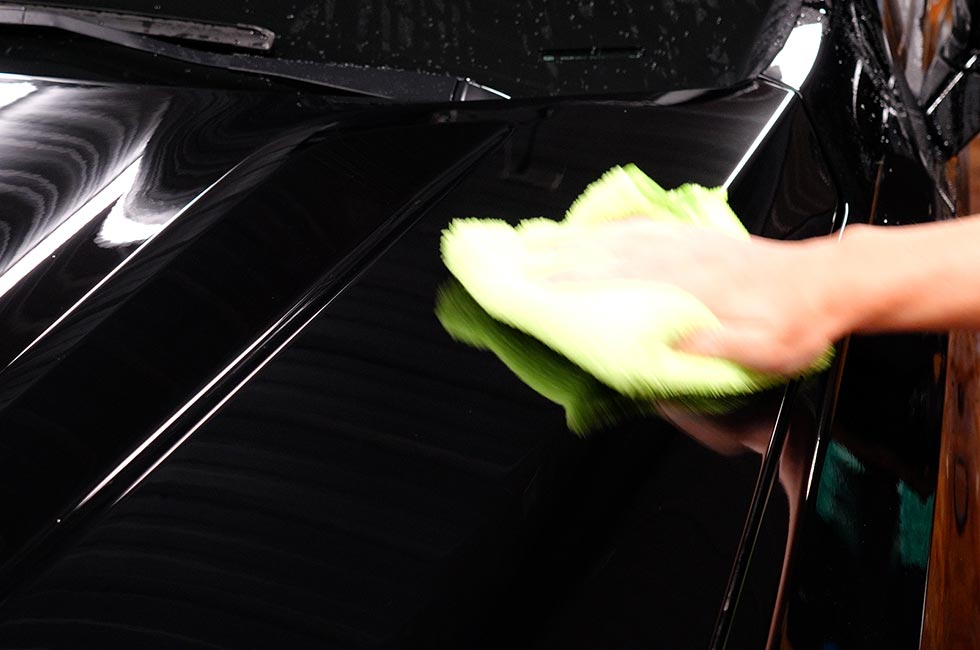
- Repeat section by section until the whole vehicle is coated.
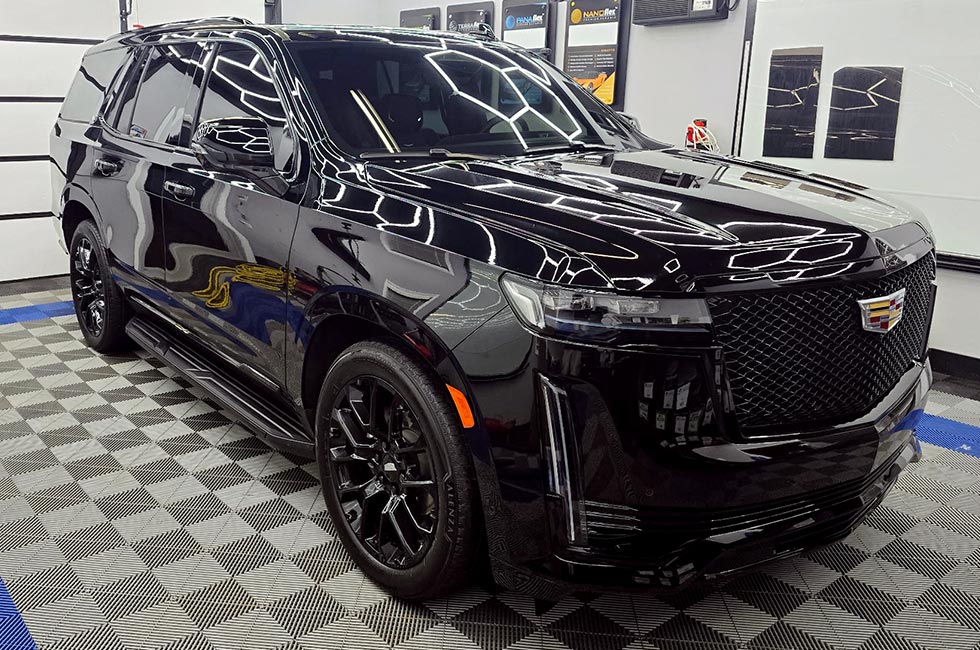
Ceramic King 9H and Quartz Pro Graphene use the identical steps above, but their more forgiving formulas allow you to work the whole hood at once and leave the coating up to 200 seconds before buffing.
Curing (All Pad-Applied Coatings)
- Store the vehicle indoors overnight, shielded from rain, dew, or any other moisture.
- Full cure takes about 10 days.
- The coating is most sensitive during the first 3–4 days — avoid chemicals, mud, rain, and snow exposure during this window.
- You can test the coating's performance (water beading, etc.) after about 7 days.
- These formulas will still cure effectively in temperatures as low as -5°F, unlike most competing ceramic coatings.
- If you make a mistake, wipe any stains or high spots with a damp towel while you're still in the application window.
Refresher Sprays (Habit Guard Graphene, Alpha Guard Graphene, Alpha Leather Guard)
These are quick, standalone or top-up sprays rather than a full cure-and-lock coating:
- Shake the bottle thoroughly.
- Spray the product 2–3 times onto the surface — too little product can lead to stains.
- Using two different microfiber towels, buff 85–90% of the applied coating with the first, then use the second towel to buff the remaining portion.
- Repeat throughout the whole vehicle.
If the spray nozzle loses pressure or malfunctions, unscrew the trigger and discharge the product into the air a few times to release built-up pressure.
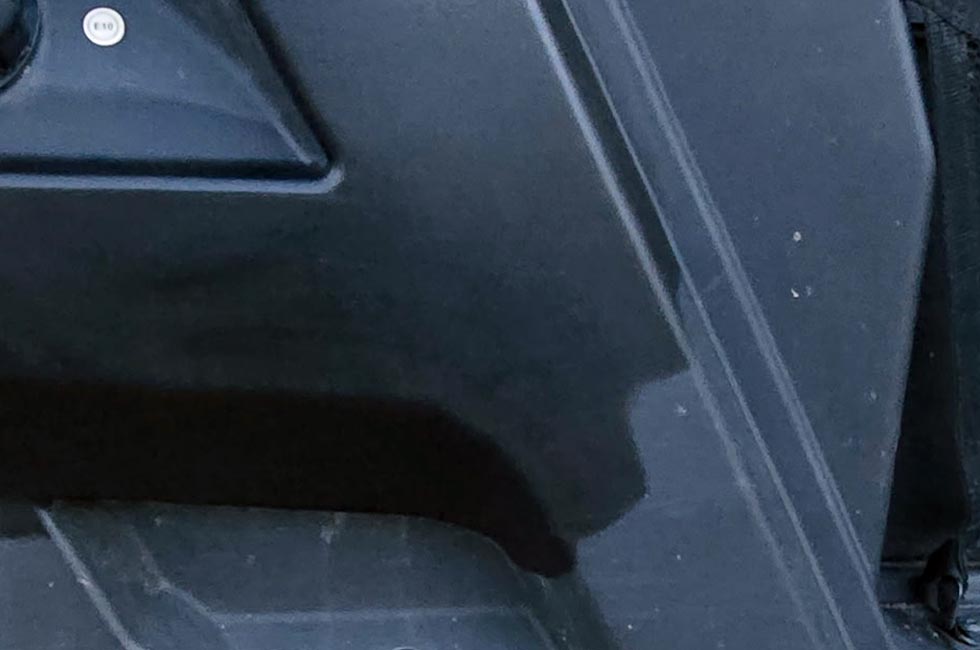
Habit T-Coat (Trim & Tire Restoration)
Follows the same spray-and-buff steps as the refresher sprays above, applied to rubber and plastic trim and tires. It has a dual-layer effect — the sacrificial top layer naturally fades away over time while water repellency increases.
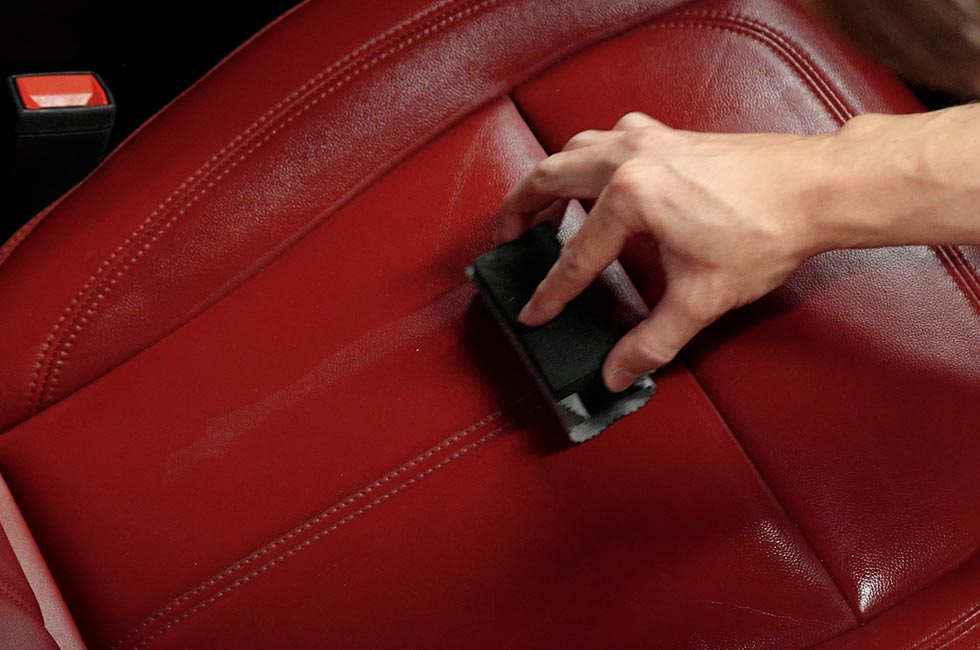
Leather Wrap Pro (Leather Ceramic Coating)
- Shake the bottle thoroughly.
- Apply a generous layer to the coating pad — too little product can cause staining.
- Apply an ample amount of coating solution to cover the entire seat.
- After 1 hour, buff the coated surface with a microfiber towel.
- Repeat for the rest of the vehicle's leather.
The seat can be used again after 2 hours. Full cure takes about 10 days, and the coating can be tested about 3 days after it's fully cured.
Alpha Febreco (Fabric & Soft Top Ceramic Spray)
- Make sure the surface is clean and dry before starting.
- For fibrous fabric, use a bristle brush to align the fibers in one direction.
- Shake well, then spray evenly, holding the bottle about 6 inches from the surface.
- Brush the fibers in the opposite direction and spray again.
- Let the coating cure undisturbed for at least 4 hours — don't wipe it off; let it dry naturally.
Full cure takes about 24 hours, with the first 12 hours being the most sensitive. It can be tested after about 24 hours.
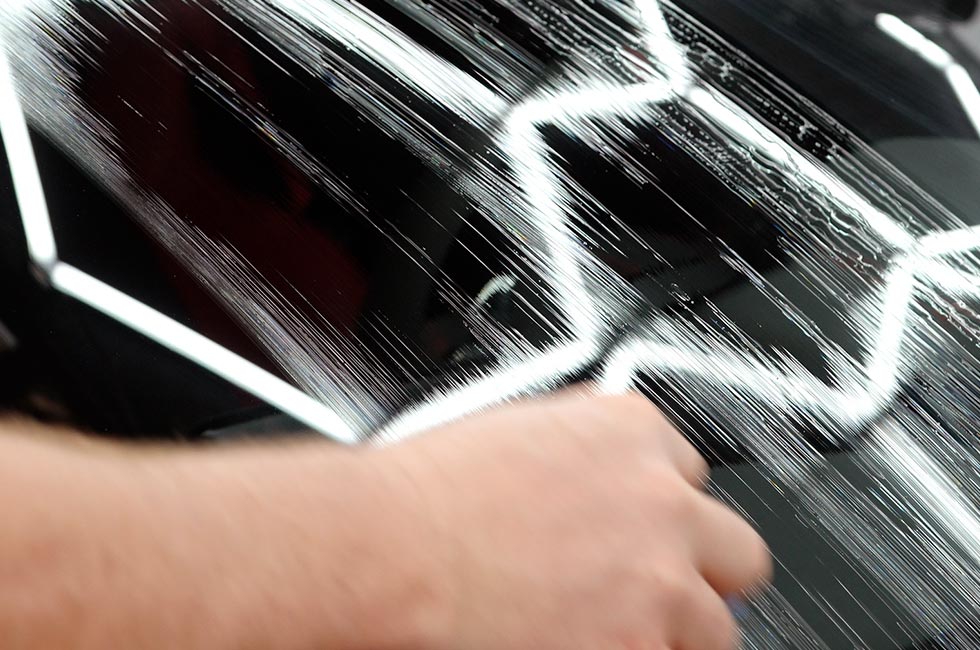
Alpha Glass (Glass Coating)
- Shake the bottle thoroughly.
- Apply a small layer of product to the coating pad — too much can cause streaks.
- Apply to the glass with the applicator, using about 50% overlap for complete coverage.
- After 30 minutes, use a moist microfiber towel to remove most of the coating.
- Buff with a clean, dry microfiber towel until clear and streak-free.
- Repeat for other glass surfaces.
Full cure takes about 12 hours. If you notice wiper juddering afterward, applying Alpha Guard Graphene on top after the 12-hour cure can help.
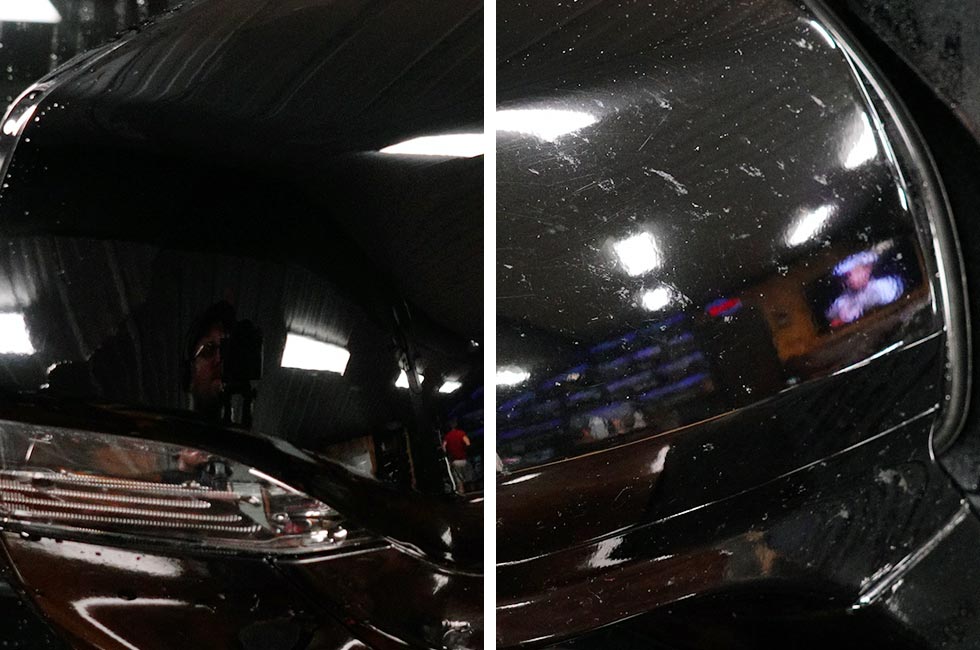
Alpha Fallout Direct (Iron & Limescale Remover)
This is a decon step, not a lasting coating — used before coating, not instead of it:
- Wash the car first to remove loose dirt and grime.
- Park in shade with a cool surface, shake the bottle, and apply directly to one panel at a time.
- Let it sit up to 10 minutes to react with embedded iron and limescale.
- If needed, gently agitate with a soft detailing brush or microfiber towel.
- Rinse thoroughly with clean water.
- Inspect under good lighting and repeat on heavily contaminated areas if needed.
- Finish with a pH-neutral wash and dry completely before applying any coating.
Wear gloves and work in a well-ventilated area.

Alpha Prep (Panel Prep Cleaner)
Spray Alpha Prep onto the surface and wipe it off with a clean microfiber towel. Use it as a final wipe-down immediately before applying a coating, to make sure the surface is free of oils and residue.
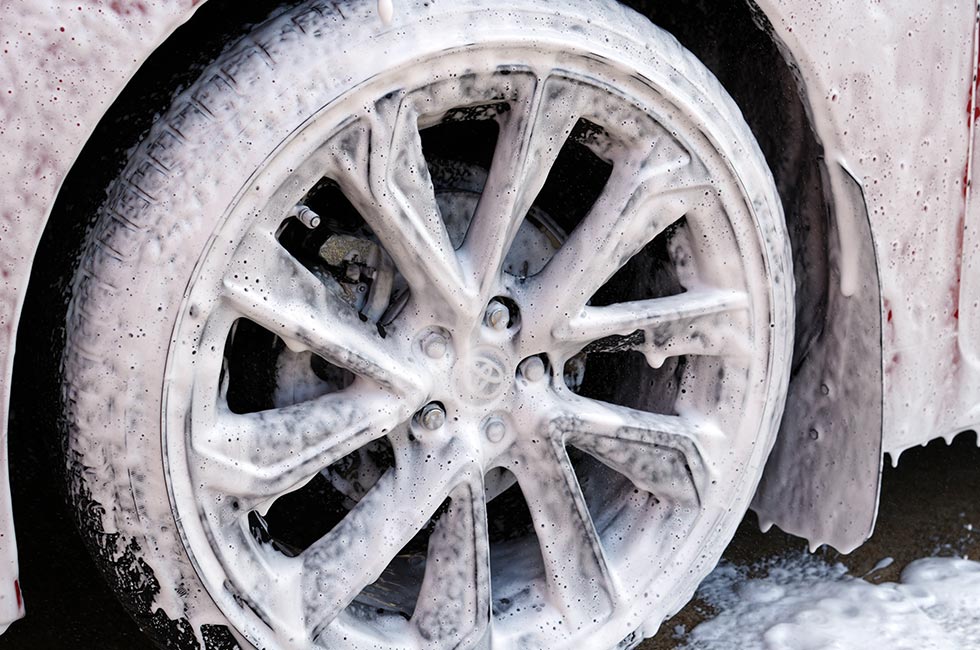
Alpha Foam (Snow Foam Shampoo)
Spray Alpha Foam onto the surface and let it sit for 2 to 4 minutes to allow the foam to break down contaminants, then rinse thoroughly with water. Avoid letting the foam dry on the surface — this is a pre-wash step, not a coating.
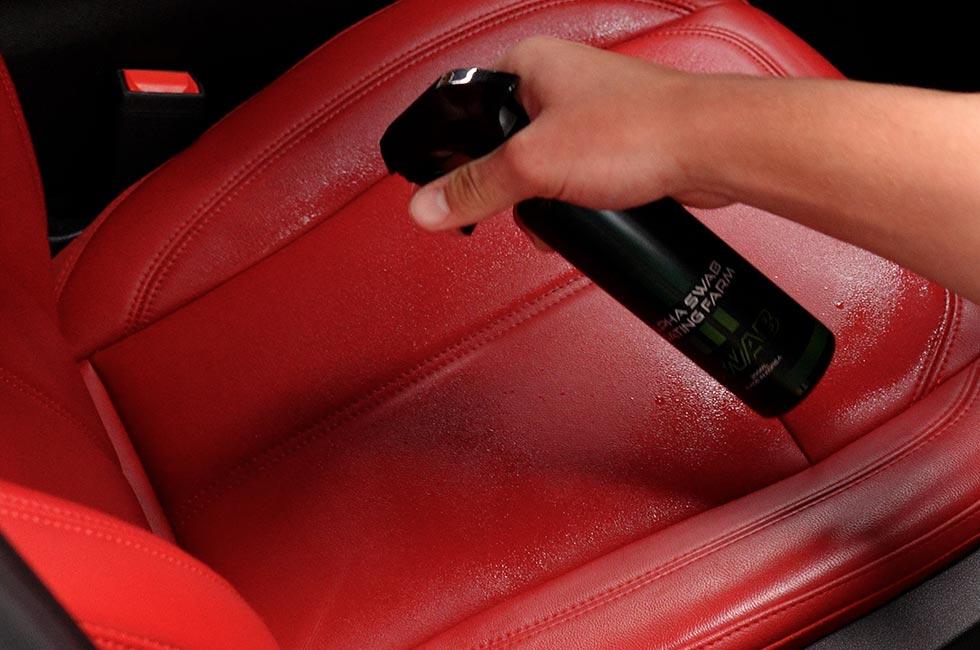
Alpha Swab (Interior Cleaning Spray)
- Shake the bottle thoroughly.
- Spray the product 3–4 times onto the interior surface.
- Buff off with a microfiber towel.
- Repeat throughout the interior.
Avoid spraying directly onto an LCD display — spray onto a microfiber towel first, then wipe the screen with the towel. After use, turn the spray nozzle to the stop position. Alpha Swab is pH-neutral (pH 7), making it safe for regular interior use.
Helpful Links


On this Page
-
How to Apply a Ceramic Coating
- Before You Begin
- Pad-Applied Paint & PPF Ceramic Coatings
- Refresher Sprays (Habit Guard Graphene, Alpha Guard Graphene, Alpha Leather Guard)
- Habit T-Coat (Trim & Tire Restoration)
- Leather Wrap Pro (Leather Ceramic Coating)
- Alpha Febreco (Fabric & Soft Top Ceramic Spray)
- Alpha Glass (Glass Coating)
- Alpha Fallout Direct (Iron & Limescale Remover)
- Alpha Prep (Panel Prep Cleaner)
- Alpha Foam (Snow Foam Shampoo)
- Alpha Swab (Interior Cleaning Spray)
- Helpful Links


