




-

About Flexfilm 2
-

Getting Started 10
-
Core Fundamentals 10
-
-

Orders & Support 83
-
Shipping 10
-
Dealer Rewards 13
-
Ordering & Account 7
-
Pre-Cut Patterns 2
-
General 9
-
Warranty 6
-
Billing & Tax 3
-
Route Package Protection 2
-
Returns & Refunds 2
-
Shop Pay 2
-
Training 1
-
Dealer & Installer Program 4
-
Selling & Quoting 9
-
Marketing & Growth 8
-
Business Operations 5
-
-

Installation Resources 19
-
Architectural 4
-
Automotive 5
-
General 10
-
-

Architectural Window Film 54
-
Safety & Compatibility 17
-
Ownership 2
-
Fundamentals 16
-
Buying Guides 4
-
Performance & Privacy 6
-
Product Guides 9
-
-

Automotive Window Film 40
-
Installation & Ownership 18
-
Product Guides 11
-
Legal & Compliance 3
-
Buying Guides 8
-
-

Tools 10
-
Cutting & Prep 3
-
Application 3
-
Measurement & Layout 2
-
Specialty 2
-
-

Plotters 8
-
Ownership 6
-
Buying Guides 2
-
-

FlexCut Software 25
-
Account & Licensing 5
-
Getting Started 10
-
Troubleshooting 2
-
Using FlexCut 8
-
-

Paint Protection Film (PPF) 10
-
Ownership 3
-
Fundamentals 4
-
Product Guides 3
-
-

Surface Coatings 13
-
Product Guides 7
-
Fundamentals 3
-
Ownership 3
-
How to Install a Pre-Cut Automotive Window Tint Pattern


How to Install a Pre-Cut Automotive Window Tint Pattern
Installing a pre-cut pattern yourself is doable with the right prep, tools, and technique. Here's the full walkthrough, start to finish.
Before You Begin
- Have the right tools ready before you start.
- Install indoors only, away from dust and other contaminants.
- Prep on the exterior, install on the interior — the film goes on the inside of the glass.
- Avoid direct sunlight during installation.
Tools You'll Need
- Squeegee — pushes out water and air bubbles for a smooth, secure bond
- Hard card — presses down edges and corners for a tight finish
- Heat gun — softens the film so it contours to curves and lays flat
- Towels — keeps glass and edges clean and dry
- Blade — trims excess film and preps the glass
- Sprayer — applies slip solution evenly
- Slip solution
Mixing Your Slip Solution
- SlipX: 1 capful per 32 oz spray bottle
- Tint-Tac: 2 capfuls per 32 oz spray bottle
- Dish soap: a light 3-second squeeze per 32 oz bottle — original formula only, never concentrated
- Baby shampoo: not recommended as a slip solution
Installation Steps
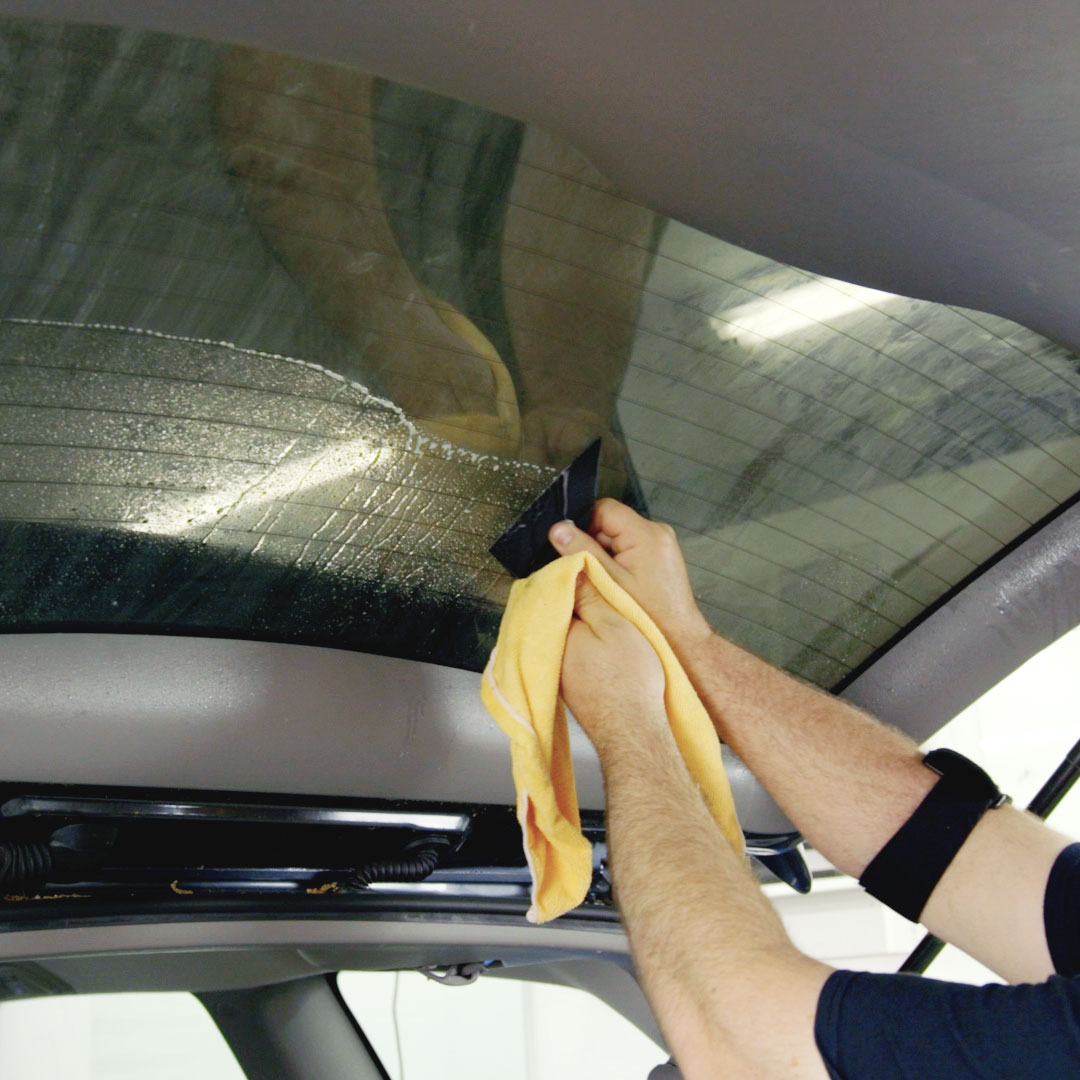
- Clean the window. Thoroughly clean the inside and outside of the glass with glass cleaner or a vinegar-and-water mix and a lint-free cloth.
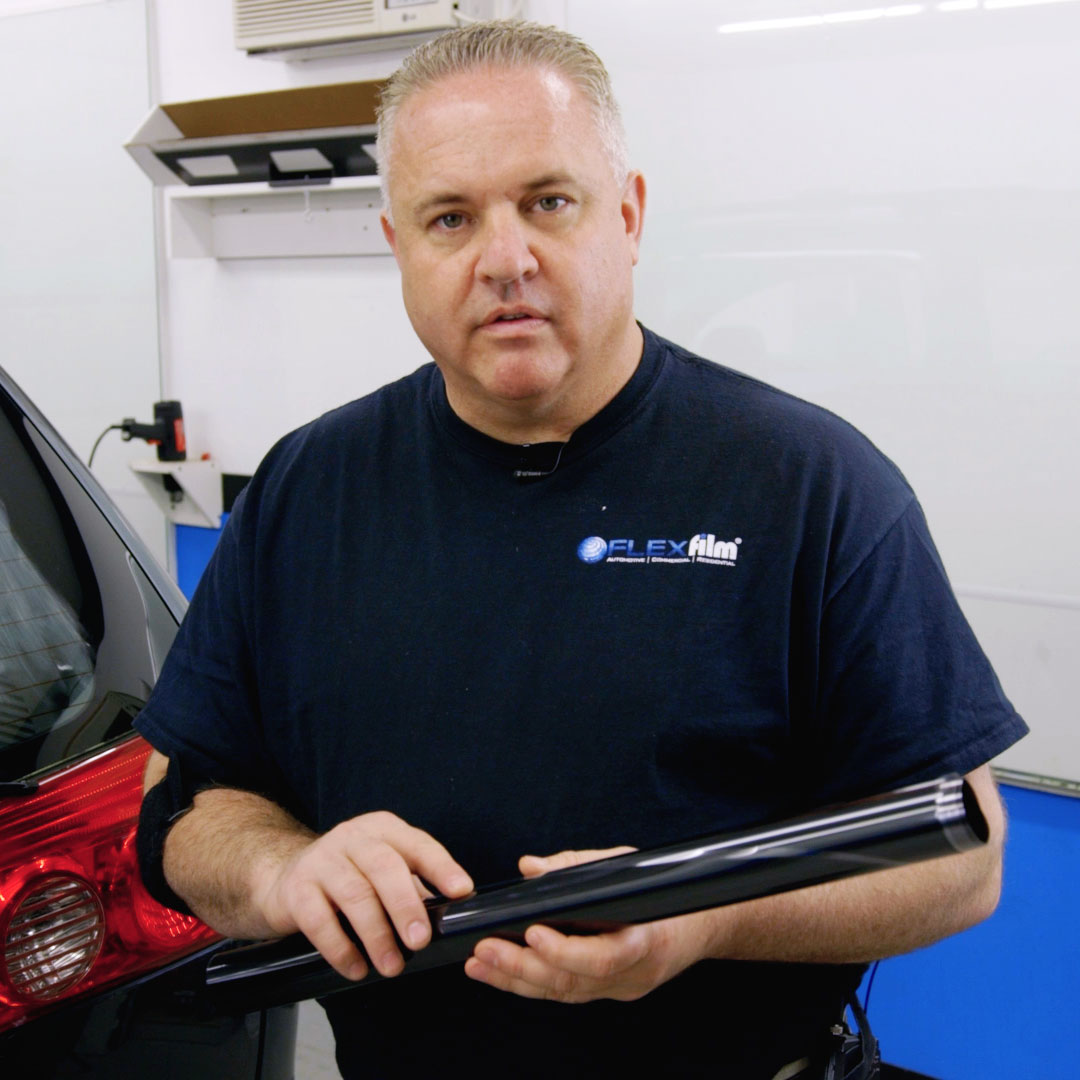
- Prepare the pre-cut pattern. Unroll it and inspect for defects — contact Flexfilm for a replacement if you find any. Keep it flat and uncreased; installing a damaged pattern voids your replacement eligibility.
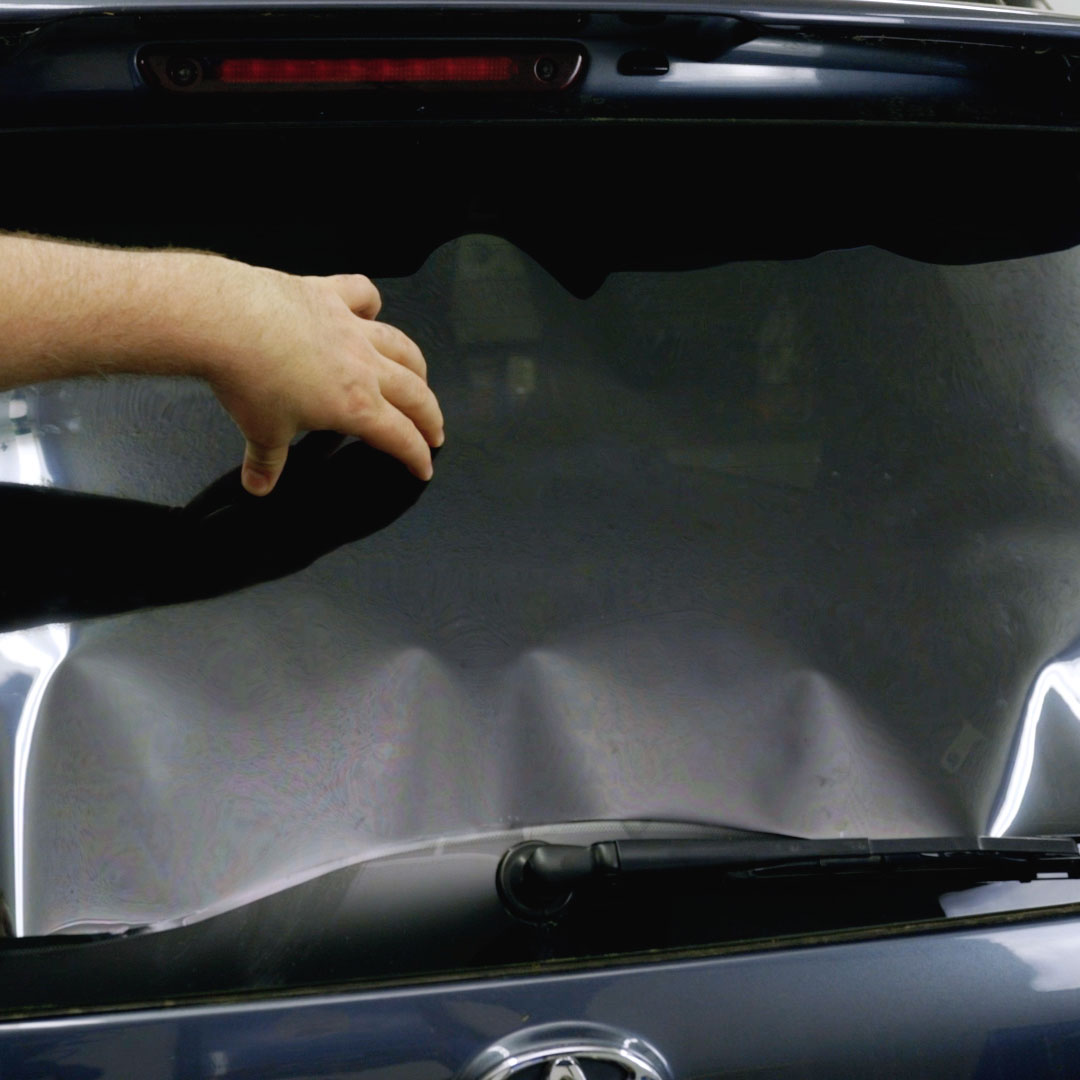
- Lay the pattern on the window. Mist the outside of the glass with slip solution, place the pattern with the release liner facing you, and squeegee out any liquid to smooth and flatten it without creasing.
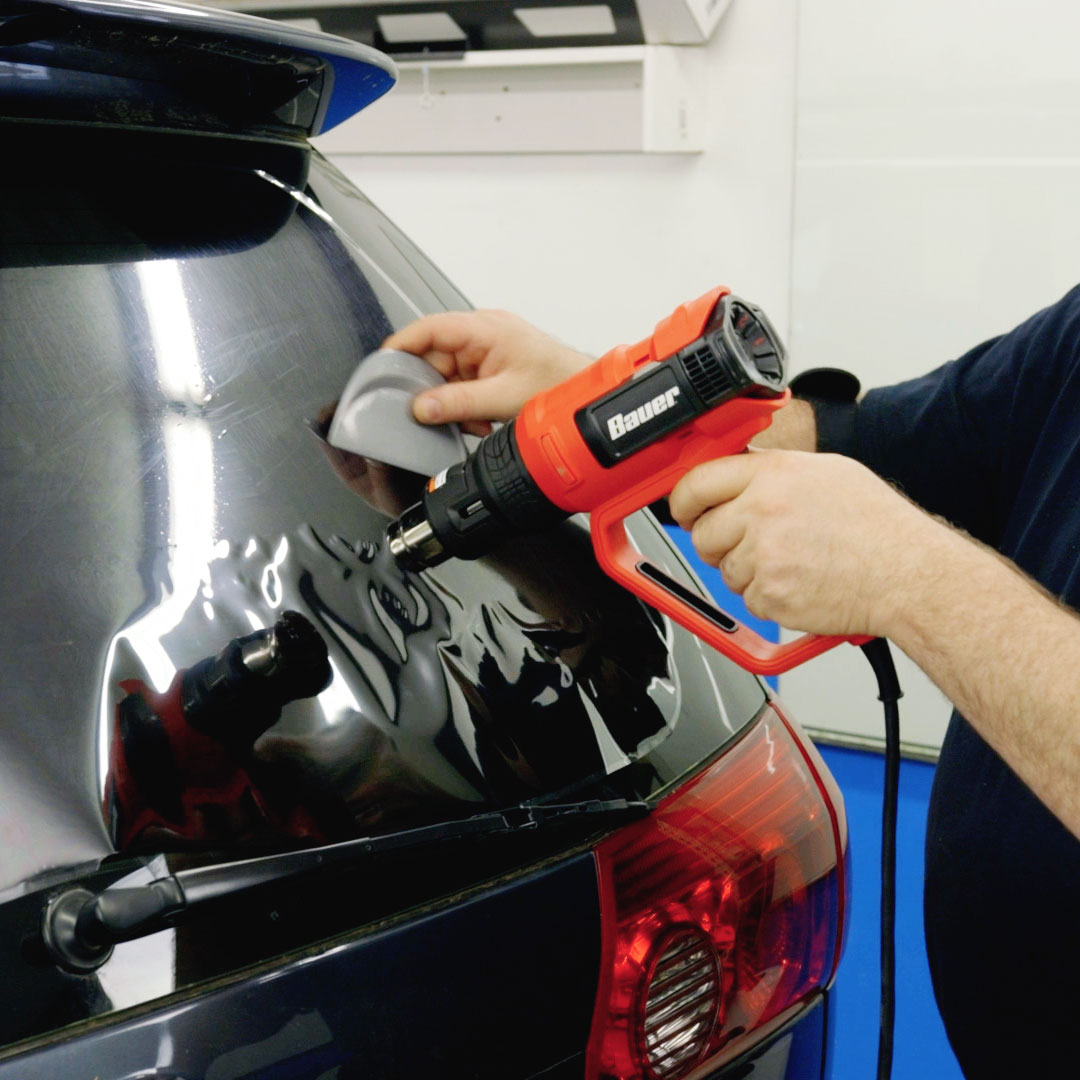
- Heat shrink. Using a heat gun set to 950°F from about 4 inches away, begin pre-shrinking the pattern so it molds to the window's curve and resists bubbling. Don't hold the heat gun in one spot for more than a few seconds.
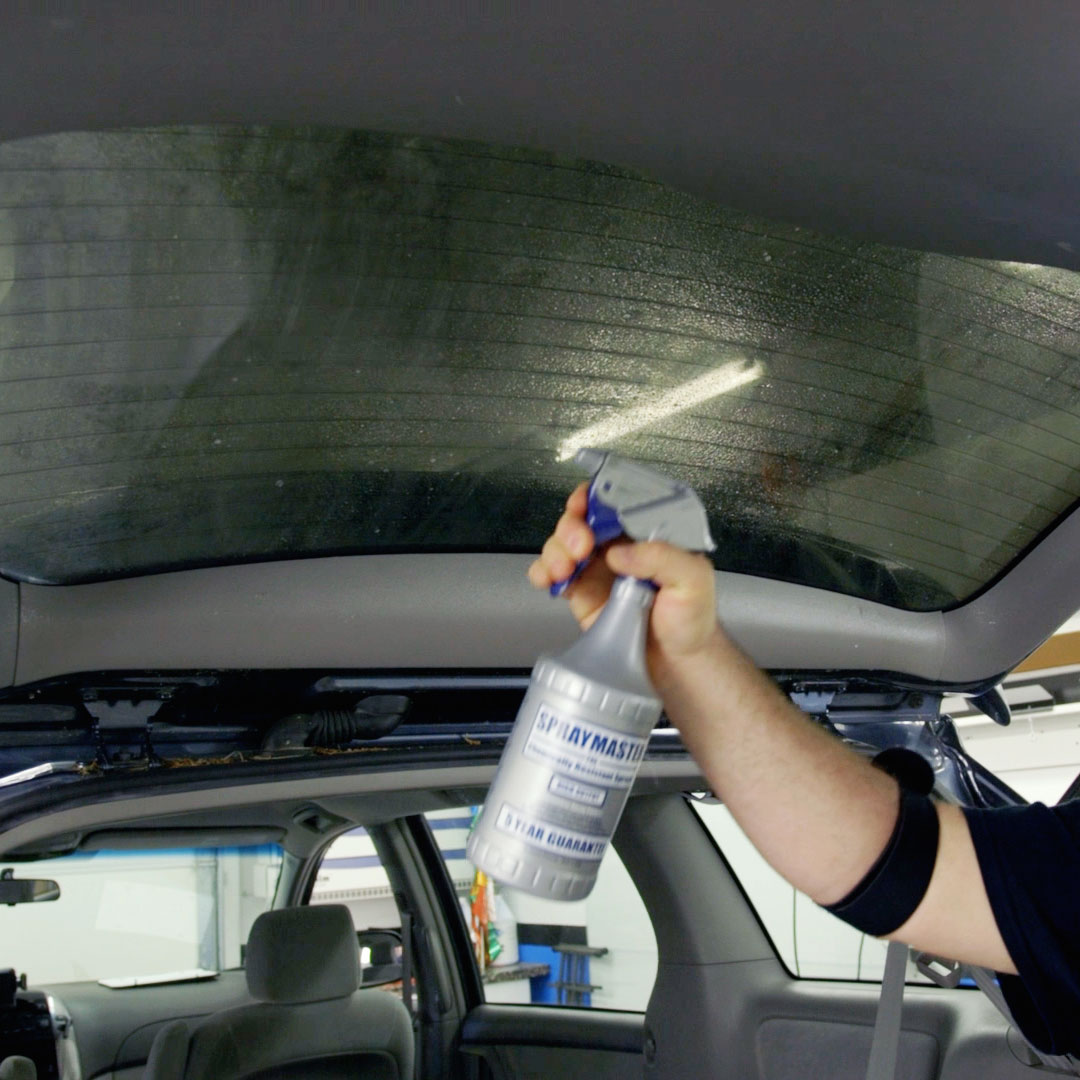
- Spray the window's interior with slip solution to create a slippery surface that prevents premature sticking.
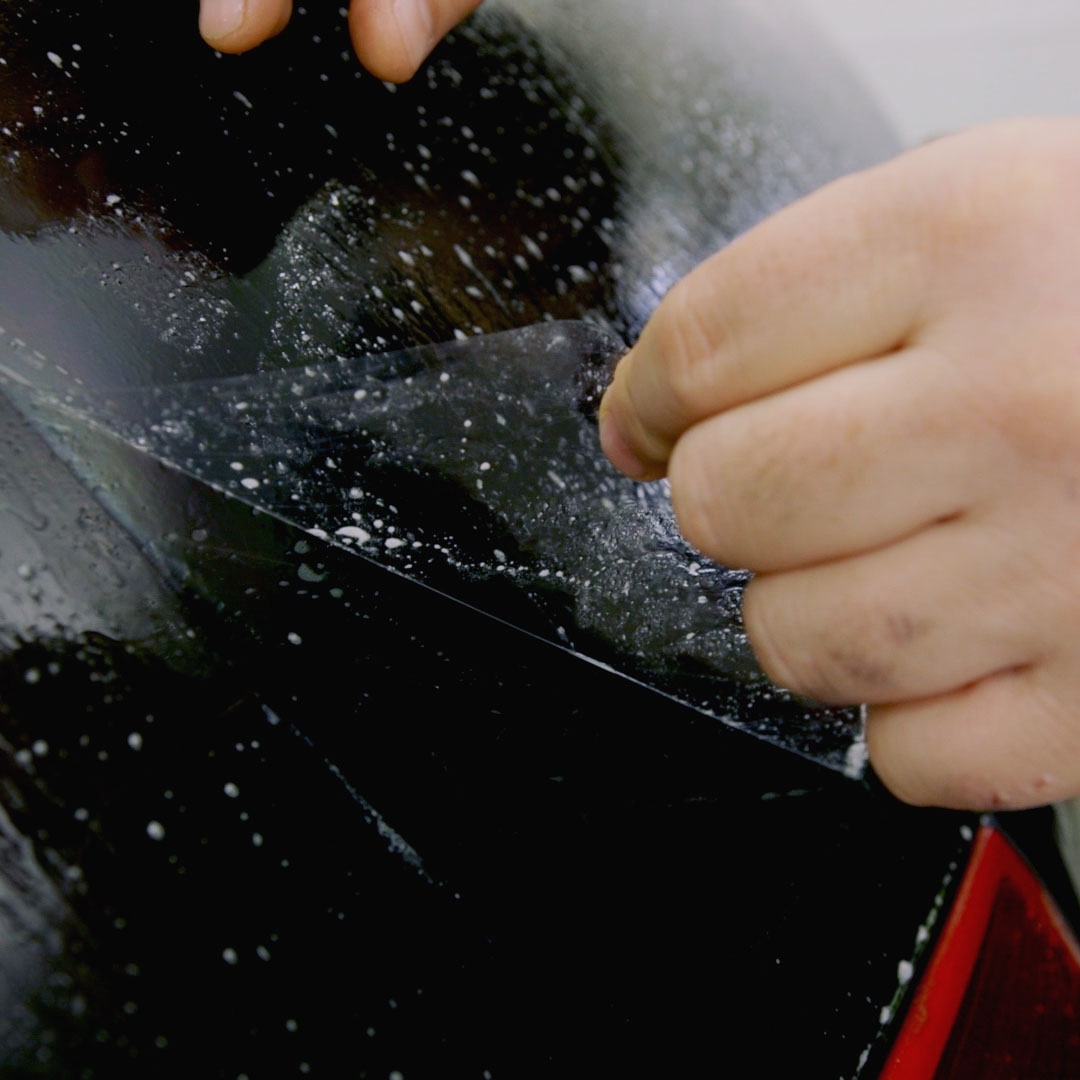
- Peel off the protective liner, starting from one corner. If it's hard to get started, a small piece of tape on each side at a corner, pulled in opposite directions, helps separate it.
- Spray the pre-cut pattern generously with slip solution on the adhesive side.
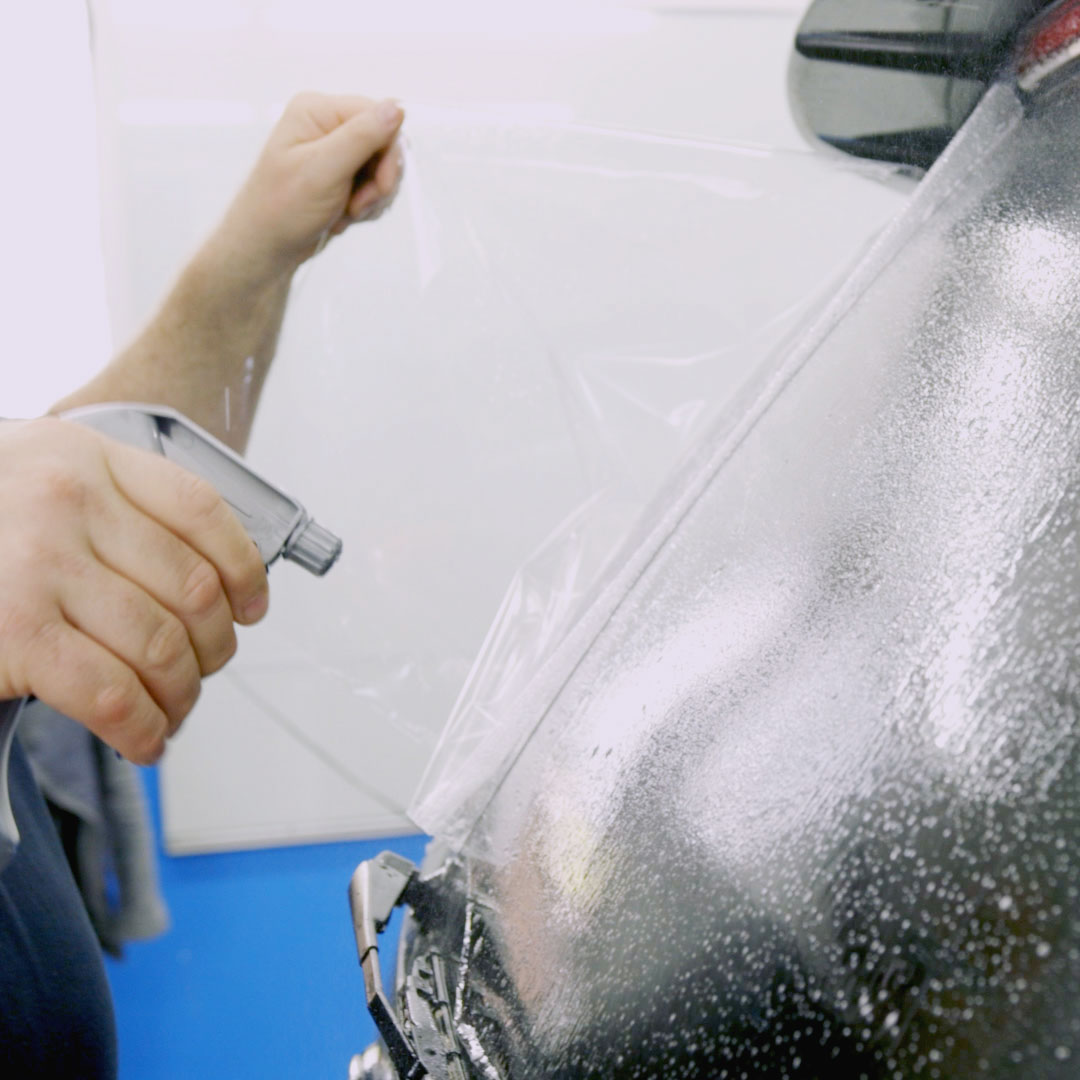
- Align and apply the pattern to the wet interior glass, covering the full window. The solution lets you slide and adjust as needed.

- Spray the tint generously once aligned, to lubricate the surface for squeegeeing.
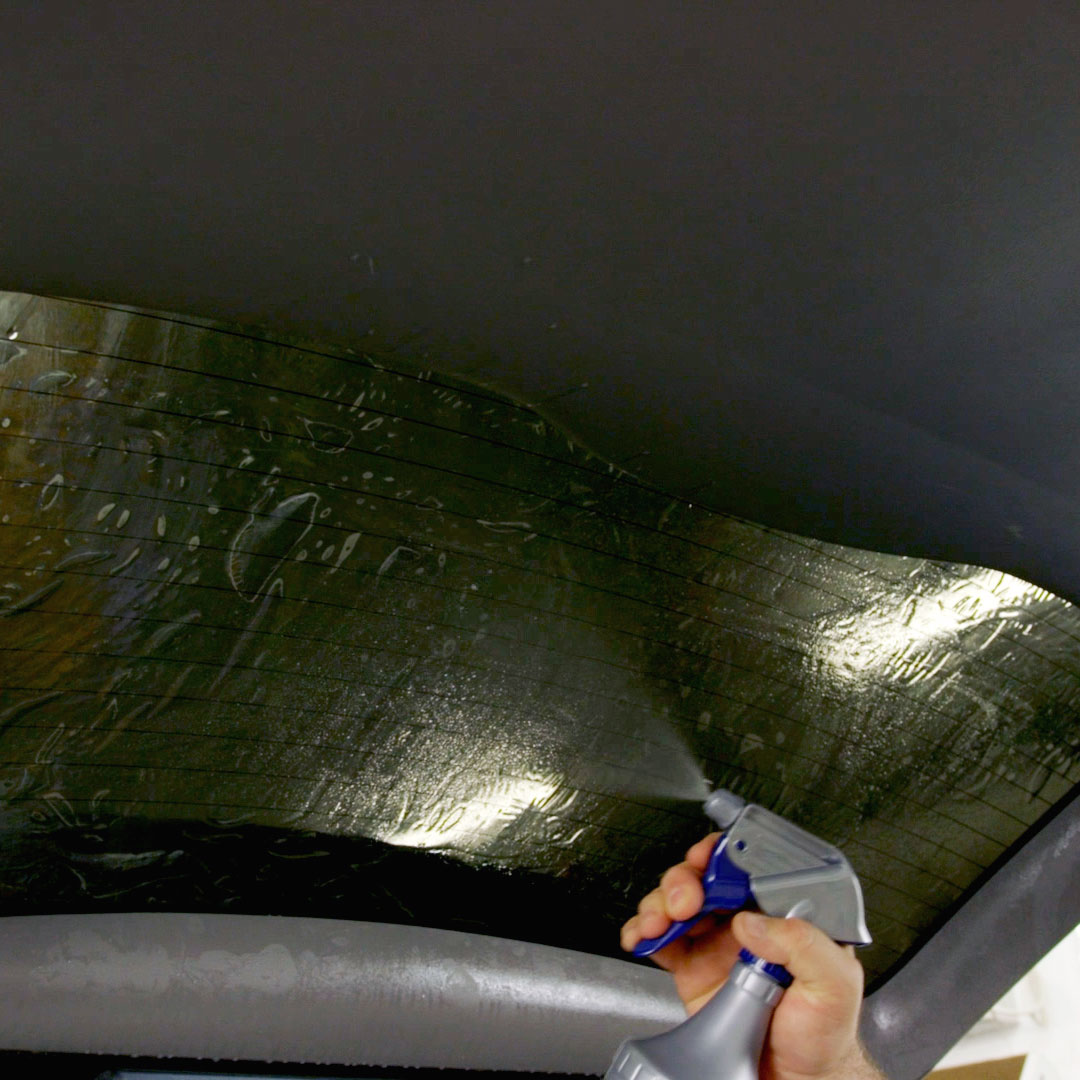
- Smooth out the film. Starting from the center and working toward the edges, use firm but gentle squeegee strokes to remove air bubbles and excess water.
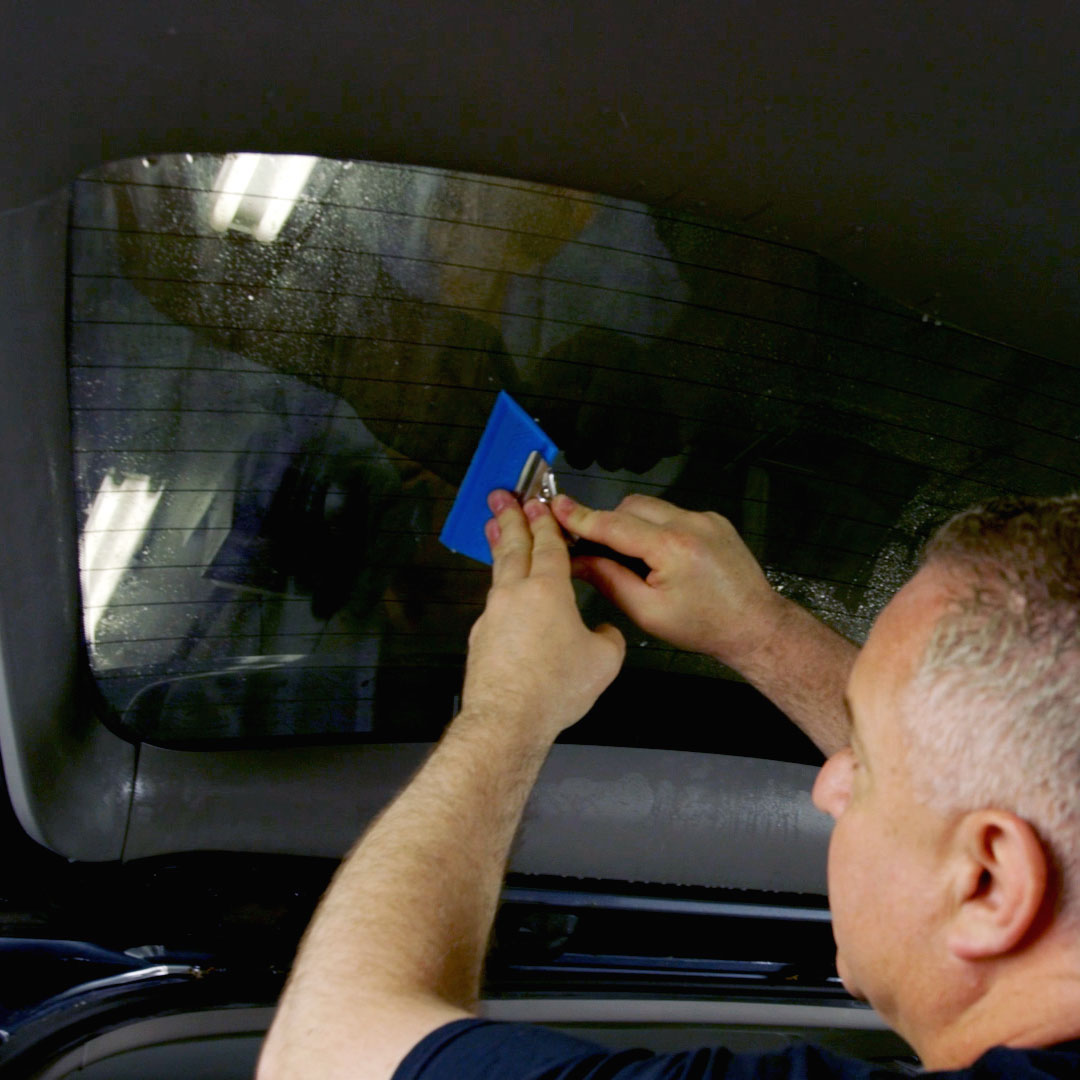
- Use the heat gun again (950°F, 4 inches away) on the installed film to help the adhesive cure to the glass.
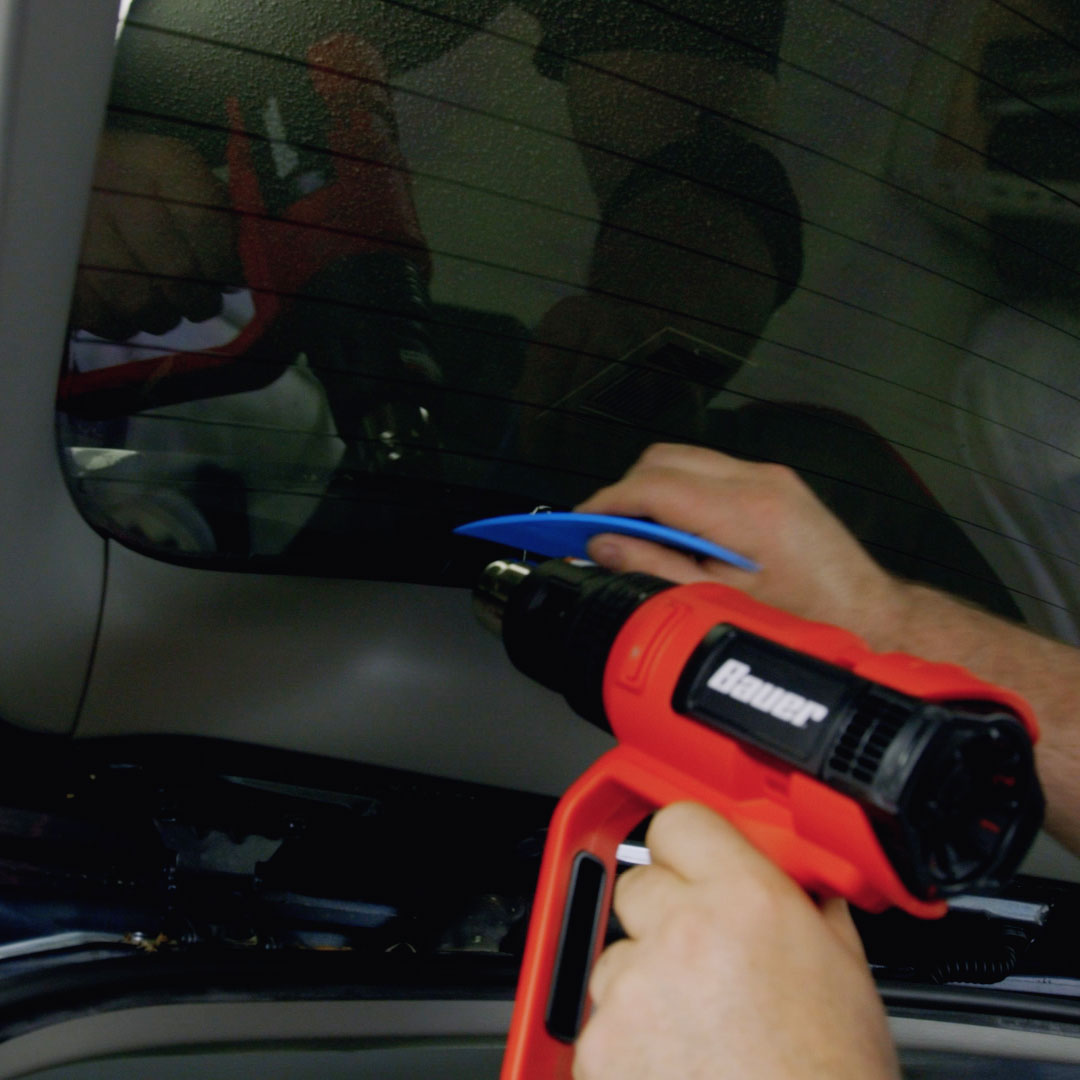
- Clean up. Inspect for remaining bubbles or imperfections and lift/smooth as needed with your squeegee or card.
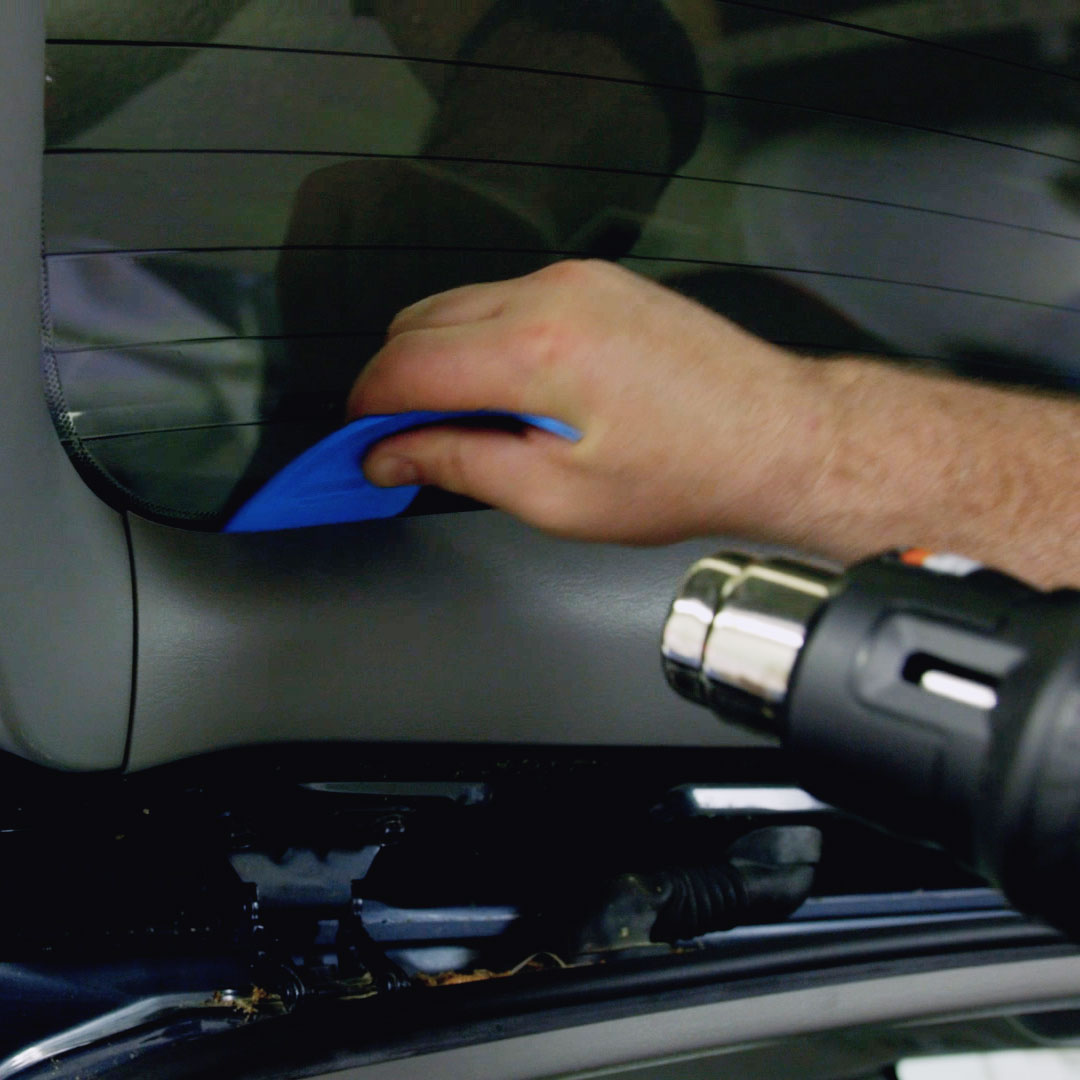
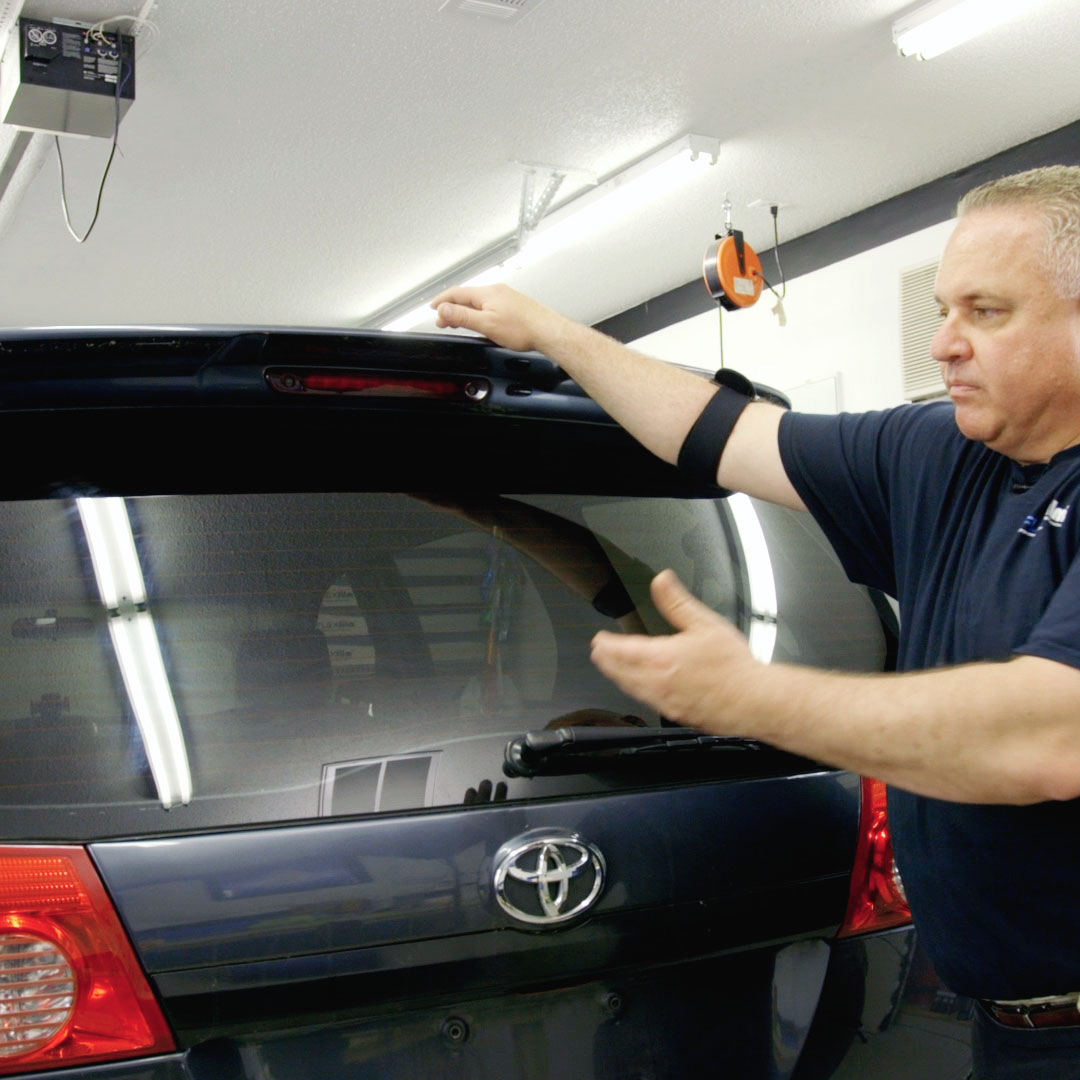
- Done. Repeat for additional windows. Curing can take several days depending on weather; parking in direct sunlight speeds up the process.
Pro Tips
Managing Water on Rear Windows: Dash Towel vs. Soak Rope
When installing a rear window, water tends to run down behind the dash where you can't easily reach it. Both a dash towel and a soak rope can catch that runoff, but they work differently. A soak rope simply absorbs water into itself, and pulling it out at the end of the job often squeezes some of that absorbed water right back into the gap it was meant to protect. A microfiber dash towel, tucked into the gap, instead wicks the water up and away as it soaks in — sometimes pulling it back over a foot from the problem area — and comes out cleanly at the end without releasing water back where it isn't wanted. Either tool beats using nothing, but a dash towel generally manages the water better.
The Bump and Shave Technique
Pre-cut patterns are usually a great starting point, but a plotter-cut edge occasionally doesn't come out exactly right in one spot — leaving an unwanted gap in a corner, for example. Rather than starting over, you can often "bump" the pattern slightly out of its default position to close up the problem area, which will create a small overlap somewhere else on the piece. Anchor the film in place first (a firm squeegee pass with a tool like a Dehydra helps pull out water and keep the film from shifting), then trim away just the small overlapping section you created and blend the edge in. This lets you fix a localized fitment issue in well under a minute instead of hand-cutting a new piece.
Curing Instructions
- Do not roll down filmed windows for 5 days.
- Do not wash the film for 7 days.
- Avoid abrasive cleaners or coarse cloths.
- Use a mild soap and a clean, soft cloth or synthetic sponge.
Common Questions
Do I have to heat-shrink first? Side windows usually don't need it, but most back glass (and some deeply curved quarter windows) do. Test-fit the pattern on the outside of the glass first to check.
How do I get rid of bubbles or "fingers"? Squeegee from the center toward the edges in firm, overlapping passes. If a finger comes back, re-wet it, apply gentle heat, then chase it out with your card.
Will the film interfere with defroster lines or antennas? No — Flexfilm patterns are designed to sit flush against factory defrosters and embedded antennas.
What if a piece gets damaged during install? Contact us with the specific window (e.g., driver front, rear quarter) and we can cut a replacement panel rather than requiring a full kit reorder.




