




-

About Flexfilm 2
-

Getting Started 10
-
Core Fundamentals 10
-
-

Orders & Support 83
-
Shipping 10
-
Dealer Rewards 13
-
Ordering & Account 7
-
Pre-Cut Patterns 2
-
General 9
-
Warranty 6
-
Billing & Tax 3
-
Route Package Protection 2
-
Returns & Refunds 2
-
Shop Pay 2
-
Training 1
-
Dealer & Installer Program 4
-
Selling & Quoting 9
-
Marketing & Growth 8
-
Business Operations 5
-
-

Installation Resources 19
-
Architectural 4
-
Automotive 5
-
General 10
-
-

Architectural Window Film 54
-
Safety & Compatibility 17
-
Ownership 2
-
Fundamentals 16
-
Buying Guides 4
-
Performance & Privacy 6
-
Product Guides 9
-
-

Automotive Window Film 40
-
Installation & Ownership 18
-
Product Guides 11
-
Legal & Compliance 3
-
Buying Guides 8
-
-

Tools 10
-
Cutting & Prep 3
-
Application 3
-
Measurement & Layout 2
-
Specialty 2
-
-

Plotters 8
-
Ownership 6
-
Buying Guides 2
-
-

FlexCut Software 25
-
Account & Licensing 5
-
Getting Started 10
-
Troubleshooting 2
-
Using FlexCut 8
-
-

Paint Protection Film (PPF) 10
-
Ownership 3
-
Fundamentals 4
-
Product Guides 3
-
-

Surface Coatings 13
-
Product Guides 7
-
Fundamentals 3
-
Ownership 3
-
Heat Shrinking Basics


Heat Shrinking Basics
Heat shrinking is one of the most important skills in automotive window film installation. Because most automotive glass contains curves, window film must be shaped to match the glass before installation.
Learning proper heat shrinking techniques helps reduce fingers, improve fitment, and create cleaner installations.
What Is Heat Shrinking?
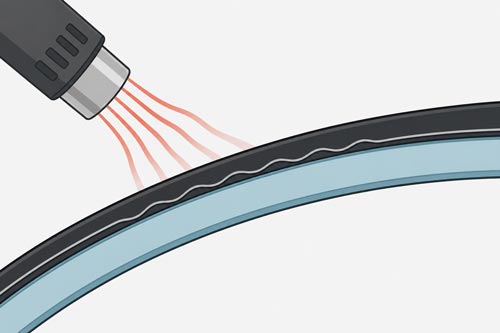
Heat shrinking is the process of using controlled heat to reshape window film so it conforms to curved glass.
By applying heat and pressure in the correct areas, installers can remove excess material and create a shape that closely matches the window before installation.
Proper shrinking allows the film to lay flat against curved glass surfaces without excessive tension.
Why Is Heat Shrinking Necessary?
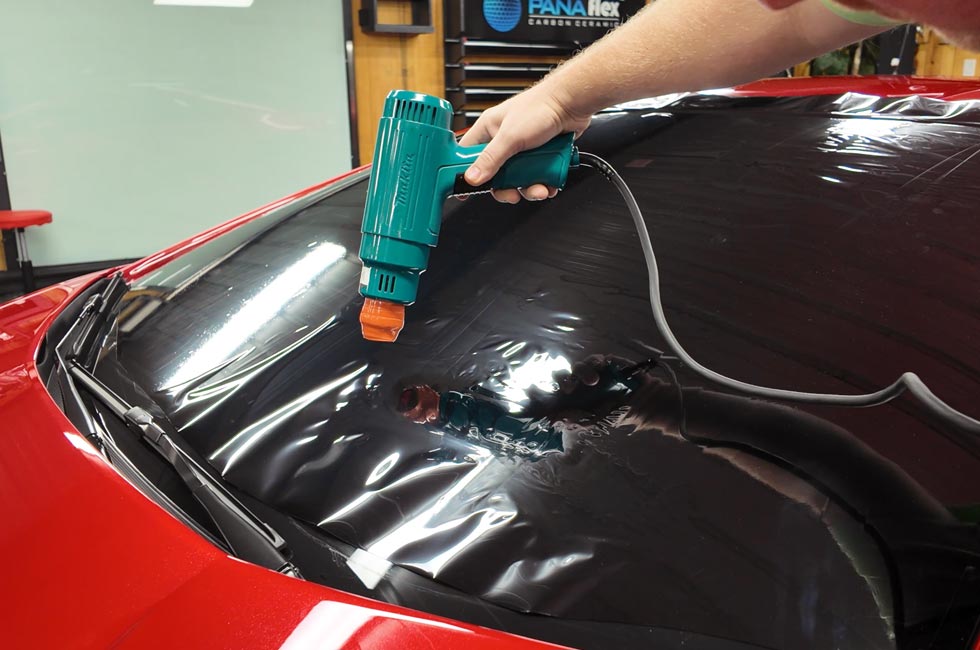
Most automotive windows are not perfectly flat.
Rear windows, quarter windows, and many side windows contain compound curves that require the film to be reshaped before installation.
Without shrinking, the film may develop fingers, creases, or installation defects.
What Are Fingers?
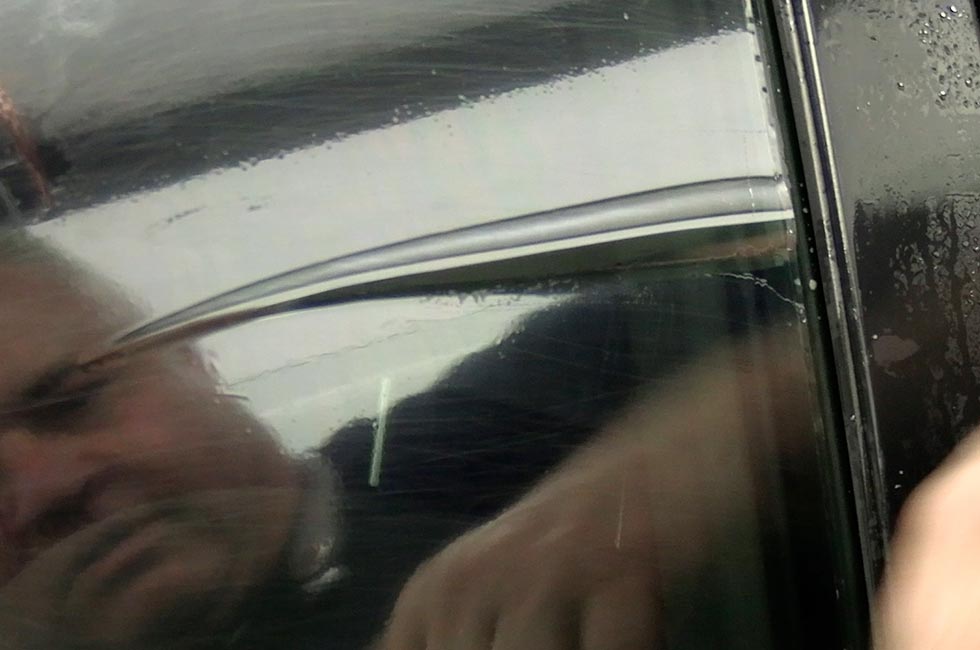
Fingers are raised sections of film that appear when excess material cannot lay flat against curved glass.
They typically appear along the edges of the film and indicate areas where shrinking is needed.
The goal of heat shrinking is to systematically eliminate these fingers while maintaining film integrity.
How Does Heat Shrinking Work?
When heat is applied to window film, the polyester layers become temporarily more flexible.
This allows the installer to shrink and reshape excess material while controlling the film's movement.
Proper heat shrinking requires a balance of heat, pressure, and technique.
Tools Used for Heat Shrinking
Most installers use the following tools when shrinking automotive window film:
- Heat gun
- Hard card or shrink card
- Heat-resistant glove
- Slip solution
- Clean installation surface
Having the proper tools helps improve consistency and control during the shrinking process.
Wet Shrinking vs Dry Shrinking
Different installers may use different shrinking methods.
The two most common approaches are wet shrinking and dry shrinking.
Both methods are designed to accomplish the same goal: shaping the film to match the glass.
Many installers develop a preference based on their experience and installation style.
Common Areas That Require Shrinking
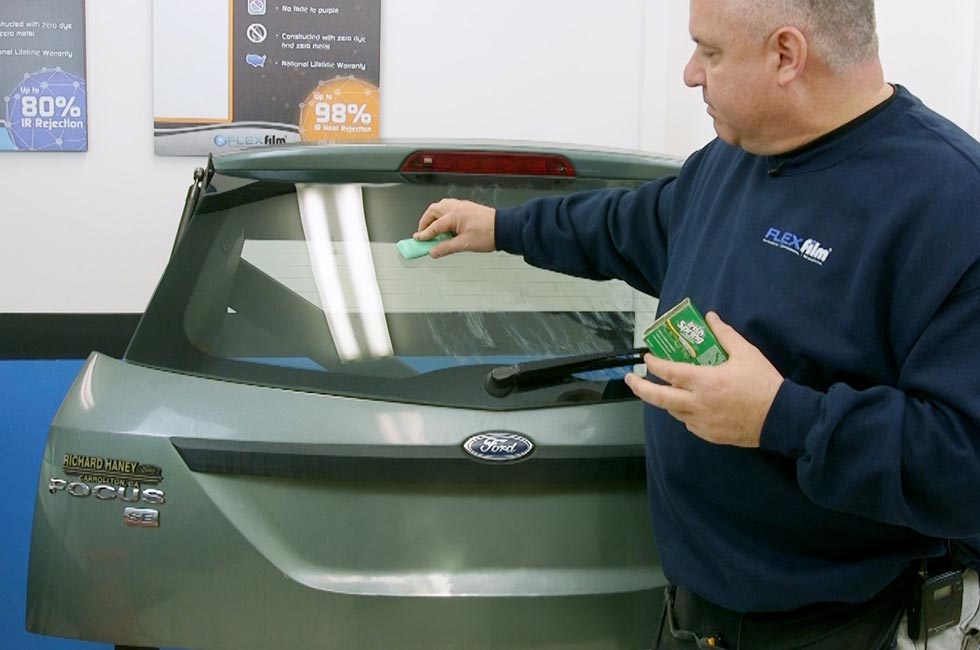
Heat shrinking is most commonly required on:
- Rear windows
- Quarter windows
- Highly curved side windows
Flatter windows may require little or no shrinking.
How Much Heat Should Be Used?
Heat should be applied gradually and evenly.
Excessive heat can damage film, distort material, or create installation defects.
Most successful shrinking techniques rely on controlled, consistent heat rather than extreme temperatures.
Preventing Hard Coat Scratch Damage
Dry shrinking with a torch or heat gun can distort a film's hard coat, leaving it with a grainy, sandpaper-like texture. This is most noticeable on front windshields with clearer films like ceramic, since windshields get looked through constantly and any texture stands out — and it tends to happen on medium to difficult windows, especially toward the corners and edges.
A two-phase technique helps avoid this:
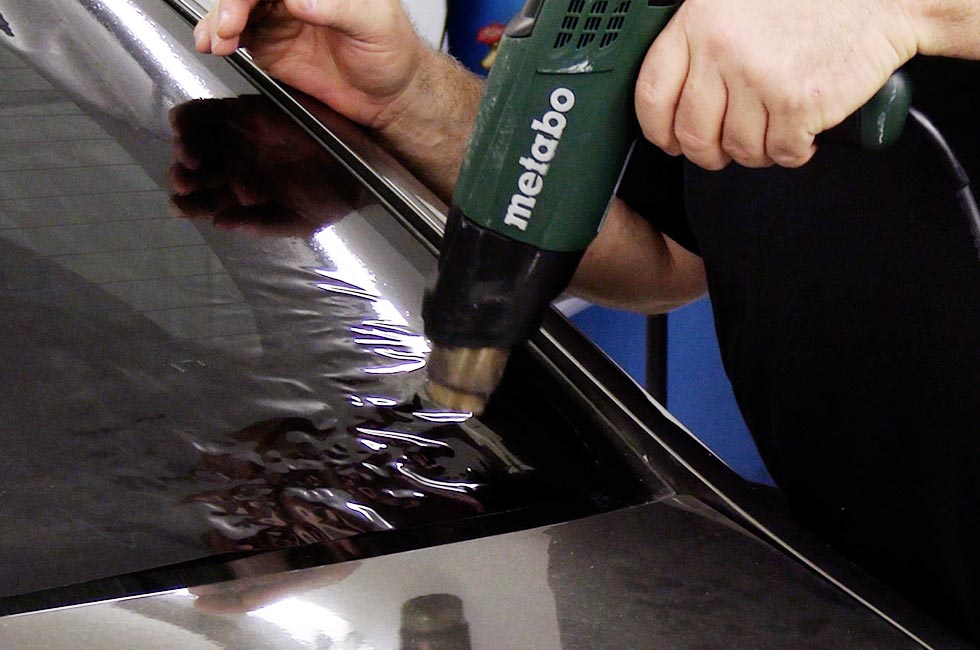
- Knockdown phase: do an initial, gentle shrink — roughly 80–85% of the way there — moving the heat gun quickly back and forth so no single area gets too much direct heat. The goal here isn't a final, smooth shrink; it's just getting the film generally wrinkled and conforming to the glass.
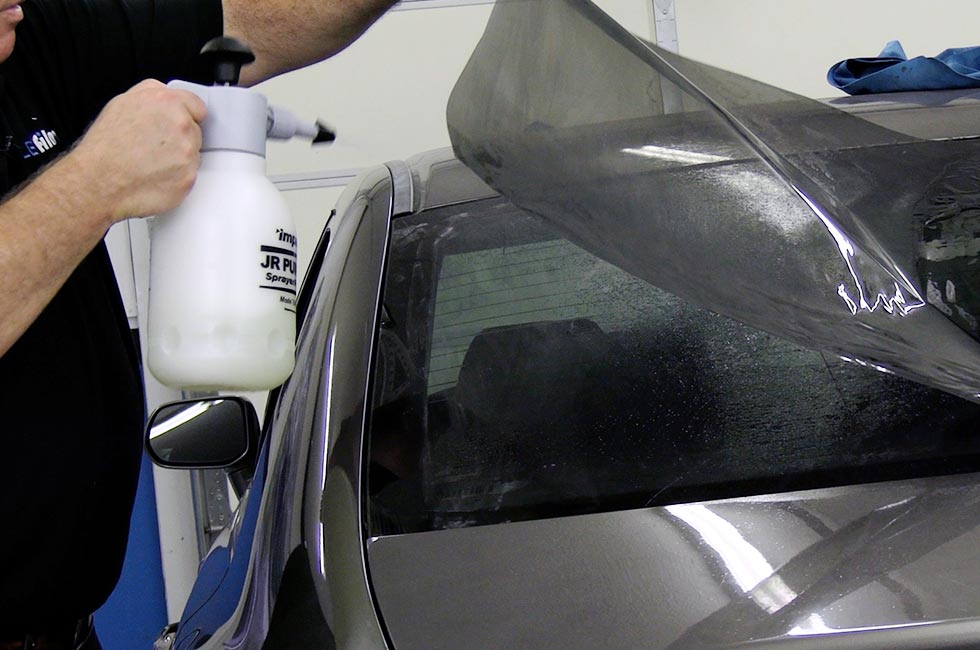
- Wet check: lift the film and apply slip solution underneath before finishing the remaining, more difficult shrinking. The water acts like a built-in coolant, letting you get the film to lay flat without overheating the hard coat directly. Finish the edges and corners with the water still underneath.
This combination lets you complete the shrink without the dry, direct heat that causes hard coat distortion — particularly valuable on ceramic film and on more difficult, heavily curved windows.
Common Heat Shrinking Mistakes
- Using too much heat.
- Applying heat too quickly.
- Failing to control fingers properly.
- Using excessive pressure.
- Over-shrinking the film.
- Creating creases during the shrinking process.
Many shrinking issues can be avoided by working slowly and maintaining proper technique.
Can Heat Shrinking Damage Window Film?
Yes.
Improper heat shrinking techniques can potentially damage the film.
Excessive heat or poor technique may result in:
- Film distortion
- Creases
- Burn marks
- Optical defects
Proper training and practice help minimize these risks.
Does Film Type Affect Shrinking?
Yes.
Different film constructions can respond differently during the shrinking process.
Factors such as film thickness, construction, and adhesive systems may influence how a film behaves when heated.
Experienced installers often adjust their technique based on the film being used.
How Long Does It Take to Learn?
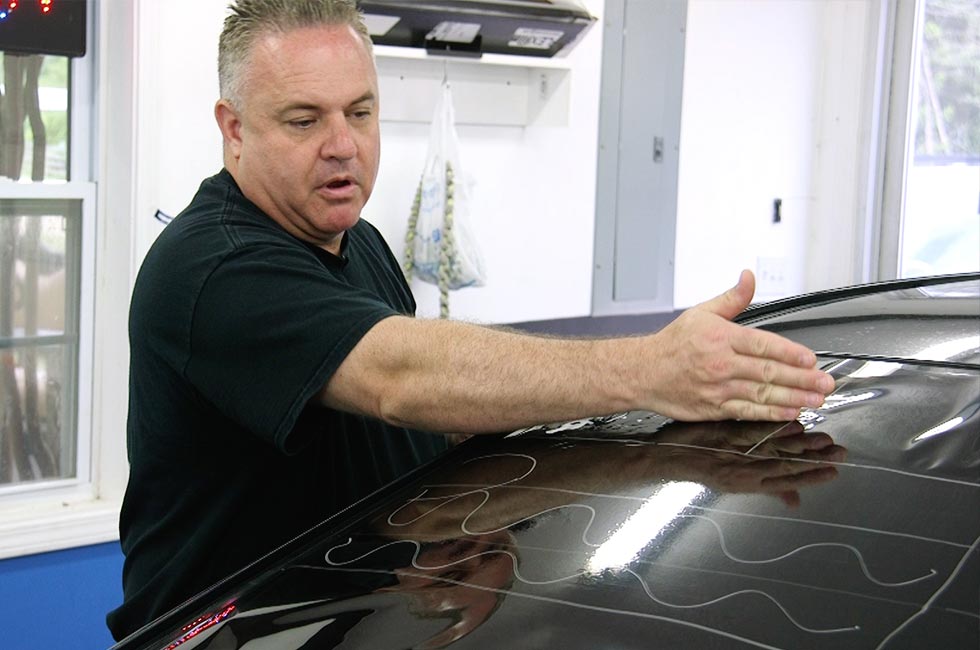
Heat shrinking is a skill that improves with practice.
While basic shrinking techniques can be learned relatively quickly, mastering complex rear windows and compound curves takes time and experience.
Consistent practice is one of the best ways to improve shrinking results.
Tips for New Installers
- Start with flatter windows before attempting difficult rear windows.
- Use controlled, consistent heat.
- Work one finger at a time.
- Practice on scrap film when possible.
- Focus on technique rather than speed.
Building good habits early often leads to faster improvement.
Key Takeaways
- Heat shrinking reshapes window film to match curved glass.
- Most automotive rear windows require some degree of shrinking.
- Heat shrinking helps eliminate fingers and improve fitment.
- Controlled heat and proper technique are critical.
- Different films may respond differently during shrinking.
- Practice and experience are essential for mastering the skill.
Helpful Links


On this Page
-
Heat Shrinking Basics
- What Is Heat Shrinking?
- Why Is Heat Shrinking Necessary?
- What Are Fingers?
- How Does Heat Shrinking Work?
- Tools Used for Heat Shrinking
- Wet Shrinking vs Dry Shrinking
- Common Areas That Require Shrinking
- How Much Heat Should Be Used?
- Preventing Hard Coat Scratch Damage
- Common Heat Shrinking Mistakes
- Can Heat Shrinking Damage Window Film?
- Does Film Type Affect Shrinking?
- How Long Does It Take to Learn?
- Tips for New Installers
- Key Takeaways
- Helpful Links


