




-

About Flexfilm 2
-

Getting Started 10
-
Core Fundamentals 10
-
-

Orders & Support 83
-
Shipping 10
-
Dealer Rewards 13
-
Ordering & Account 7
-
Pre-Cut Patterns 2
-
General 9
-
Warranty 6
-
Billing & Tax 3
-
Route Package Protection 2
-
Returns & Refunds 2
-
Shop Pay 2
-
Training 1
-
Dealer & Installer Program 4
-
Selling & Quoting 9
-
Marketing & Growth 8
-
Business Operations 5
-
-

Installation Resources 19
-
Architectural 4
-
Automotive 5
-
General 10
-
-

Architectural Window Film 55
-
Safety & Compatibility 18
-
Ownership 2
-
Fundamentals 16
-
Buying Guides 4
-
Performance & Privacy 6
-
Product Guides 9
-
-

Automotive Window Film 40
-
Installation & Ownership 18
-
Product Guides 11
-
Legal & Compliance 3
-
Buying Guides 8
-
-

Tools 10
-
Cutting & Prep 3
-
Application 3
-
Measurement & Layout 2
-
Specialty 2
-
-

Plotters 8
-
Ownership 6
-
Buying Guides 2
-
-

FlexCut Software 25
-
Account & Licensing 5
-
Getting Started 10
-
Troubleshooting 2
-
Using FlexCut 8
-
-

Paint Protection Film (PPF) 10
-
Ownership 3
-
Fundamentals 4
-
Product Guides 3
-
-

Surface Coatings 13
-
Product Guides 7
-
Fundamentals 3
-
Ownership 3
-
Top Loading vs. Bottom Loading Window Tint


Top Loading vs. Bottom Loading Window Tint
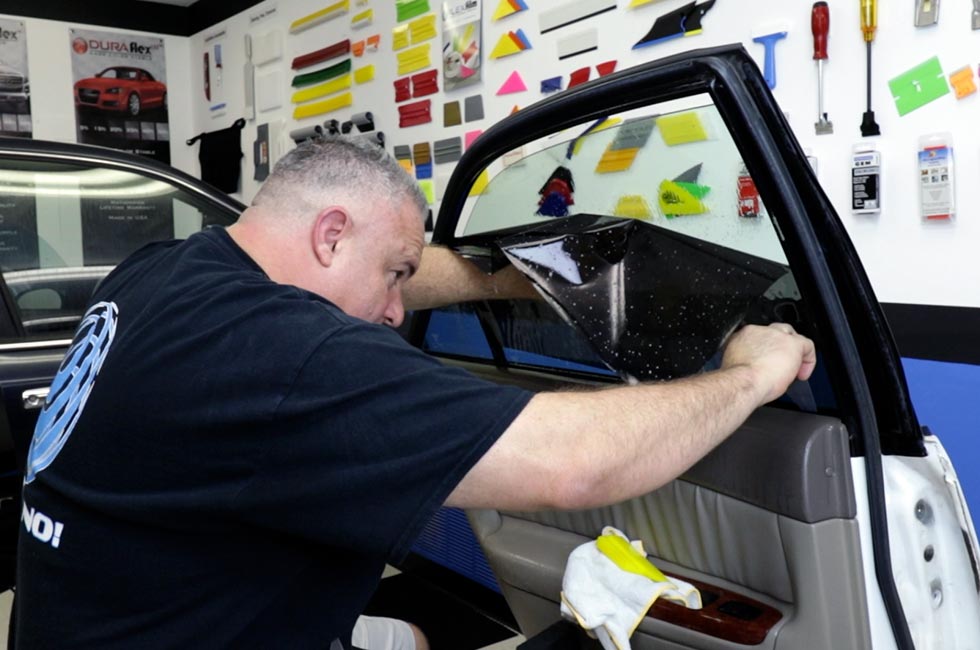
Most installers default to top loading, where the release liner comes off gradually as the film is positioned and squeegeed from the top down. Some installers prefer bottom loading instead — removing the entire release liner up front and working the film into position from below the window seal, typically without removing the door panel.
The Tradeoffs
Bottom loading has real advantages: it avoids the side creases that a two-stage top-load install can introduce, and it lets you fine-tune the film's position more freely before it's committed.
The trade-offs are that it uses noticeably more slip solution, is messier, and pushing water down into the felt behind the door seal (rather than out and away from it) can trap contamination and cause fingers later.
If you try bottom loading, work the squeegee to push water out from behind the seal rather than up into it, and expect to use a richer slip solution mix than you would for a standard top-load.




