




-

About Flexfilm 2
-

Getting Started 10
-
Core Fundamentals 10
-
-

Orders & Support 83
-
Shipping 10
-
Dealer Rewards 13
-
Ordering & Account 7
-
Pre-Cut Patterns 2
-
General 9
-
Warranty 6
-
Billing & Tax 3
-
Route Package Protection 2
-
Returns & Refunds 2
-
Shop Pay 2
-
Training 1
-
Dealer & Installer Program 4
-
Selling & Quoting 9
-
Marketing & Growth 8
-
Business Operations 5
-
-

Installation Resources 19
-
Architectural 4
-
Automotive 5
-
General 10
-
-

Architectural Window Film 54
-
Safety & Compatibility 17
-
Ownership 2
-
Fundamentals 16
-
Buying Guides 4
-
Performance & Privacy 6
-
Product Guides 9
-
-

Automotive Window Film 40
-
Installation & Ownership 18
-
Product Guides 11
-
Legal & Compliance 3
-
Buying Guides 8
-
-

Tools 10
-
Cutting & Prep 3
-
Application 3
-
Measurement & Layout 2
-
Specialty 2
-
-

Plotters 8
-
Ownership 6
-
Buying Guides 2
-
-

FlexCut Software 25
-
Account & Licensing 5
-
Getting Started 10
-
Troubleshooting 2
-
Using FlexCut 8
-
-

Paint Protection Film (PPF) 10
-
Ownership 3
-
Fundamentals 4
-
Product Guides 3
-
-

Surface Coatings 13
-
Product Guides 7
-
Fundamentals 3
-
Ownership 3
-
Architectural Film Installation Basics


Architectural Film Installation Basics
This guide covers professional-level architectural film installation — the technique, judgment calls, and edge cases that come up on jobs a DIY installer would typically be told to avoid. For a simpler, homeowner-oriented walkthrough limited to standard residential glass, see our DIY Architectural Window Film guide instead.
Before You Begin: Compatibility Comes First
Every professional install starts with a compatibility check, not a squeegee. Confirm glass type (annealed, heat-strengthened, or tempered), configuration (single, dual, or triple pane; Low-E coatings; laminated glass), pane size, frame material, and shading conditions before quoting or scheduling the job. Our Film-to-Glass Compatibility and Understanding the Film-to-Glass Thermal Stress Score articles cover the scoring system in detail — use it on any job that isn't obviously low-risk, and don't skip it just because a client is in a hurry.
Tools
- Slip solution and a pressure sprayer (a hand-pump sprayer covers most residential work; a backpack sprayer speeds up large commercial jobs)
- Professional-grade squeegees, including both hard and soft-edge options
- Microfiber towels
- Utility knife with a trim guide, plus spare blades — change blades frequently on long runs to avoid tearing
- Scraper and glass cleaning tools for stubborn residue
- A tape measure and straightedge for accurate cuts on large or irregular panels
Wet Glaze vs. Dry Glaze Systems
Before you start, decide which glazing approach fits the job — the choice affects both technique and timeline. See our Wet Glaze vs Dry Glaze Systems article for the full comparison; in general, wet glaze is the standard approach for most flat glass installs, while dry glaze systems come up more often on specialty or safety film applications.
Installation Steps
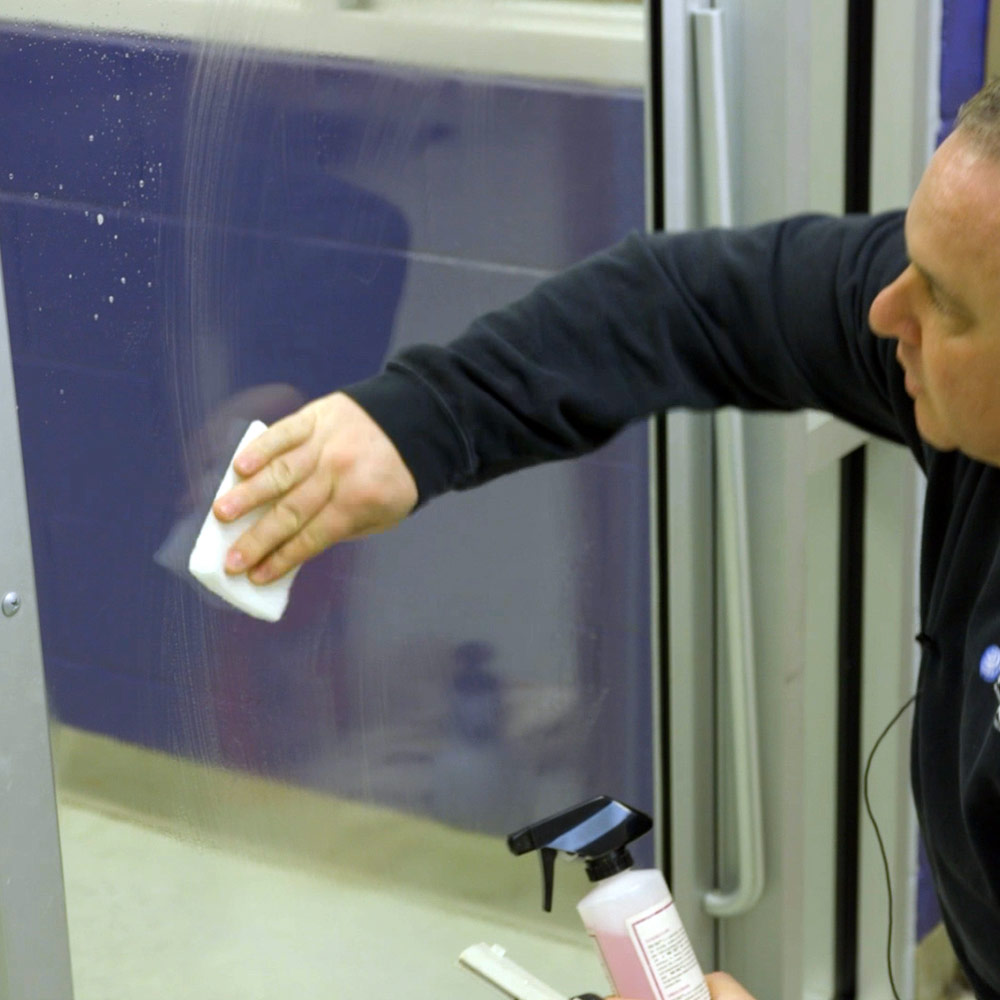
- Clean the glass thoroughly, removing dust, dirt, fingerprints, and any adhesive or cleaning product residue. Anything left behind risks becoming trapped under the film.
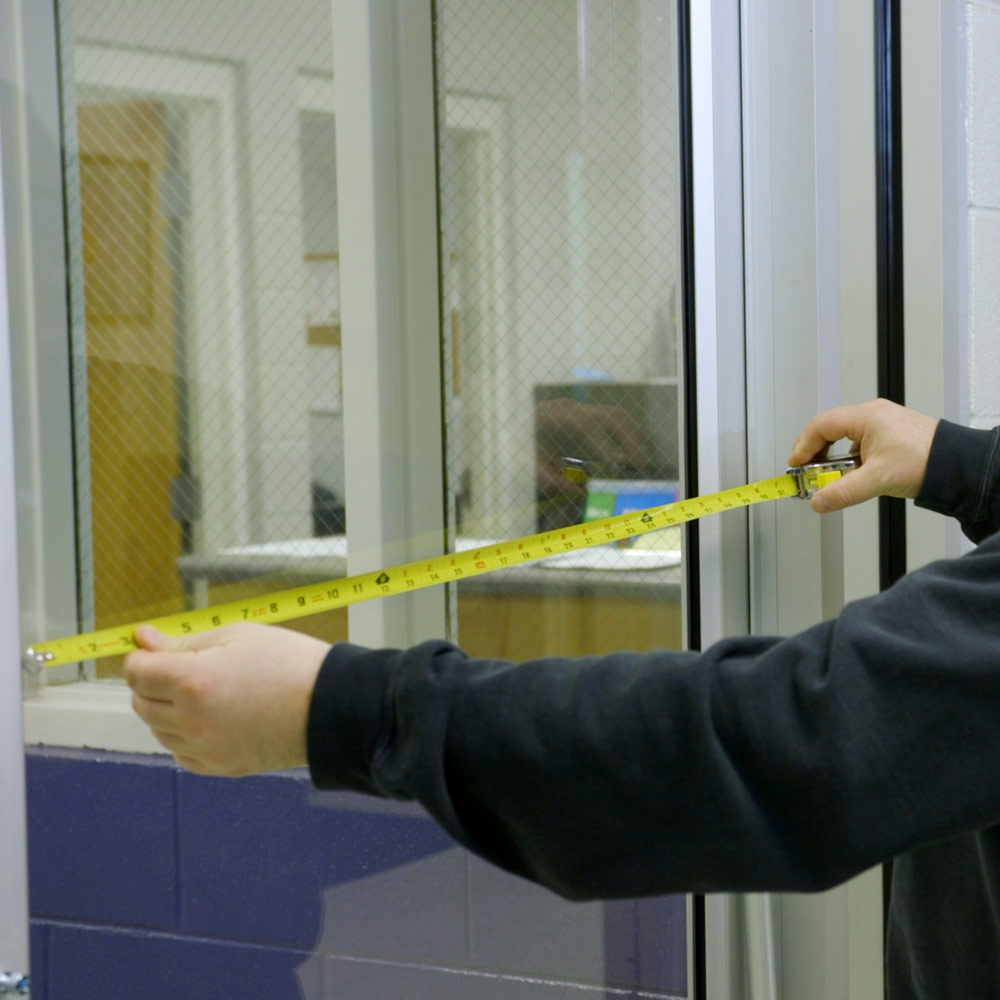
- Measure and prepare the film, leaving excess material for final trimming during installation rather than cutting to exact size in advance.
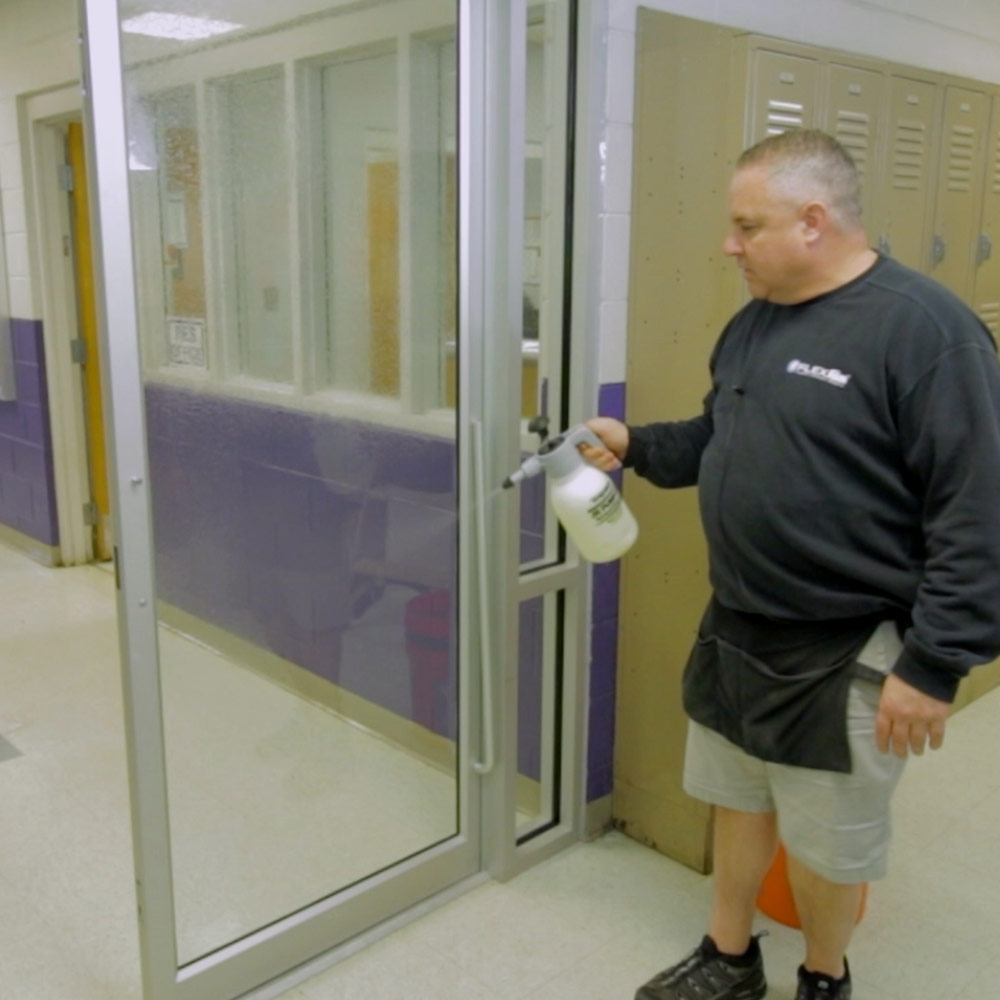
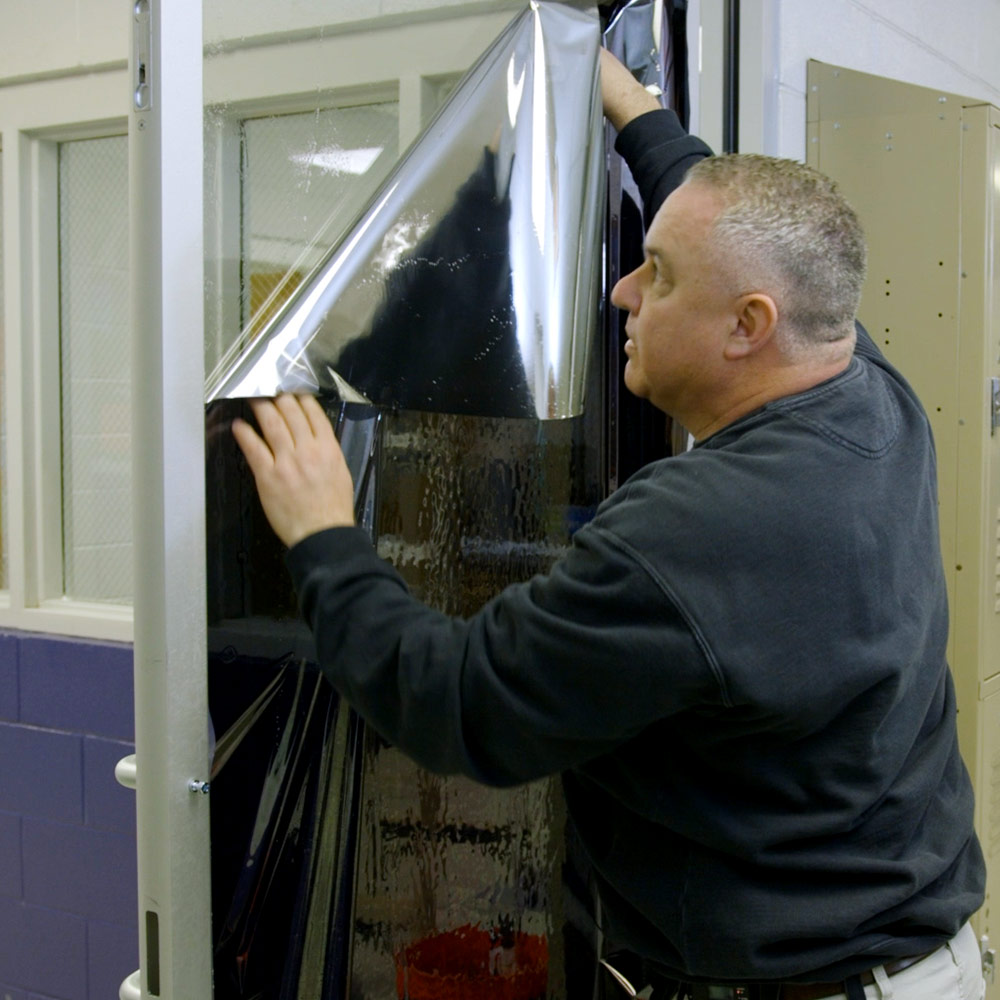
- Apply slip solution to the glass to create a working layer that allows the film to be positioned and adjusted.
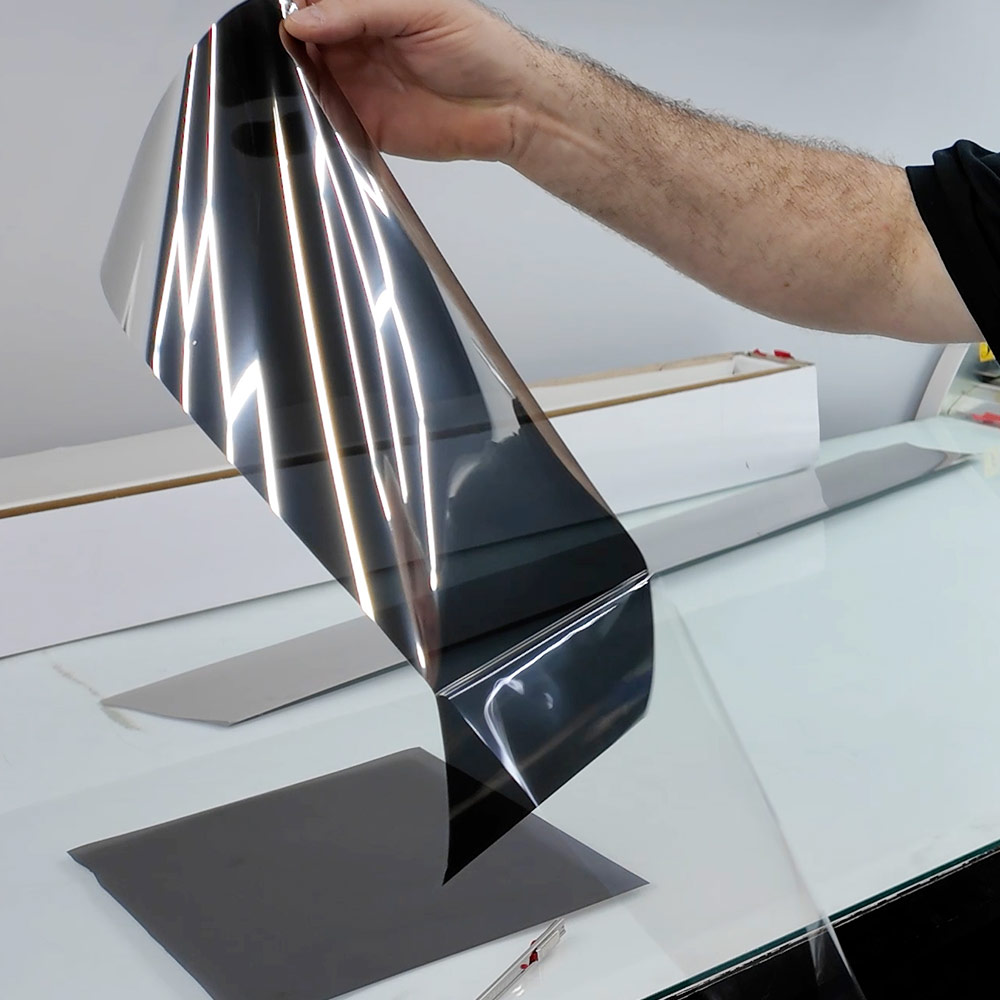
- Remove the liner, applying slip solution to the adhesive side as you go to prevent contamination and premature bonding.
- Position the film, using the slip solution to slide and align it before committing to a final position.
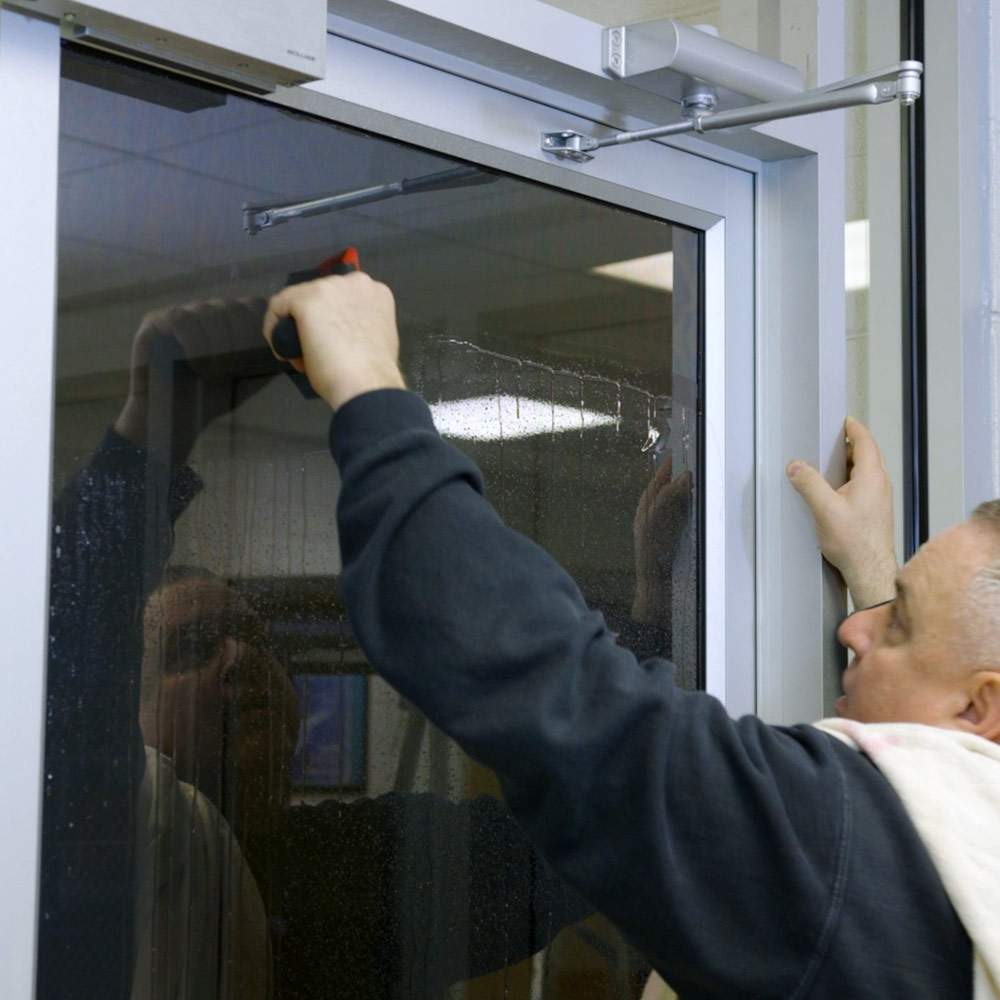
- Squeegee the film, working methodically from center to edges to push out moisture and air. On large commercial panels, this often takes a two-person crew working in coordinated passes.

- Trim and finish, inspecting edges and corners closely before a final squeegee pass.
Large and Multi-Panel Installations
Commercial jobs frequently involve panels wider than a single roll of film. When splicing is required, keep the splice line straight and parallel to the frame edge, with a maximum gap of about 1/64 inch at any point — a visible, well-executed splice line isn't a defect and is standard practice on large-format work.
What's Normal After Installation
Minor water pockets, haze, moisture distortion, and slight cloudiness are expected immediately after installation and typically clear as the film cures. Set client expectations on this before you leave the job.
Cure Times
Cure time depends on film thickness, temperature, humidity, and sunlight exposure. As a general guide: films under 4 mil typically cure in about 7 to 10 days, films at or near 4 mil cure in about 30 days, 4–8 mil in about 60 days, 8–12 mil in about 90 days, and thicker safety films can take 140 days or more. Communicate this timeline to clients so temporary haze doesn't trigger a callback.
Common Installation Mistakes
- Skipping film-to-glass compatibility checks on jobs that look routine but aren't
- Inadequate glass cleaning
- Using too little slip solution
- Failing to remove enough moisture during squeegeeing
- Contaminating the adhesive surface during liner removal
- Rushing large or multi-panel jobs instead of planning the splice and sequencing in advance
When to Bring in More Experience
Specialty films, large or oddly-shaped panels, older or unusual glass, and any job where the compatibility score comes back marginal are all good candidates for a second, more experienced installer to review before work begins.

Key Takeaways
- Compatibility evaluation comes before technique on every job.
- Choose a wet or dry glaze approach deliberately, not by default.
- Large and multi-panel jobs need a sequencing plan, not just more film.
- Set client expectations on cure time and temporary haze up front.




