

How To Install Architectural Window Film
Step-by-step installation instructions for your flat glass film.
Pick how you want to read them.
or scroll down to view instructions below.

Before You Begin
Installing architectural window film yourself is very doable if you take your time, work clean, and follow each step carefully. For best results, read through the full guide before you begin. Practicing on a small piece first is also a smart move. Two people will make the job much easier, especially on larger windows.
Apply when glass is cool
Apply film to cool, shaded glass when the window temperature is between 45°F and 90°F.
No direct sunlight or freezing conditions
Do not install in direct sunlight or freezing conditions.
Keep a clean, dust-free workspace
A clean, dust-free workspace will give you the best result, so turn off fans and keep the work area as clean as possible.
Required Tools
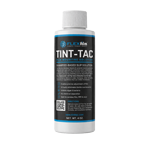
Slip Solution
Allows the film to slide into place before locking it down.
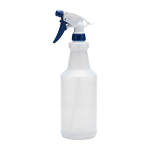
Spray Bottle
Applies slip solution evenly across the glass surface.

Squeegee
Used to push out water and air bubbles for a smooth, secure bond.
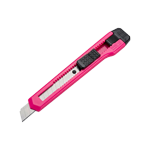
Utility Knife
Used to trim the film cleanly to the edges of the window.
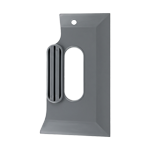
Trim Guide
Keeps your cuts straight and consistent along the window edges.
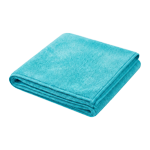
Microfiber Towel
Wipes down glass and edges to keep everything clean and dry.
Helpful Household Items

Single-edged Razor Blade
Removes stubborn dirt, paint, or debris from the glass before installation.

Ruler or Tape Measure
Ensures accurate measurements before cutting the film.

Transparent Tape
Helps separate the liner from the film without damaging it.

Scissors
Used for rough cutting the film before final trimming.
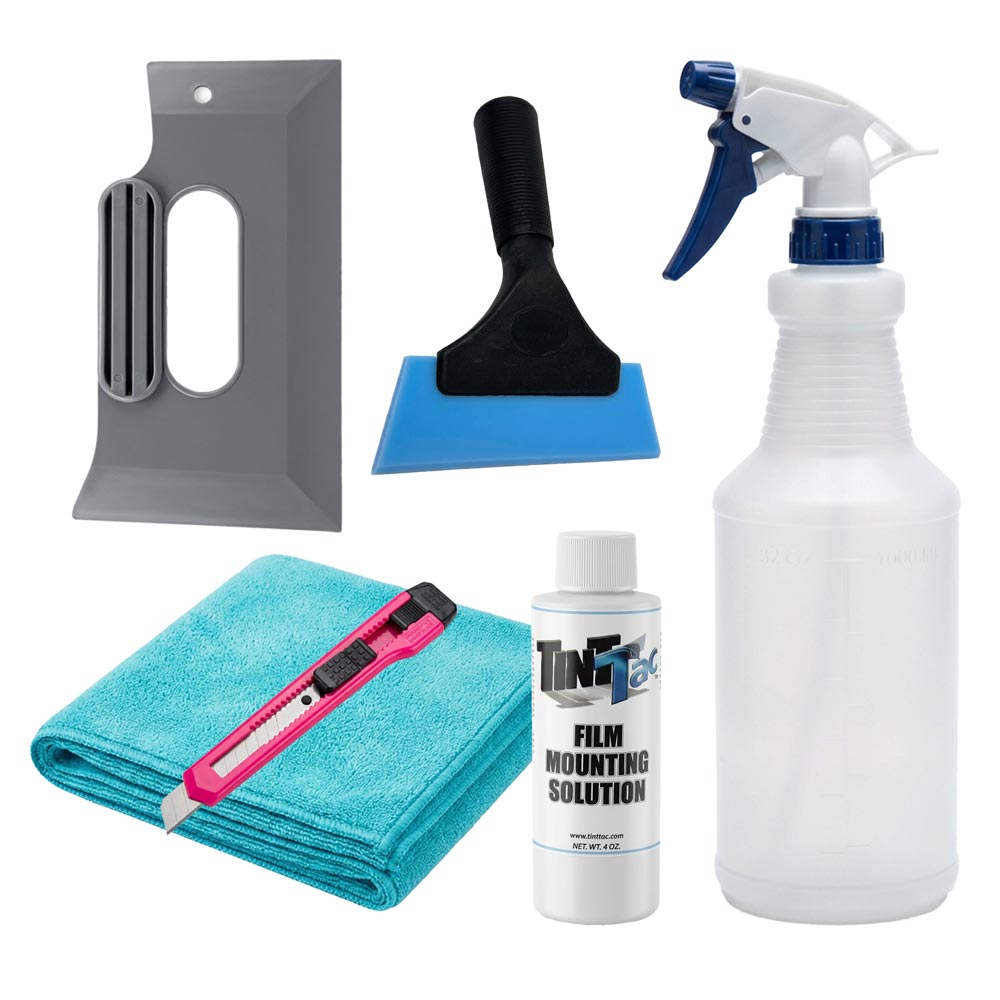
Need the tools too?
Our DIY Window Film Application Kit includes the main tools needed for installation in one box.
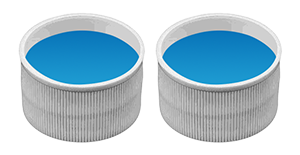
Mixing Your Slip Solution
A slip solution is essential for a successful installation of your window film because it lets the film slide easily on the glass, allowing for precise positioning without it prematurely sticking.
Tint-Tac
Two capfuls per 32oz spray bottle.
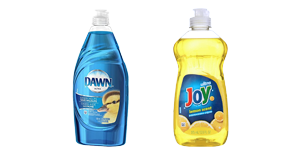
Dish Soap
Use a light 3-second squeeze per 32oz spray bottle. Only use the original formula. No concentrated or multiplied versions.
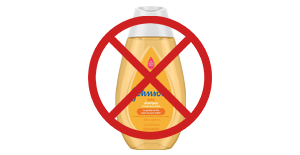
Baby Shampoo
We do not recommend using baby shampoo as a slip solution.

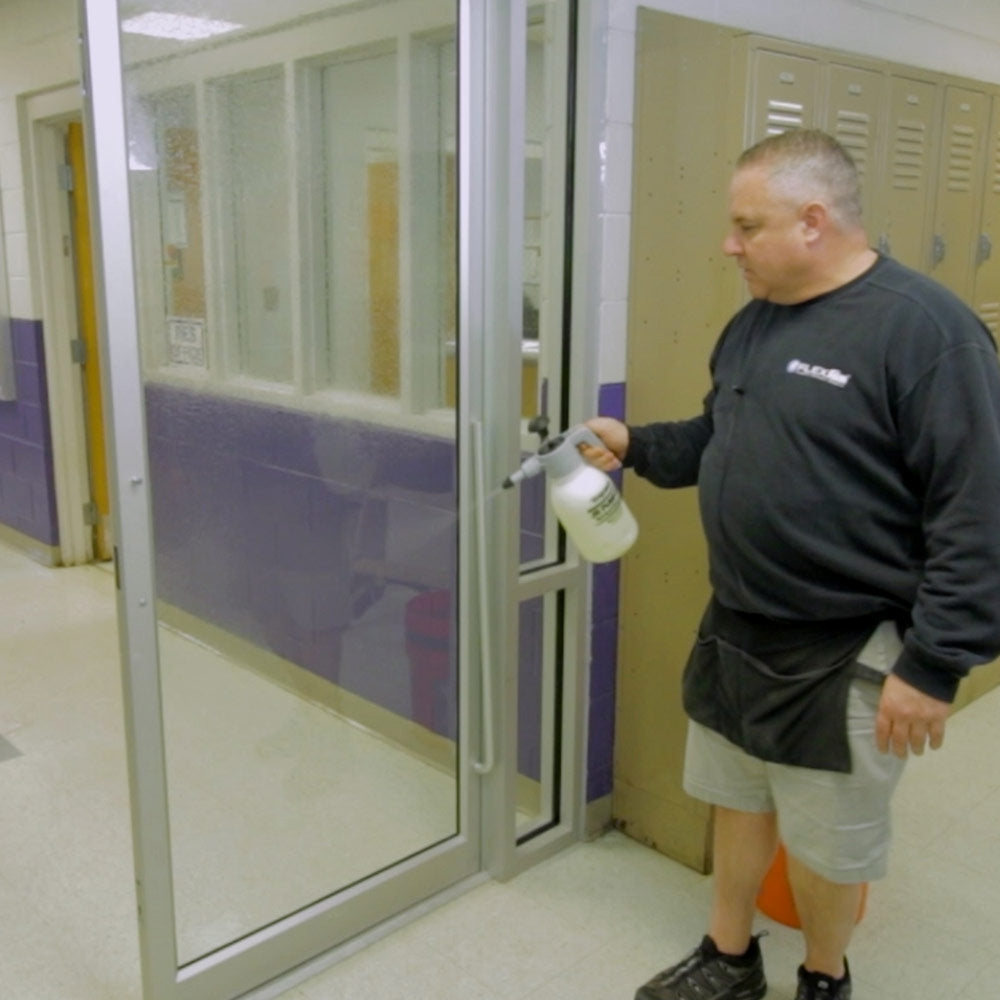
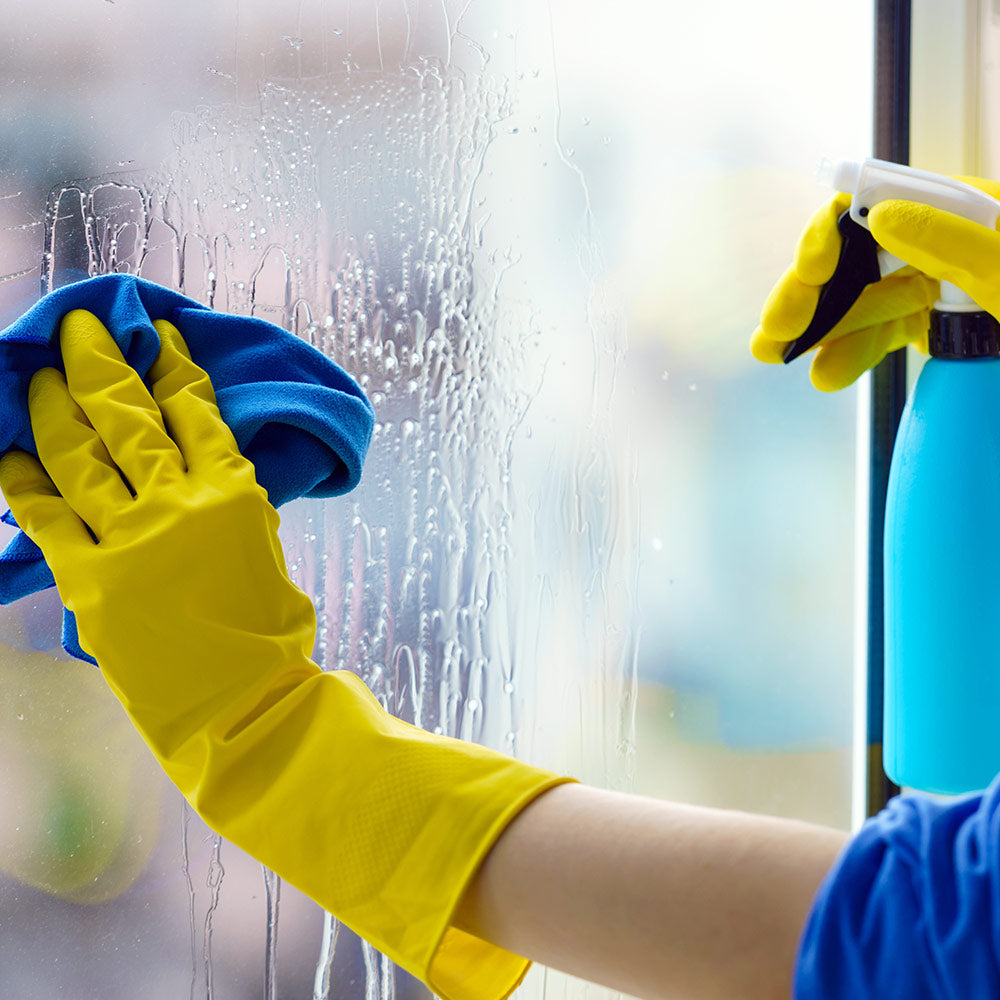
Clean The Window
Spray the glass generously with slip solution. Use a razor blade to remove any stubborn dirt, paint, or debris, paying extra attention to the corners. Rewet the window, then squeegee downward. Wipe the gasket or window edges clean with a soft cloth. For the best final clarity, clean the outside of the window too.
Tip: If the glass has grease or smoke residue, clean it first with a standard glass cleaner, then rinse thoroughly with slip solution before installing the film.


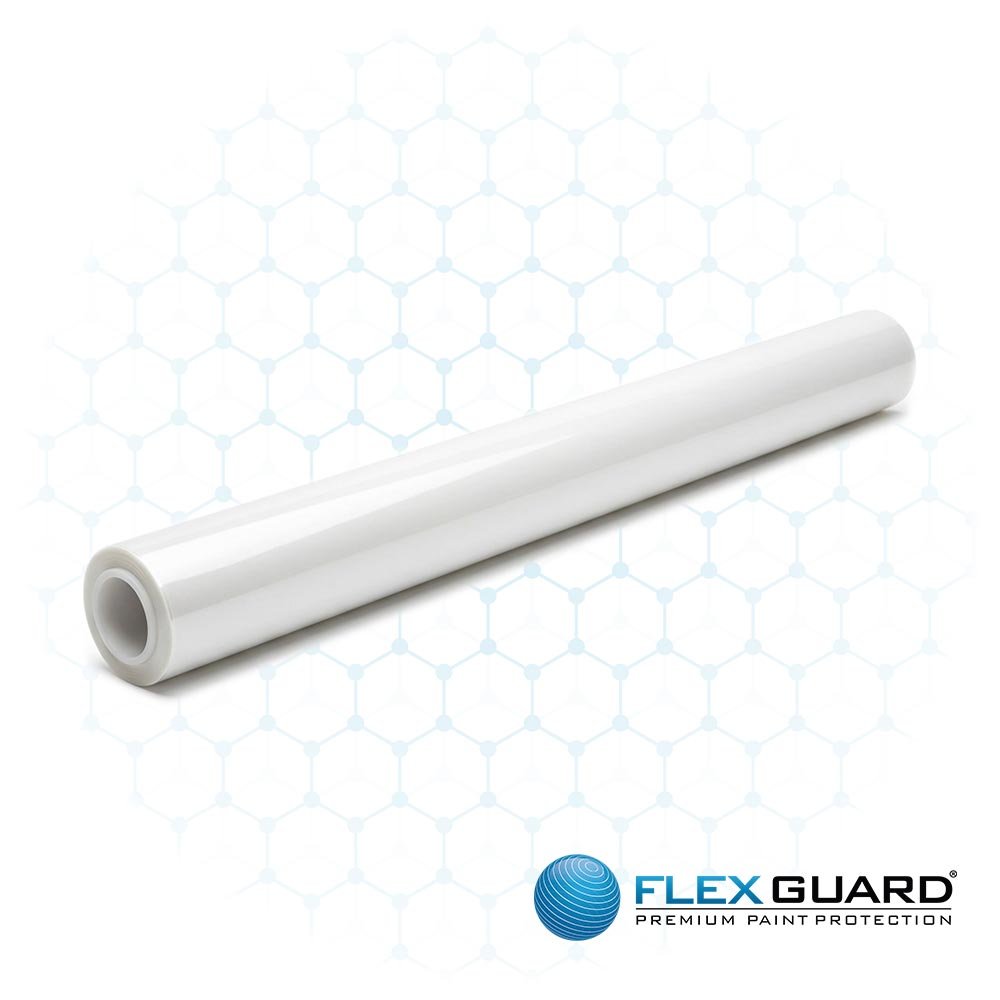
Measure and cut the film
Unroll the film on a clean, flat surface. Measure the window carefully, then cut the film at least 1 inch larger than the glass on all four sides. The extra material will be trimmed after the film is installed.
Tip: Use at least one factory edge whenever possible. This can make positioning easier and give you a cleaner final result.
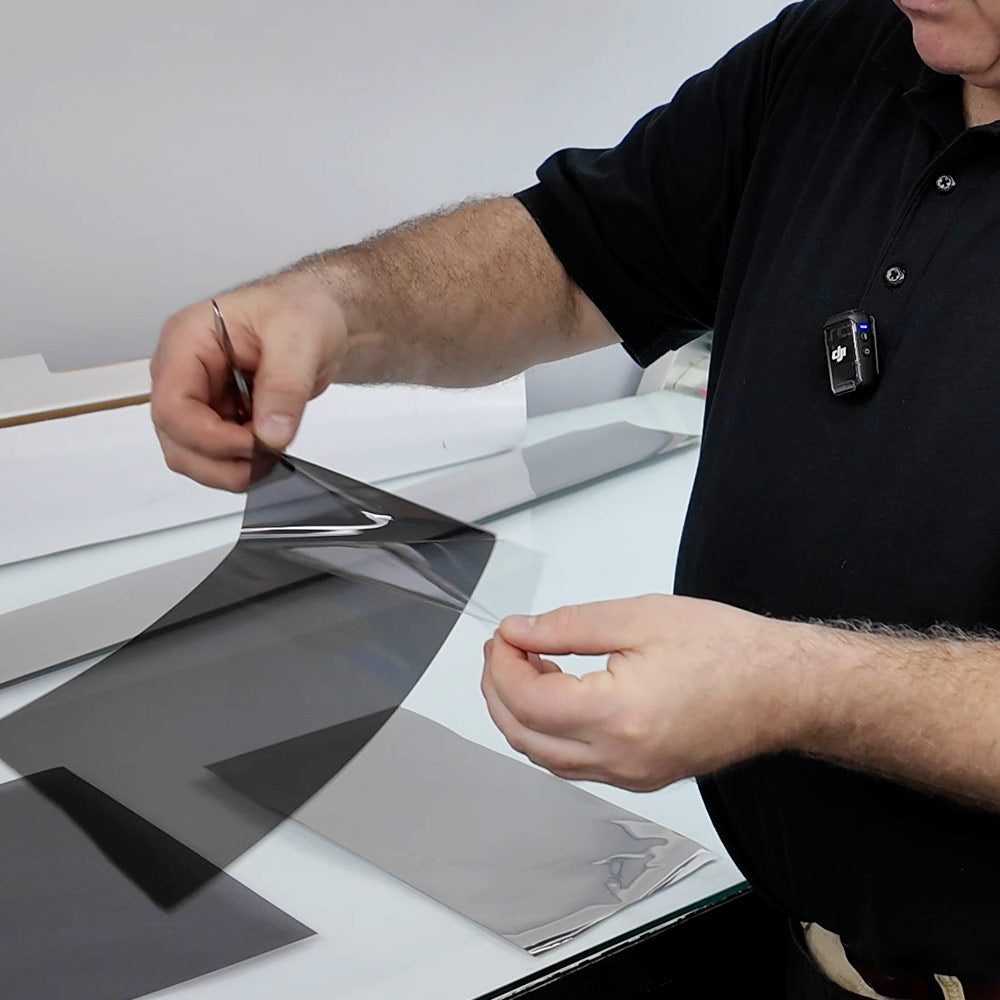

Identify the clear liner
Place the film on a clean, flat surface. At one corner, attach two small strips of transparent tape, one on the film and one on the liner, leaving about 1 inch hanging over the corner. Press the tape together firmly, then pull the strips apart quickly to begin separating the clear liner from the adhesive side. Leave the tape in place once you’ve found it.
Tip: For most architectural films, the release liner faces in. On Architectural Ceramic film, the release liner faces out. Folding the ends of the tape back on themselves can help keep them from sticking back together.

Wet the window and film
Lightly spray slip solution onto the inside surface of the window and both sides of the film. This helps reduce curl and static, making the film easier to handle.
Tip: It helps to have another person hold the film by the edges while you spray both sides.

Remove the clear liner
Pull the two tape strips apart to release the liner from the corner. As you peel the liner away, spray the exposed adhesive side of the film with slip solution until the liner is fully removed and the adhesive side is completely wet. Keep the film from touching itself during this step.
Tip: A second person is very helpful here. One person can hold the film while the other peels and sprays.
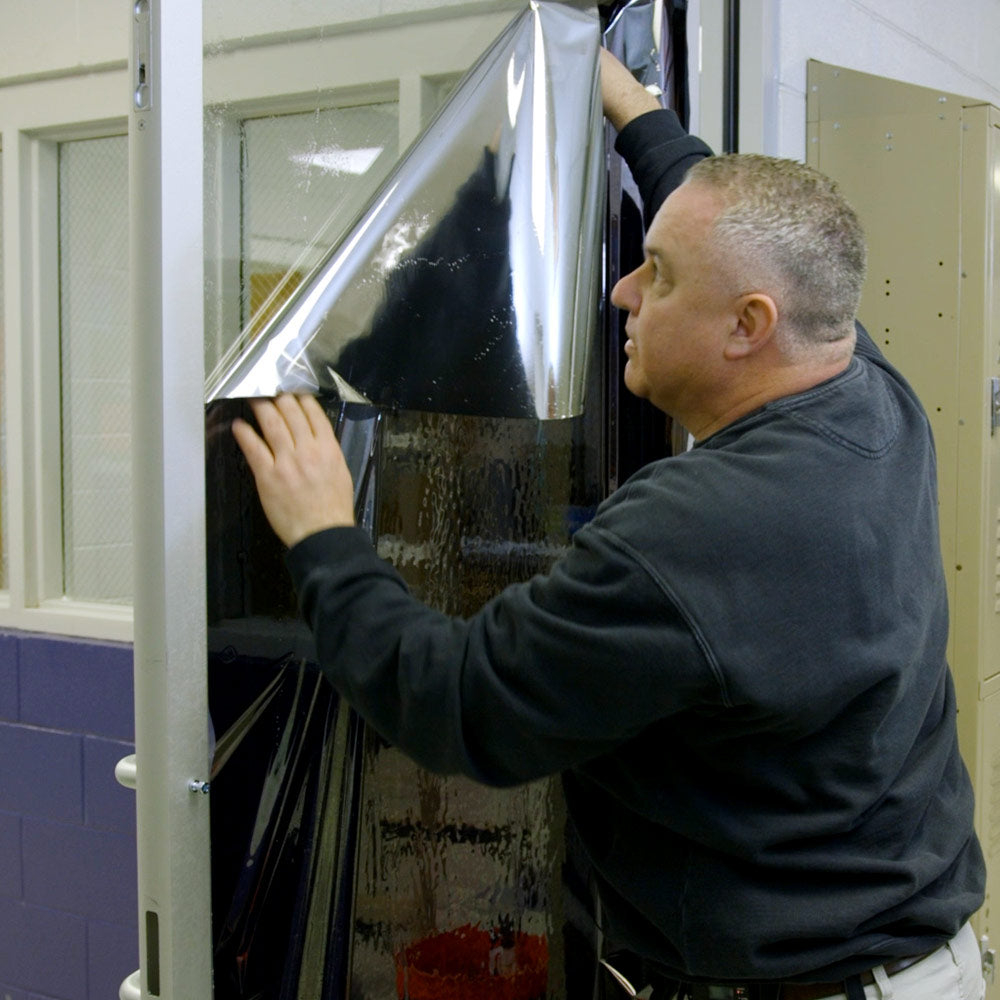

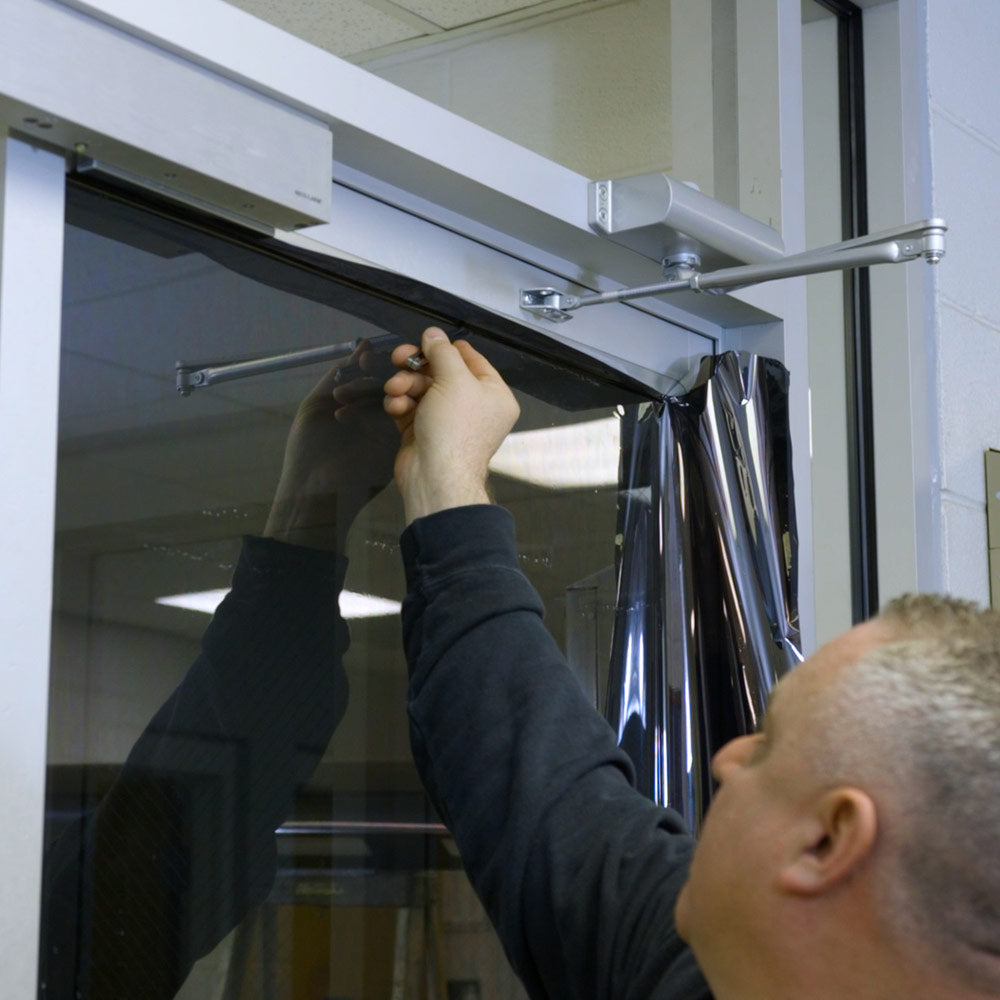
Apply the film to the glass
Hold the film with the adhesive side facing the glass and place it onto the window. Use your hands to smooth and position it so the film overlaps the glass evenly by about 1 inch on all four sides.
Tip: If you are using a factory edge, line that edge up to the window first. On larger pieces, it can help to leave part of the liner on while positioning, then remove the rest once the film is in place.

Smooth the film
Spray the outside surface of the film with slip solution. Wrap your squeegee with a low-lint cloth and lightly squeegee a centerline from top to bottom to hold the film in place. Then, starting at the top, squeegee from the center toward the right side as you work downward. Leave about a 2-inch perimeter around the edges unsqueegeed for now. Repeat on the left side.
Tip: If you see long bubbles or “fingers” along the edges, wrap the squeegee with a low-lint cloth and carefully push them toward the edge of the film.

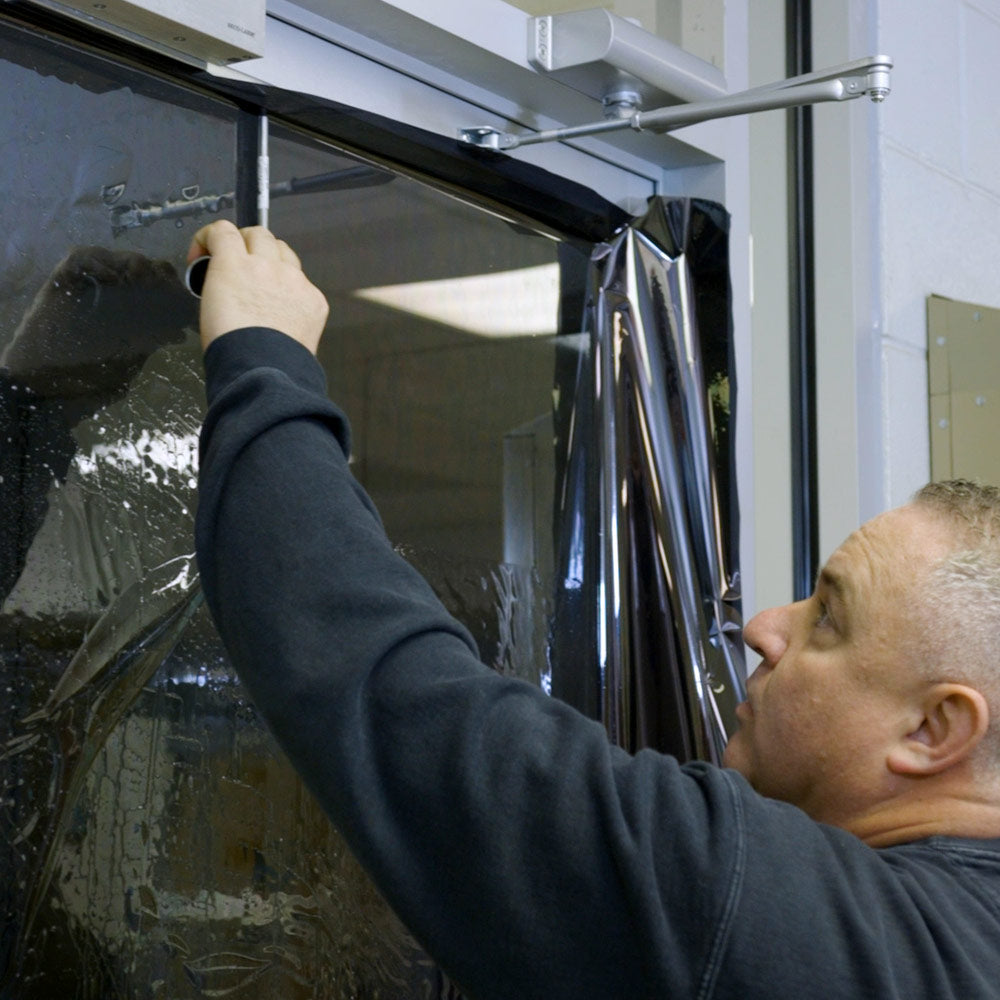
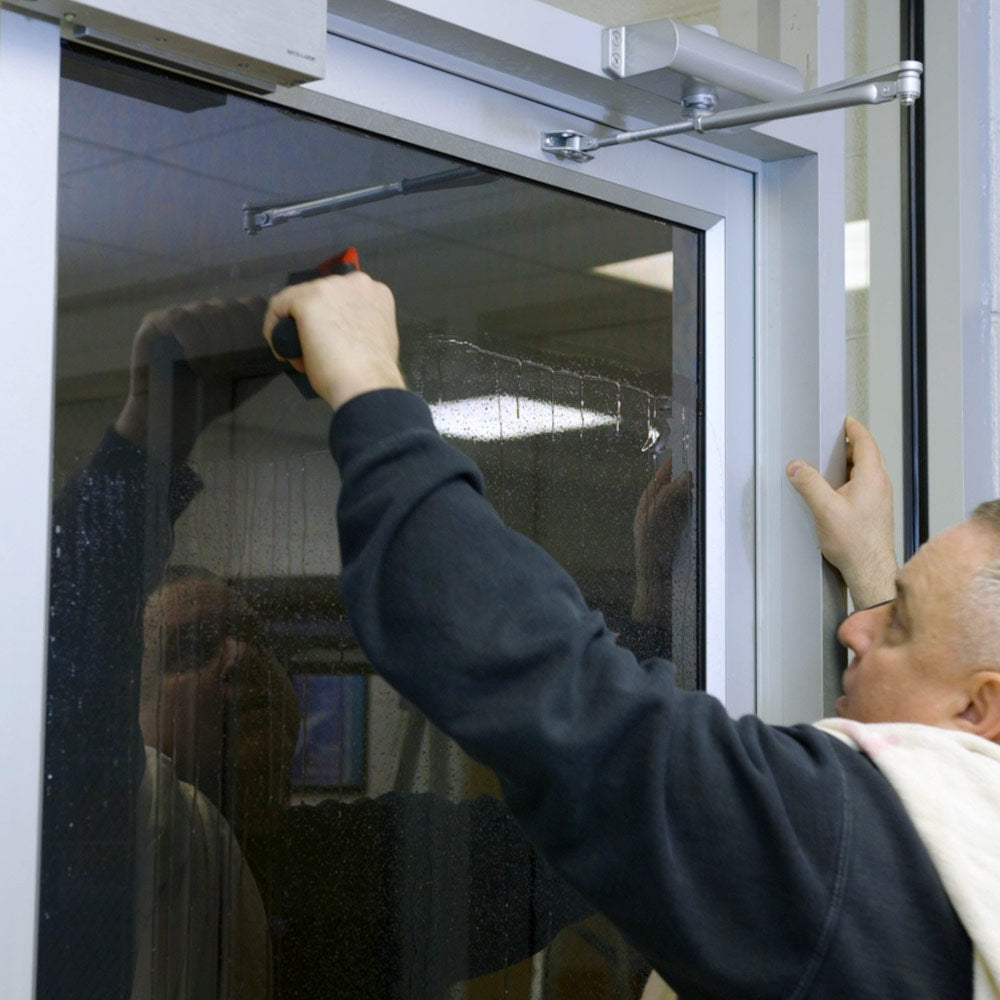
Trim the film
Place the utility knife into the slit of the edging tool. Starting at a top corner, line up the tool and slowly pull it down the edge of the window to trim the film. Reposition as needed for corners, remove the trimmed strip, and repeat on all four sides.
Tip: The edging tool leaves about a 1/16-inch gap between the film and the window edge, which is needed for proper thermal expansion. Replace the blade after every 10 feet of cutting. A dull blade can tear the film.
Squeegee dry
Rewet the film. Squeegee again from the center outward, working from top to bottom on each side. Use firm pressure to remove as much water as possible so the adhesive can cure cleanly. Any small remaining water bubbles should evaporate during curing.
Tip: If imperfections appear, peel the affected area away from the glass, remove debris or bubbles with the squeegee or knife tip, respray both the film and glass with slip solution, and reapply. This tip is only applicable for our dual reflective film that has dry adhesive. Do not try with pressure sensitive adhesives.

Let it cure
Your film is installed. It will typically fully cure in about 7 to 10 days. Warm, sunny weather usually speeds up the curing process. Small water bubbles left behind should disappear as the film dries out.

Care & Maintenance
For cleaning, use Flexfilm’s Pre-Tac prep solution when possible. Wipe the film with a rubber squeegee or a low-lint cloth. If using an ammonia-based glass cleaner, do not leave it on the film for more than 2 minutes.
Clean The Window
Spray the glass generously with slip solution. Use a razor blade to remove any stubborn dirt, paint, or debris, paying extra attention to the corners. Rewet the window, then squeegee downward. Wipe the gasket or window edges clean with a soft cloth. For the best final clarity, clean the outside of the window too.
Tip: If the glass has grease or smoke residue, clean it first with a standard glass cleaner, then rinse thoroughly with slip solution before installing the film.
Measure and cut the film
Unroll the film on a clean, flat surface. Measure the window carefully, then cut the film at least 1 inch larger than the glass on all four sides. The extra material will be trimmed after the film is installed.
Tip: Use at least one factory edge whenever possible. This can make positioning easier and give you a cleaner final result.
Identify the clear liner
Place the film on a clean, flat surface. At one corner, attach two small strips of transparent tape, one on the film and one on the liner, leaving about 1 inch hanging over the corner. Press the tape together firmly, then pull the strips apart quickly to begin separating the clear liner from the adhesive side. Leave the tape in place once you’ve found it.
Tip: For most architectural films, the release liner faces in. On Architectural Ceramic film, the release liner faces out. Folding the ends of the tape back on themselves can help keep them from sticking back together.
Wet the window and film
Lightly spray slip solution onto the inside surface of the window and both sides of the film. This helps reduce curl and static, making the film easier to handle.
Tip: It helps to have another person hold the film by the edges while you spray both sides.
Remove the clear liner
Pull the two tape strips apart to release the liner from the corner. As you peel the liner away, spray the exposed adhesive side of the film with slip solution until the liner is fully removed and the adhesive side is completely wet. Keep the film from touching itself during this step.
Tip: A second person is very helpful here. One person can hold the film while the other peels and sprays.
Apply the film to the glass
Hold the film with the adhesive side facing the glass and place it onto the window. Use your hands to smooth and position it so the film overlaps the glass evenly by about 1 inch on all four sides.
Tip: If you are using a factory edge, line that edge up to the window first. On larger pieces, it can help to leave part of the liner on while positioning, then remove the rest once the film is in place.
Smooth the film
Spray the outside surface of the film with slip solution. Wrap your squeegee with a low-lint cloth and lightly squeegee a centerline from top to bottom to hold the film in place. Then, starting at the top, squeegee from the center toward the right side as you work downward. Leave about a 2-inch perimeter around the edges unsqueegeed for now. Repeat on the left side.
Tip: If you see long bubbles or “fingers” along the edges, wrap the squeegee with a low-lint cloth and carefully push them toward the edge of the film.
Trim the film
Place the utility knife into the slit of the edging tool. Starting at a top corner, line up the tool and slowly pull it down the edge of the window to trim the film. Reposition as needed for corners, remove the trimmed strip, and repeat on all four sides.
Tip: The edging tool leaves about a 1/16-inch gap between the film and the window edge, which is needed for proper thermal expansion. Replace the blade after every 10 feet of cutting. A dull blade can tear the film.
Squeegee dry
Rewet the film. Squeegee again from the center outward, working from top to bottom on each side. Use firm pressure to remove as much water as possible so the adhesive can cure cleanly. Any small remaining water bubbles should evaporate during curing.
Tip: If imperfections appear, peel the affected area away from the glass, remove debris or bubbles with the squeegee or knife tip, respray both the film and glass with slip solution, and reapply. This tip is only applicable for our dual reflective film that has dry adhesive. Do not try with pressure sensitive adhesives.
Let it cure
Your film is installed. It will typically fully cure in about 7 to 10 days. Warm, sunny weather usually speeds up the curing process. Small water bubbles left behind should disappear as the film dries out.
Care & Maintenance
For cleaning, use Flexfilm’s Pre-Tac prep solution when possible. Wipe the film with a rubber squeegee or a low-lint cloth. If using an ammonia-based glass cleaner, do not leave it on the film for more than 2 minutes.
How To Video
Important Notes
This guide is intended for applying film to the inside surface of standard 1/8-inch single pane and dual pane glass, including patio doors, French doors, half-rounds, and removable exterior storm panes. It should not be applied to motor vehicle windows, frosted glass, etched glass, leaded glass, cracked glass, defective glass, or glass more than 40 years old.
For Large Windows
If the window is wider than the film, overlap two pieces vertically. Use a ruler as a guide and cut through the center of both layers. Remove the loose top strip, slide out the waste underneath, then rewet, reapply, and squeegee. One week after installation, waterproof the seam with a coat of clear nail polish.
Removal
To remove the film, peel it away from the glass. If it has been installed for several years or does not come off easily, a removal solution, and/or razor blade may be needed.
Frequently Asked Questions
Do I install this on the inside or outside?
Inside.
Our film is designed for interior installation only.
Do I need a slip solution?
Yes.
You need it to position the film and prevent it from grabbing too fast.
We recommend using Tint-Tac or a proper slip solution.
Dry installs don’t work here.
Can I use soap and water instead?
You can, but it’s inconsistent.
Too much soap = film won’t stick right.
Too little = it grabs too fast.
A proper slip solution keeps it predictable.
Is this for car windows?
No.
This is designed for flat glass only like:
- Home windows
- Storefront glass
- Office glass
Can I install this myself?
Yes, but results depend on you.
Take your time. Keep everything clean.
If you rush it, it will show.
What if I mess up?
You’ve got working time.
Peel it back, clean the glass, re-wet, and reapply.
That’s normal during install.
Why do I see bubbles after installing?
Write content to answer to common questions your customers may have about your products, shipping policies..
How long does it take to cure?
About 7–10 days.
You may see:
- Haze
- Small bubbles
That clears up as it dries.
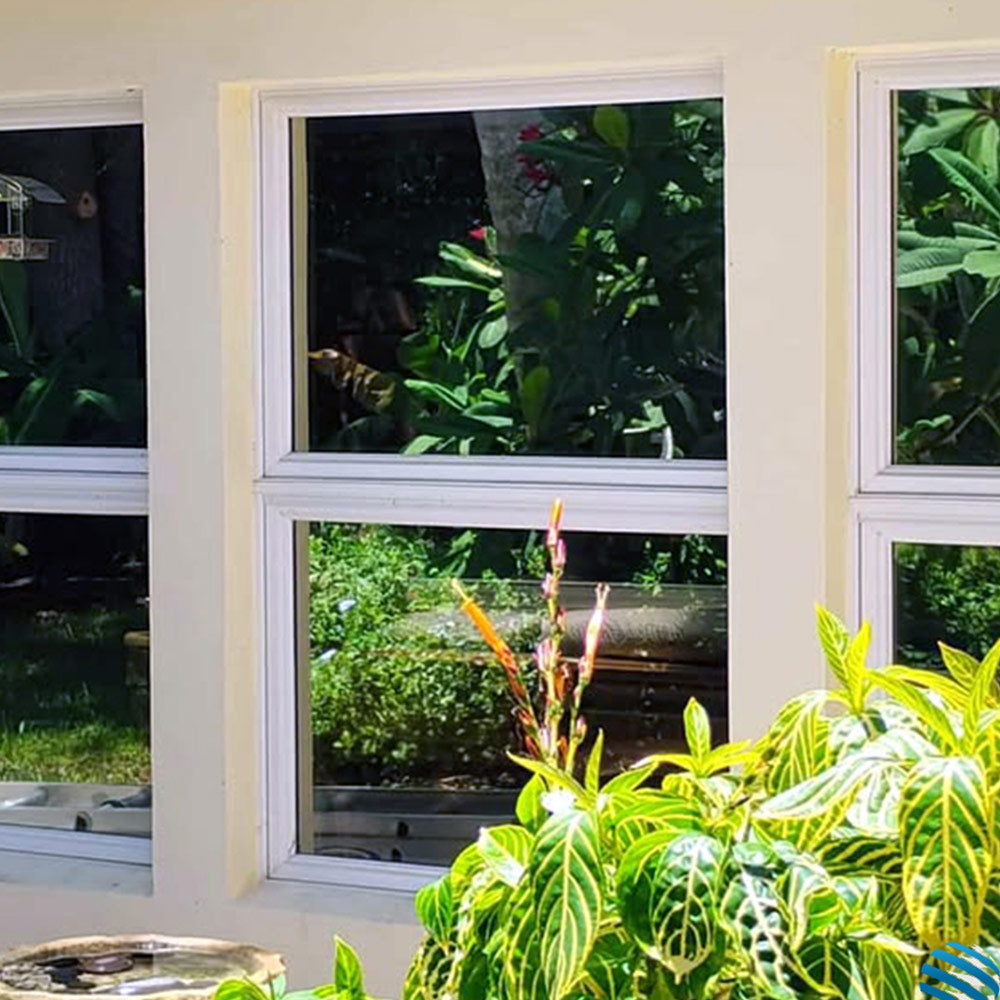
Will darker film block more heat?
Not always.
Some lighter films can reject more heat than darker ones.
Shade ≠ performance.
Is this one-way privacy?
During the day, yes (for reflective films).
At night, no.
If it’s brighter inside than outside, you’ll see in.
Can I install this on any window?
No.
Glass type matters.
Do not install on:
- Damaged or cracked glass
- Specialty glass (unless verified)
If you’re unsure, check your glass first.
How do I know what type of glass I have?
Look for:
- A stamp in the corner
- Manufacturer info
- Or ask a professional
If you don’t know, don’t guess. View our glass safety page for more info.
Can I remove it later?
Yes.
Peel it off slowly.
Most installs come off clean.
Why is there a small gap around the edges?
That’s intentional.
It allows for expansion and helps prevent peeling.
How much film do I need?
It depends on your window size.
A 36" x 15' roll typically covers:
- Several standard home windows
Measure your glass before ordering.


Dealer Rewards
Start earning points that can be applied as store credit on your next online purchase.

Order Online 24/7
Shop our products online and check out anytime, 24/7, from anywhere!

Call To Order
Call us directly to place your order during business hours, Monday - Friday, 8:00 AM - 4:00 PM CST.