
Pre-installation Checklist
If for any reason, you need help or support, please refer to one of our video walkthroughs below first. If you still need assistance, please contact us at patterns@flexfilmplus.com or (770) 559-5283.
Have The Right Tools
Ensure you have access to the appropriate tools before installing your pre-cut pattern.
Install Indoors Only
Ensure the vehicle is located indoors, away from any contaminants such as dust.
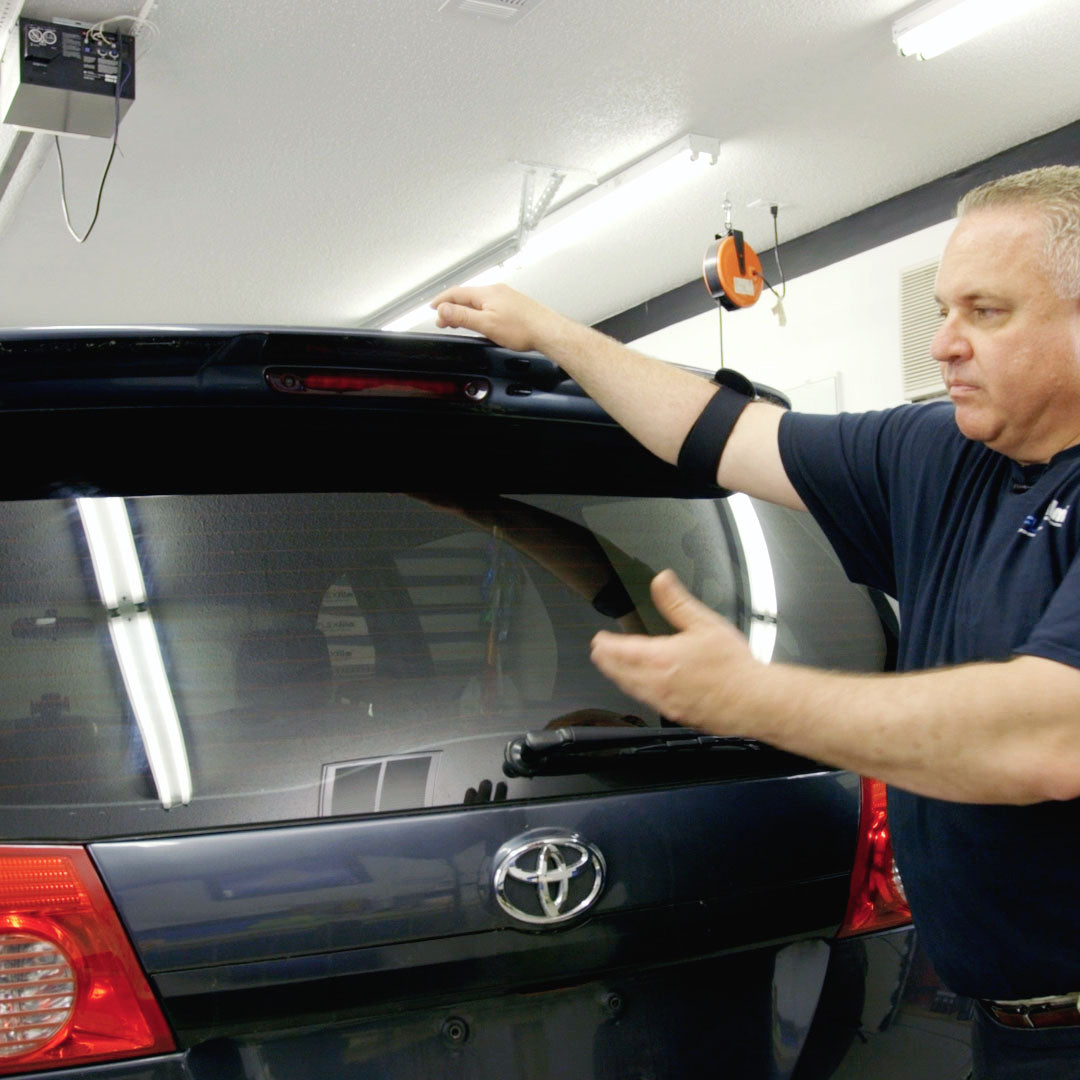
Interior Installation Only
Window film can be prepared on the exterior of the vehicle but is installed on the interior of the windows.
No Direct Sunlight
Do not install the pre-cut pattern in direct sunlight.
Required Tools
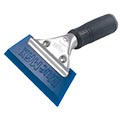
Squeegee
Used to push out water and air bubbles for a smooth, secure bond.
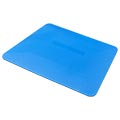
Hard Card
Helps press down edges and corners for a tight finish.
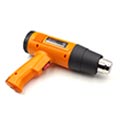
Heat Gun
Softens the film so it can contour to curves and lay flat.
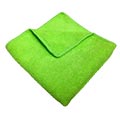
Towels
Wipes down glass and edges to keep everything clean and dry.
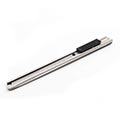
Blade
Trims excess film and preps the glass by removing debris.
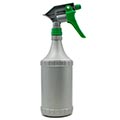
Sprayer
Applies slip solution evenly across the glass surface.

Slip Solution
Allows the film to slide into place before locking it down.
Missing something?
Head to your local hardware store or grab one of our DIY tool kits.
Mixing Your Slip Solution
A slip solution is essential for a successful installation of your pre-cut pattern because it lets the film slide easily on the glass, allowing for precise positioning without it prematurely sticking.
SlipX
One capful per 32oz spray bottle.
Tint-Tac
Two capfuls per 32oz spray bottle.
Dish Soap
Use a light 3-second squeeze per 32oz spray bottle. Only use the original formula. No concentrated or multiplied versions.
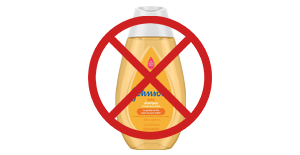
Baby Shampoo
We do not recommend using baby shampoo as a slip solution.
Clean The Window
Thoroughly clean the inside and outside of the windows you plan to tint to ensure they are free of dirt, dust, and any debris. Use a glass cleaner or a mixture of vinegar and water, along with a lint-free cloth or paper towels, to achieve a clean surface.
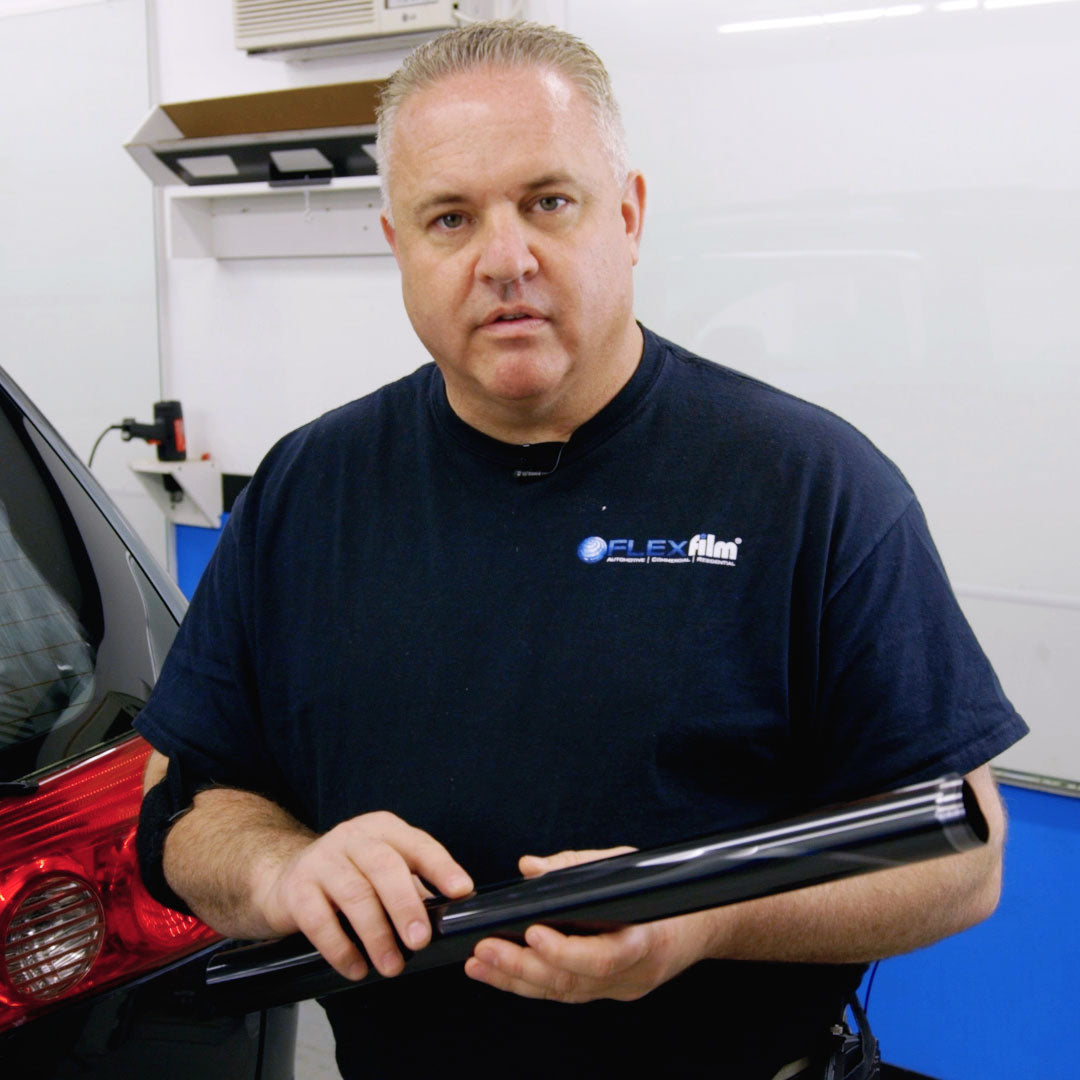
Prepare The Pre-cut Pattern
Unroll the pre-cut pattern and inspect it for any defects or damage. If you notice any issues, contact Flexfilm for a replacement. Keep the pre-cut pattern flat and avoid creasing it. Do not installed a damaged pre-cut pattern or you will void your ability to get a replacement.
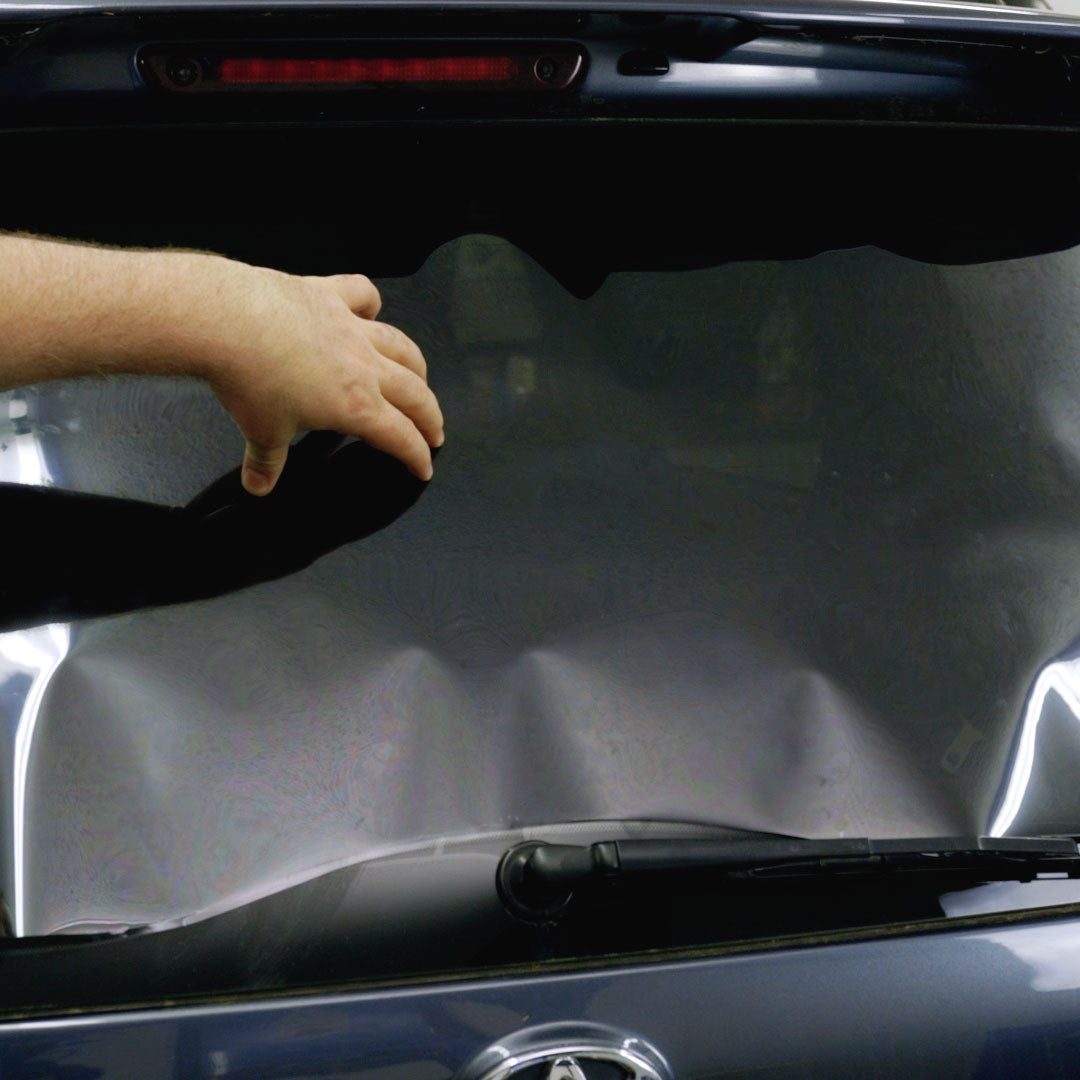
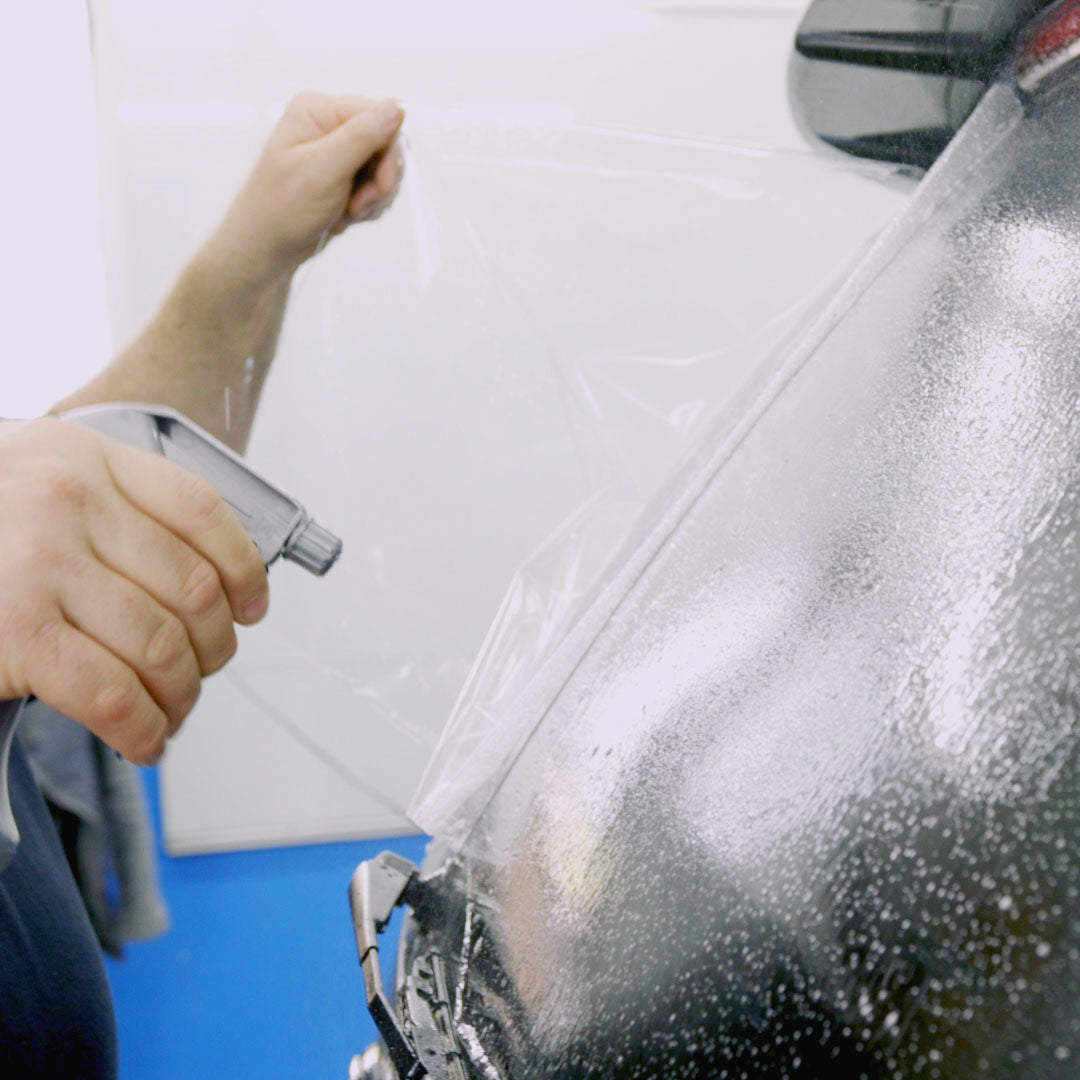
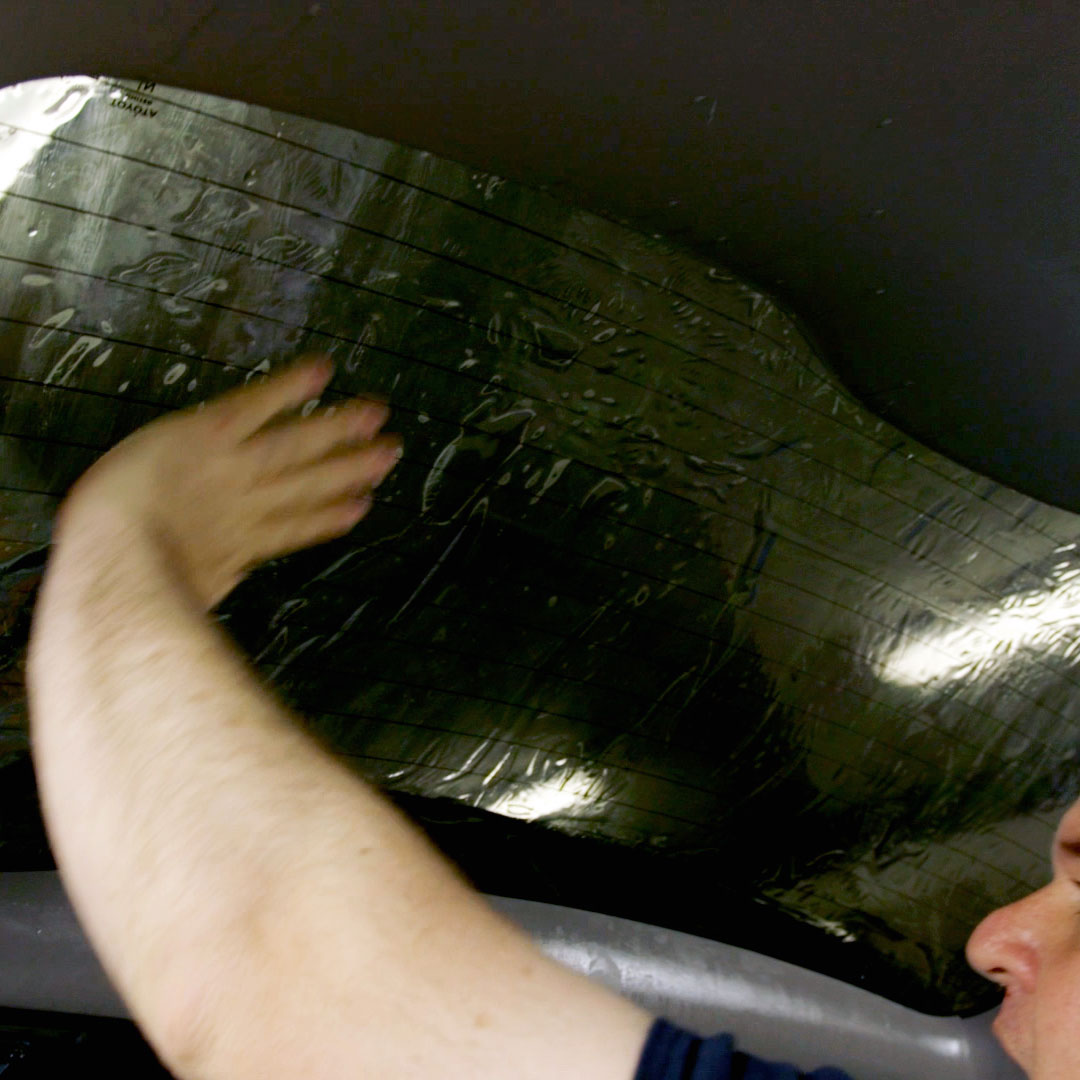
Lay Patterns On Windows
Mist the outside of the window with slip solution. Place the pre-cut pattern on the glass with the release linerfacing towards you, ensuring proper alignment. Use a squeegee to remove any liquid present, which will assist insmoothing out and flattening the pre-cut pattern. Be careful to not crease the pre-cut pattern as you smooth it out.
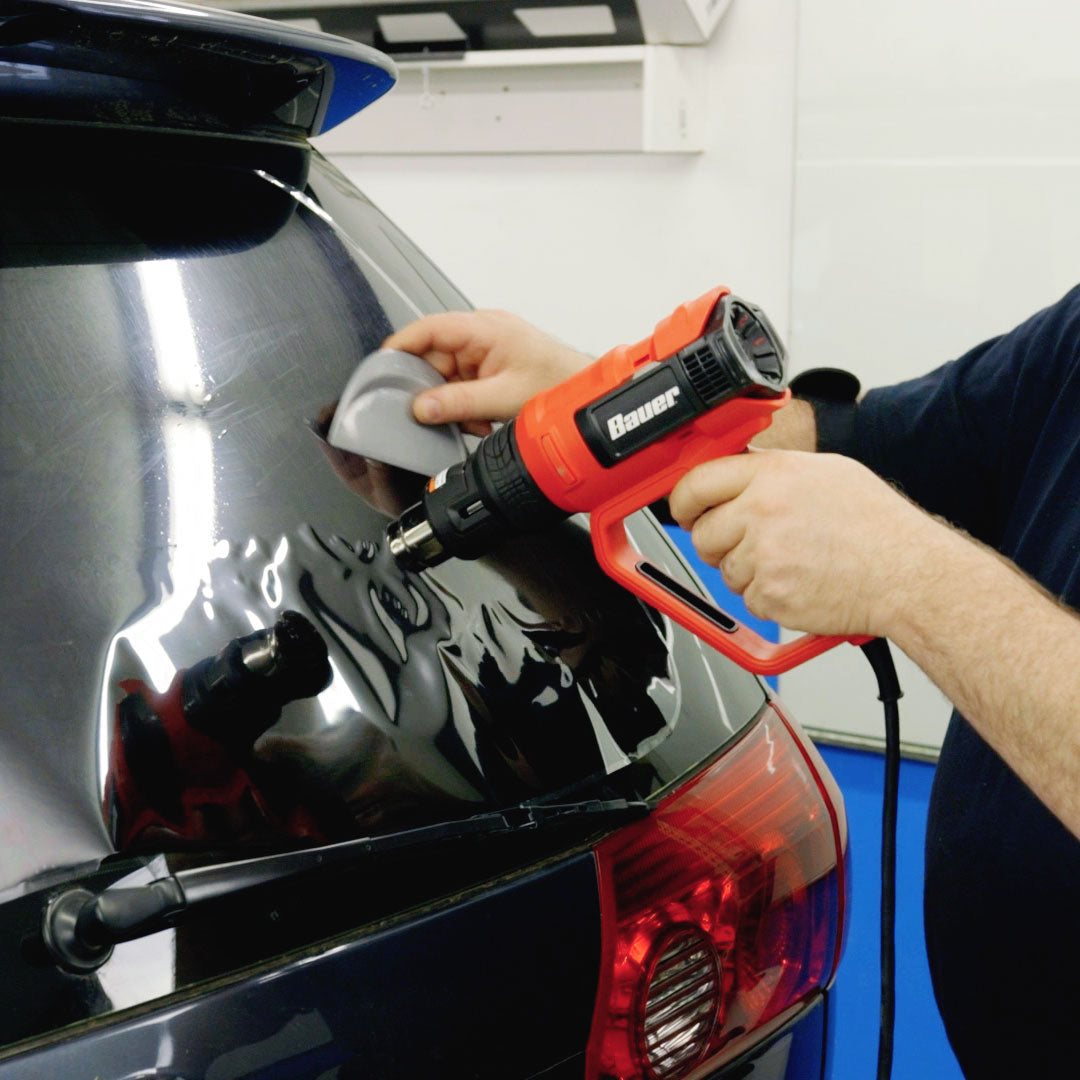
Use A Heat Gun To Heat Shrink
Using a heat gun set to 950°F, direct the heat from a distance of 4 inches toward the pre-cut pattern to begin the pre-shrinking process that molds the tint to the curve of the window and helps prevent bubbles.
Warning: Avoid holding the heat gun in one spot for more than a few seconds.
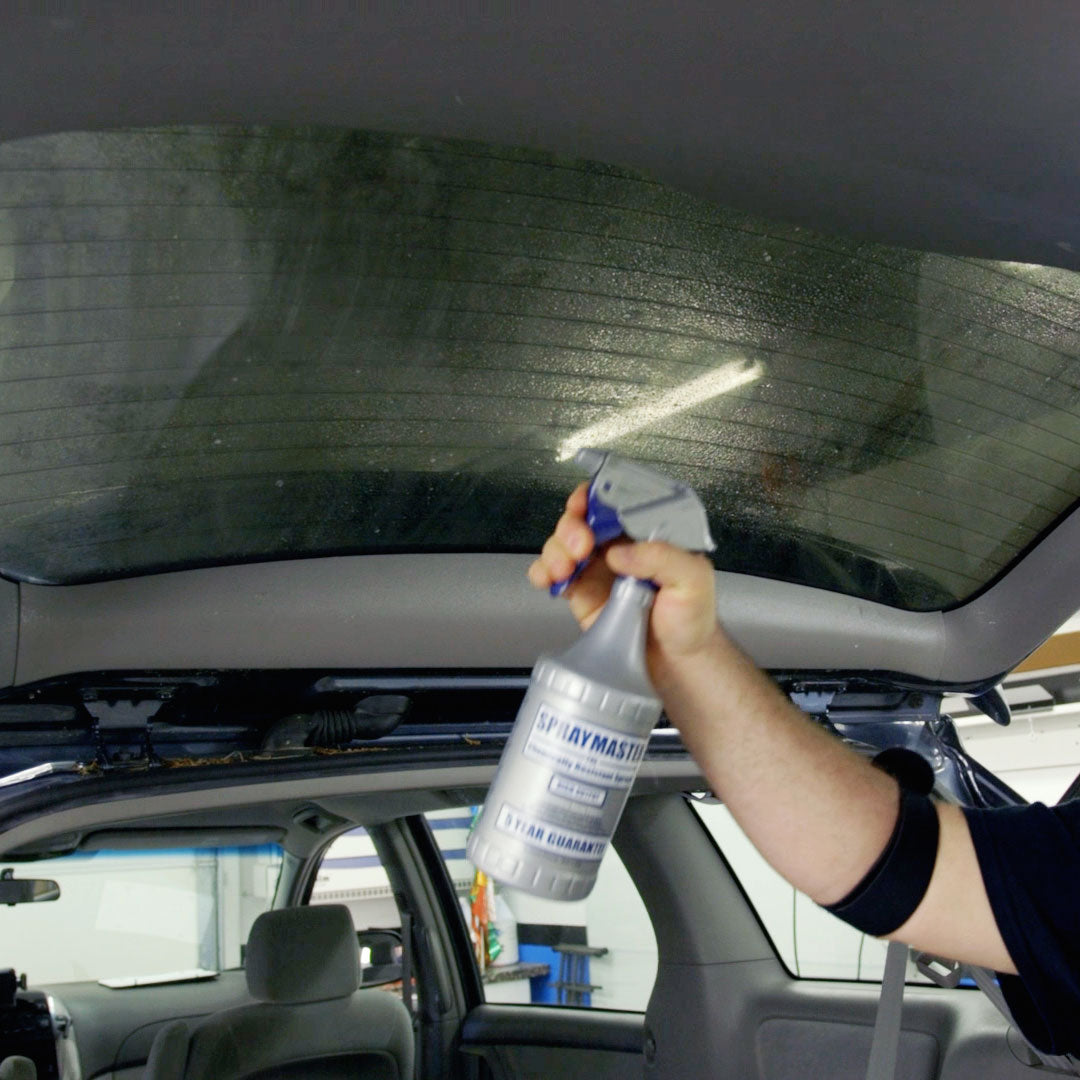
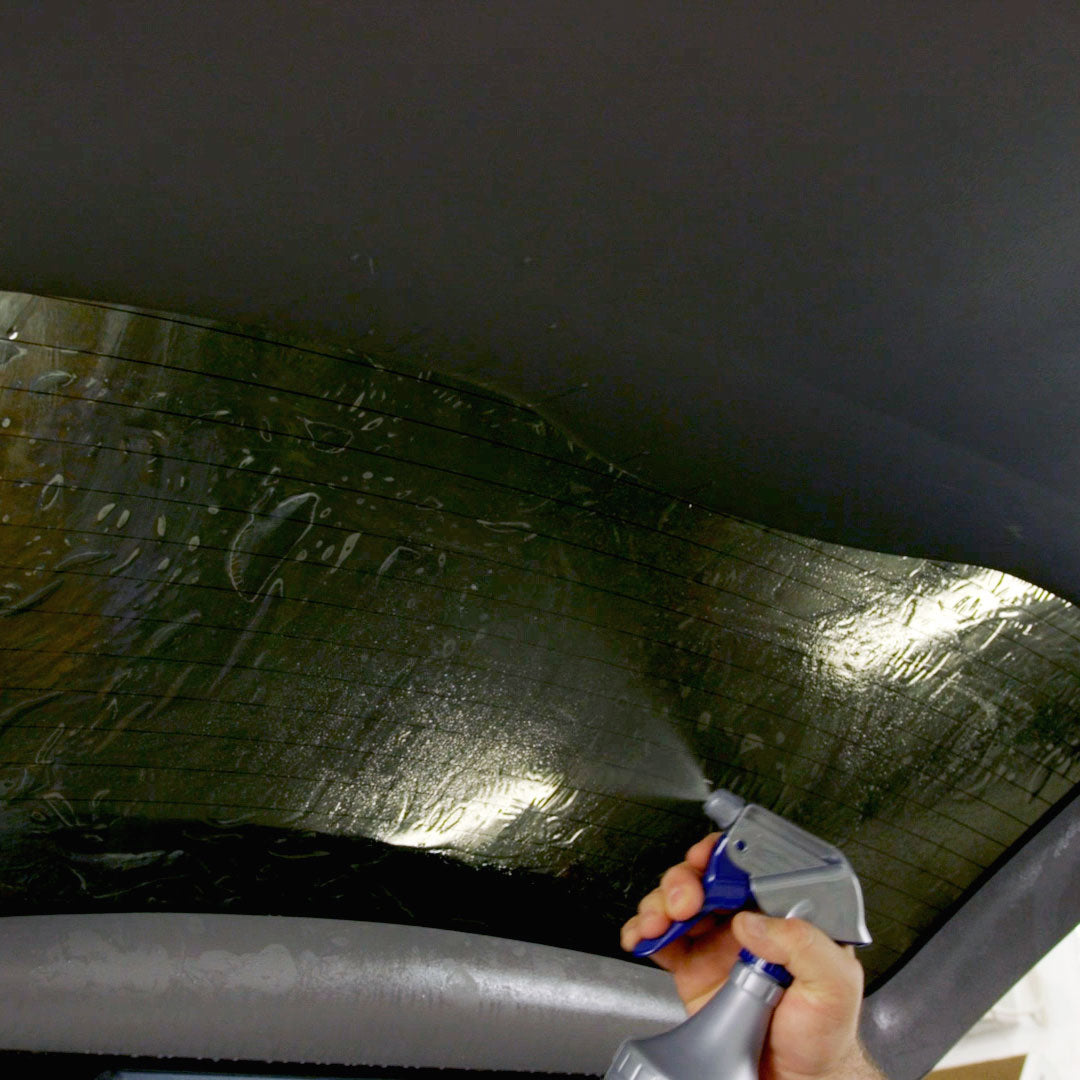
Spray The Window's Interior
Mist the inside of the window with the soapy water solution. This will create a slippery surface and prevent the tint from sticking prematurely.
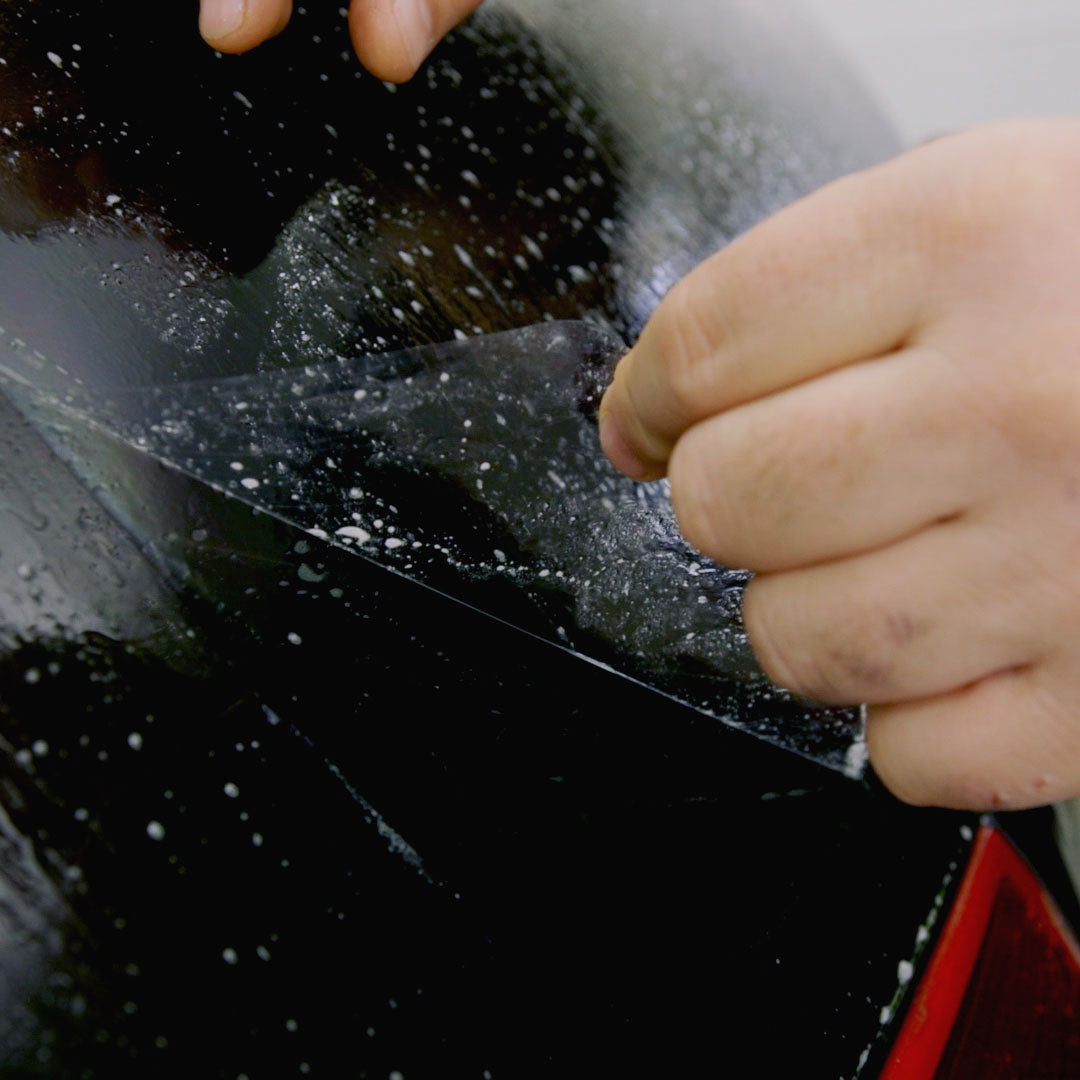
Peel Off The Protective Liner
Carefully peel off the protective backing from the pre-cut pattern. Start from one corner and gradually remove the backing while keeping the film as flat as possible.
Tip: If you're struggling to peel off the liner from the window pre-cut pattern, stick a small piece of blue tape on each side of the film at any corner. Then, pull in the opposite direction from the tape to remove the protective liner from the tint.
Spray The Pre-cut Pattern
Spray slip solution generously to the adhesive side of the pre-cut pattern.
Align & Apply
Align the pre-cut pre-cut pattern with the corresponding window and place it against the wet glass. Make sure to position it accurately, covering the entire window area. The soapy water solution will allow you to slide and adjust the film as needed.
Spray The Tint
After aligning your window pre-cut pattern, generously spray tint solution onto the tint. This will create a lubricating layer, enabling the squeegee to glide smoothly across the surface. By doing so, you can minimize the risk of scratches and imperfections before proceeding with the squeegee.
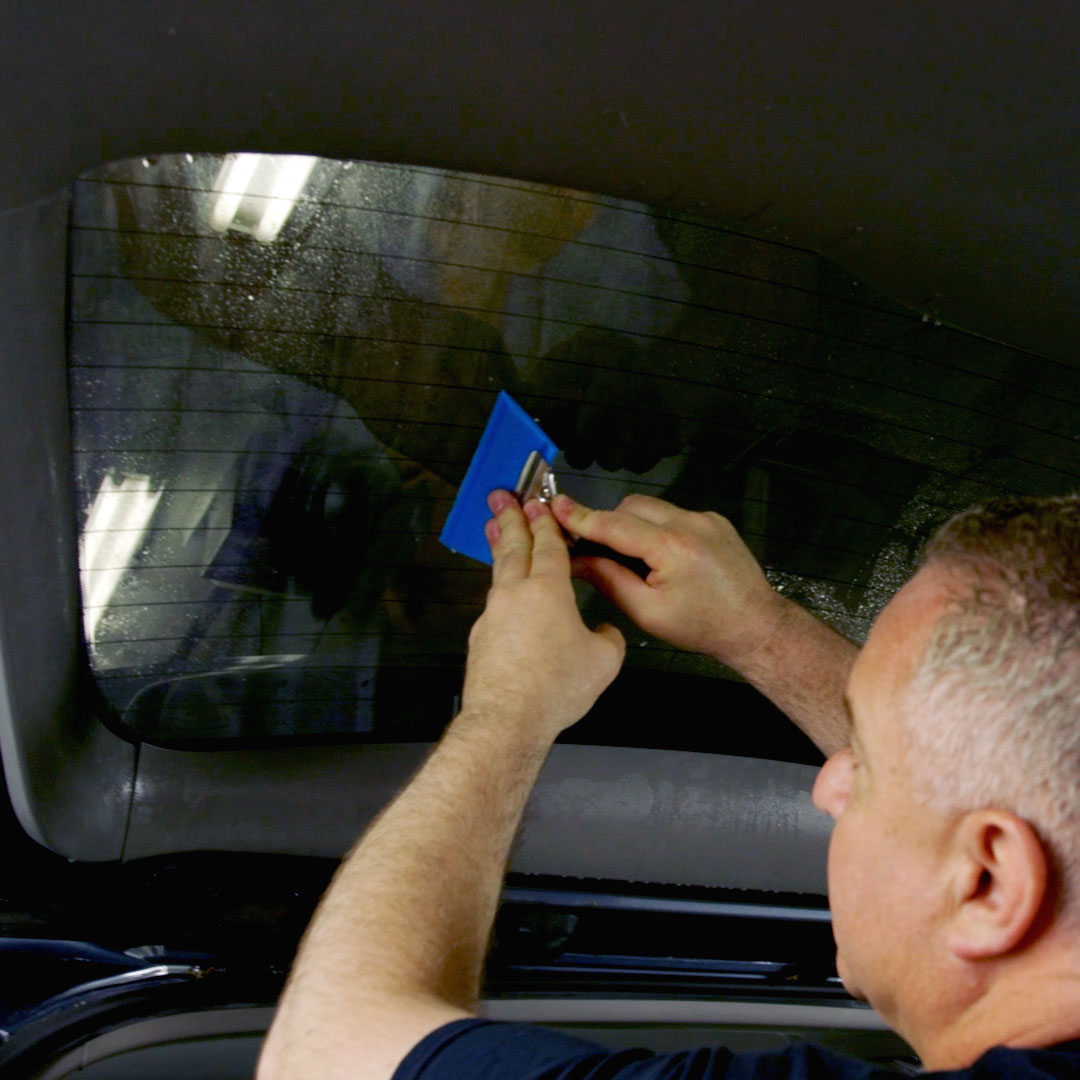
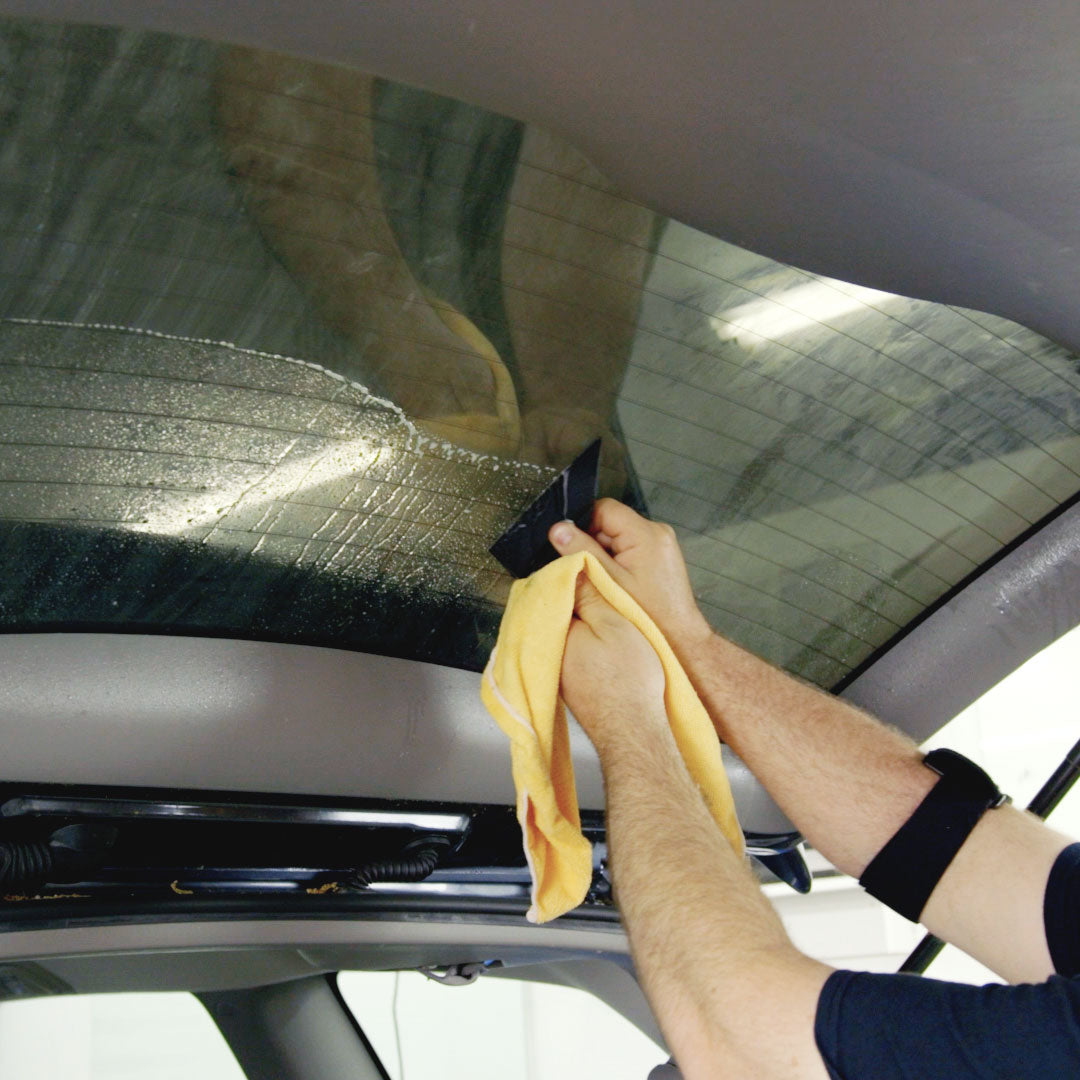
Smooth Out The Film
Using a squeegee or a plastic card, starting from the center and working towards the edges, press the film against the window and remove any air bubbles or excess water. Use firm, but gentle, strokes to avoid damaging the film.

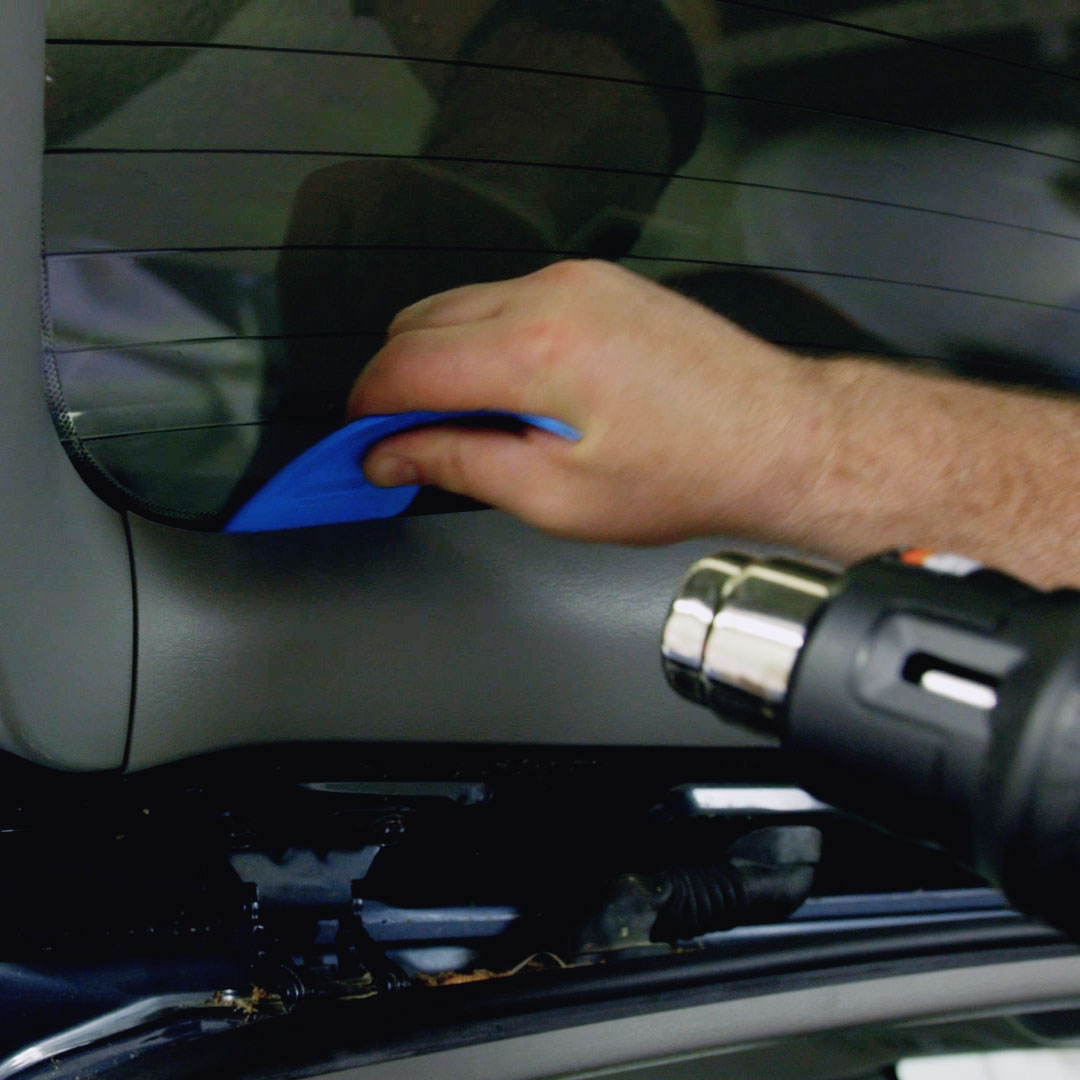
Use A Heat Gun
Using a heat gun set to 950°F, direct the heat from a distance of 4 inches toward the installed pre-cut tint to aid the glue in adhering (curing) to the glass.
Warning: Avoid holding the heat gun in one spot for more than a few seconds.
Clean Up
Inspect the tinted window for any remaining air bubbles or imperfections. If you notice any, gently lift the pre-cut
pattern with a squeegee or plastic card to smooth them out.
Done
Congratulations! You have now installed a pre-cut tint pattern. Repeat the steps for additional windows. Depending on weather conditions in your area, the film could take several days to cure to the glass. Leave the vehicle parked in direct sunlight to speed up the curing process.
Clean The Window
Thoroughly clean the inside and outside of the windows you plan to tint to ensure they are free of dirt, dust, and any debris. Use a glass cleaner or a mixture of vinegar and water, along with a lint-free cloth or paper towels, to achieve a clean surface.
Prepare The Pre-cut Pattern
Unroll the pre-cut pattern and inspect it for any defects or damage. If you notice any issues, contact Flexfilm for a replacement. Keep the pre-cut pattern flat and avoid creasing it. Do not installed a damaged pre-cut pattern or you will void your ability to get a replacement.
Lay Patterns On Windows
Mist the outside of the window with slip solution. Place the pre-cut pattern on the glass with the release linerfacing towards you, ensuring proper alignment. Use a squeegee to remove any liquid present, which will assist insmoothing out and flattening the pre-cut pattern. Be careful to not crease the pre-cut pattern as you smooth it out.
Use A Heat Gun To Heat Shrink
Using a heat gun set to 950°F, direct the heat from a distance of 4 inches toward the pre-cut pattern to begin the pre-shrinking process that molds the tint to the curve of the window and helps prevent bubbles.
Warning: Avoid holding the heat gun in one spot for more than a few seconds.
Spray The Window's Interior
Mist the inside of the window with the soapy water solution. This will create a slippery surface and prevent the tint from sticking prematurely.
Peel Off The Protective Liner
Carefully peel off the protective backing from the pre-cut pattern. Start from one corner and gradually remove the backing while keeping the film as flat as possible.
Tip: If you're struggling to peel off the liner from the window pre-cut pattern, stick a small piece of blue tape on each side of the film at any corner. Then, pull in the opposite direction from the tape to remove the protective liner from the tint.
Spray The Pre-cut Pattern
Spray slip solution generously to the adhesive side of the pre-cut pattern.
Align & Apply
Align the pre-cut pre-cut pattern with the corresponding window and place it against the wet glass. Make sure to position it accurately, covering the entire window area. The soapy water solution will allow you to slide and adjust the film as needed.
Spray The Tint
After aligning your window pre-cut pattern, generously spray tint solution onto the tint. This will create a lubricating layer, enabling the squeegee to glide smoothly across the surface. By doing so, you can minimize the risk of scratches and imperfections before proceeding with the squeegee.
Smooth Out The Film
Using a squeegee or a plastic card, starting from the center and working towards the edges, press the film against the window and remove any air bubbles or excess water. Use firm, but gentle, strokes to avoid damaging the film.
Use A Heat Gun
Using a heat gun set to 950°F, direct the heat from a distance of 4 inches toward the installed pre-cut tint to aid the glue in adhering (curing) to the glass.
Warning: Avoid holding the heat gun in one spot for more than a few seconds.
Clean Up
Inspect the tinted window for any remaining air bubbles or imperfections. If you notice any, gently lift the pre-cut
pattern with a squeegee or plastic card to smooth them out.
Done
Congratulations! You have now installed a pre-cut tint pattern. Repeat the steps for additional windows. Depending on weather conditions in your area, the film could take several days to cure to the glass. Leave the vehicle parked in direct sunlight to speed up the curing process.
Video Resources
Need Help?
If for any reason, you need help or support, please refer to one of our video walkthroughs
If you still need assistance, please contact us at patterns@flexfilmplus.com or (770) 559-5283.
Curing & Cure Instructions
- Depending on weather conditions in your area, the film could take several days to cure to the glass.
- Leave the vehicle parked in direct sunlight to speed up the curing process.
- Do not roll down filmed windows for a period of five (5) days until the film has properly adhered to the glass.
- Do not wash the film for seven (7) days after installation.
- Do not use abrasive cleaners or coarse cloths.
- Use a mild soap and clean, soft cloth or synthetic sponge.

Wait 5 days to roll down

Wait 7 days to wash

Use mild cleaning solutions only

No abrasive or coarse materials
Frequently Asked Questions
Do I have to heat‑shrink the film first? How can I tell?
Usually, side windows don’t need heat shrinking, but most back glasses (and some deeply curved quarter windows) do. The only way to know for sure is to test‑fit the pattern on the outside of the glass first.
What’s the best way to get rid of bubbles or “fingers” during install?
Squeegee from the center toward the edges in firm, overlapping passes. If a finger resurfaces, re‑wet and hit it with gentle heat, then chase it out with your card.
Will the film interfere with defroster lines or antennas?
No. Our patterns are designed to sit flush against factory defrosters and embedded antennas without affecting performance.
What if a piece gets damaged during install, can I buy a single replacement?
Email us with the specific window (e.g., driver front, rear quarter) and we’ll cut a replacement panel so you don’t have to reorder a whole kit. Please contact us at patterns@flexfilmplus.com or (770) 559-5283.

Dealer Rewards
Start earning points that can be applied as store credit on your next online purchase.

Order Online 24/7
Shop our products online and check out anytime, 24/7, from anywhere!

Call To Order
Call us directly to place your order during business hours, Monday - Friday, 8:00 AM - 4:00 PM CST.