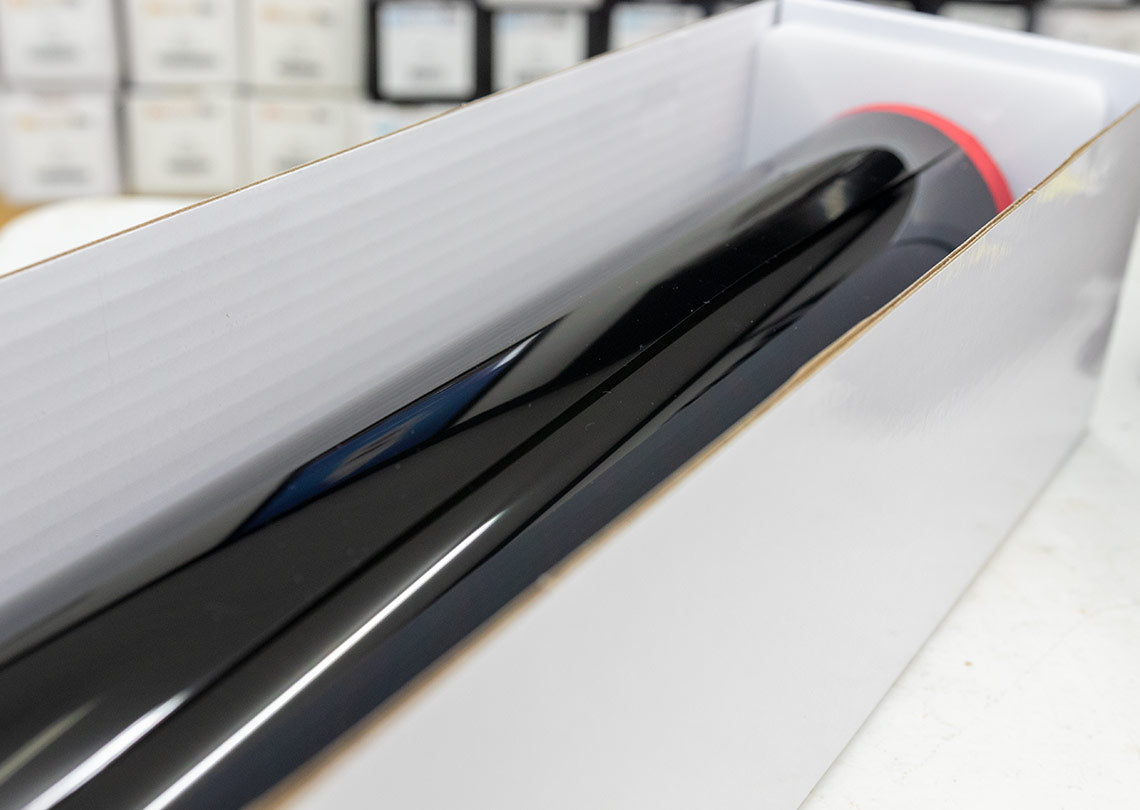
A Quick Guide to Shrinking Window Film on Your Vehicle
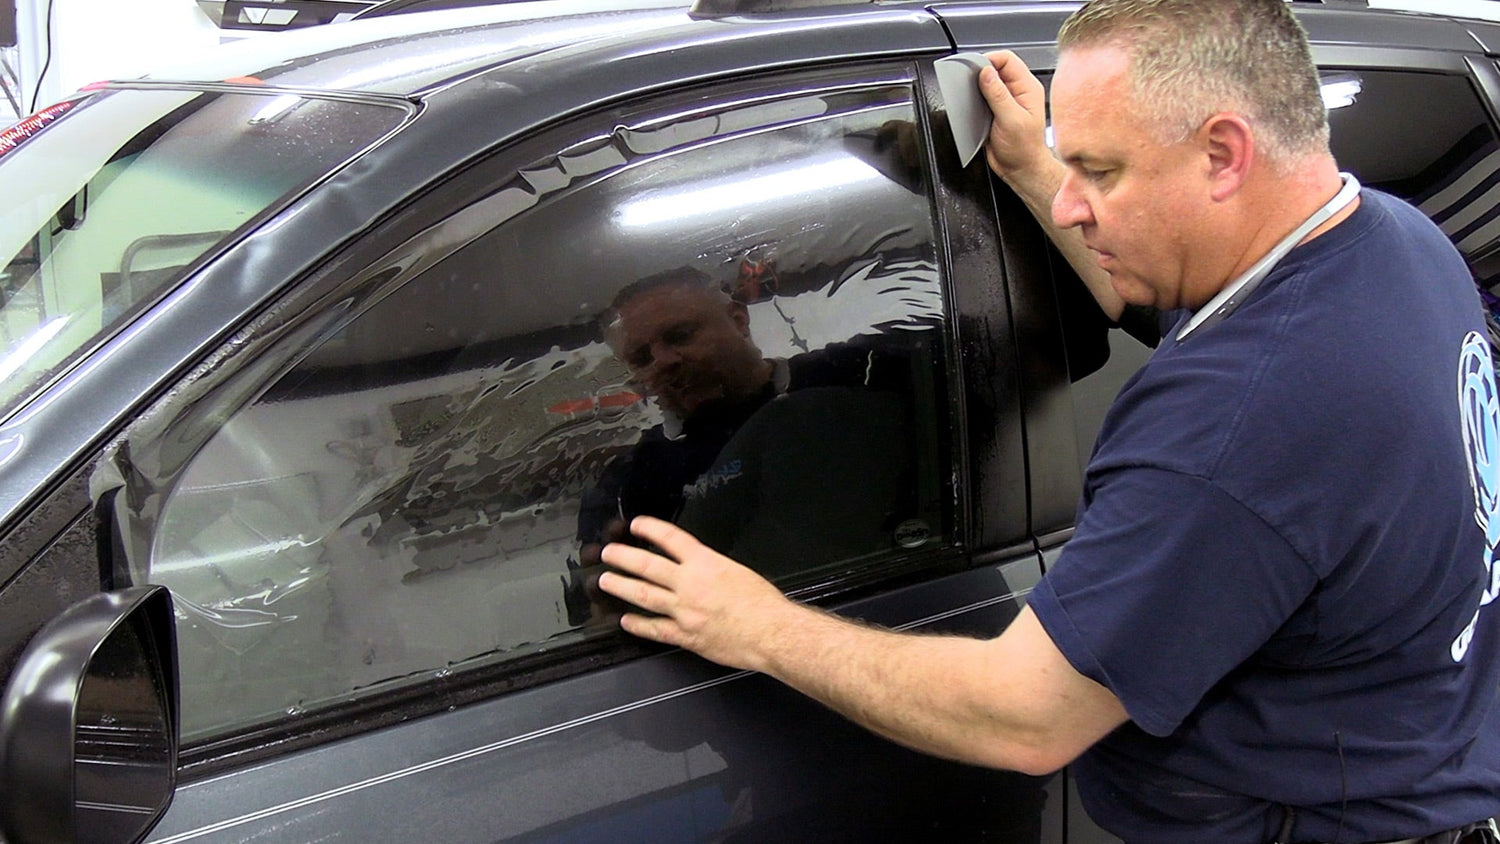
Ever wondered how window film fits so perfectly on those curved car windows? The secret is shrinking! If you're thinking about tinting your car windows or just curious about how it all works, this post will give you the lowdown on what shrinking window film is, why it matters, and how to tell if you need to do it.
What’s Shrinking All About?
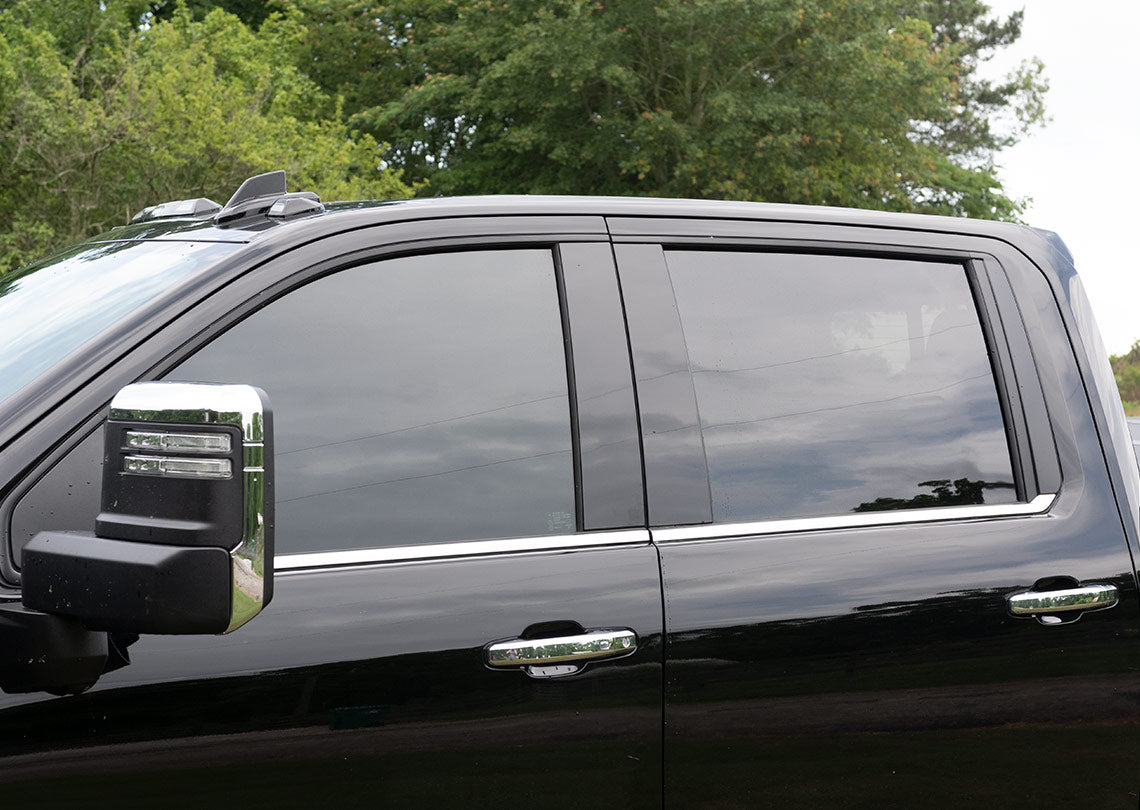
Shrinking window film is all about getting that perfect fit on your car’s windows, especially the ones that aren’t flat. Many vehicle windows, like the rear window or some side windows, have curves. Without shrinking, the film would wrinkle or bubble up when applied, and no one wants that! Shrinking allows the film to stretch and mold to the glass, making it look smooth and seamless.

Why Do Some Windows Need Shrinking?
Not all windows are created equal. If your car has windows with curves—think about those rear windows that curve in two directions—then you’ll likely need to shrink the film. This process makes sure the film fits snugly against the glass without any creases or bubbles, giving you that clean, professional look.
How Can You Tell If Shrinking Is Needed?
Here’s how you can figure out if the film needs to be shrunk before installation:
-
Check the Curves: The more curved the glass, the more likely you’ll need to shrink the film. Rear windows are usually the main culprits.
-
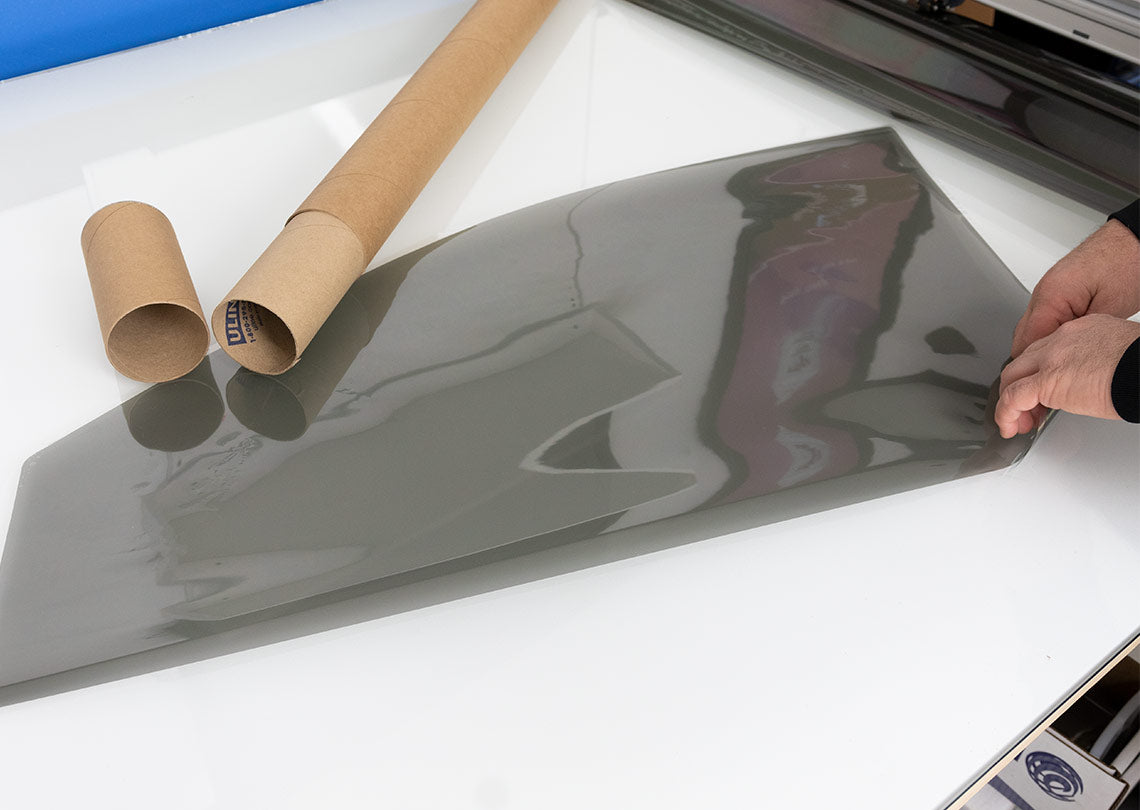
Test the Fit: Lay the film on the outside of the window with the liner side facing you. If it doesn’t naturally lay flat and you see those pesky lines or bubbles, it’s a good sign that shrinking is needed.
-
Trust the Pros: If you’re not sure, experienced installers can usually tell right away if shrinking is necessary. They’ve got the eye for it!

How Does Shrinking Work?
Shrinking might sound complicated, but here’s the basic idea:
-
Position the Film: The installer will place the film on the outside of the window to see how it fits, cutting it to size but leaving some extra.
-
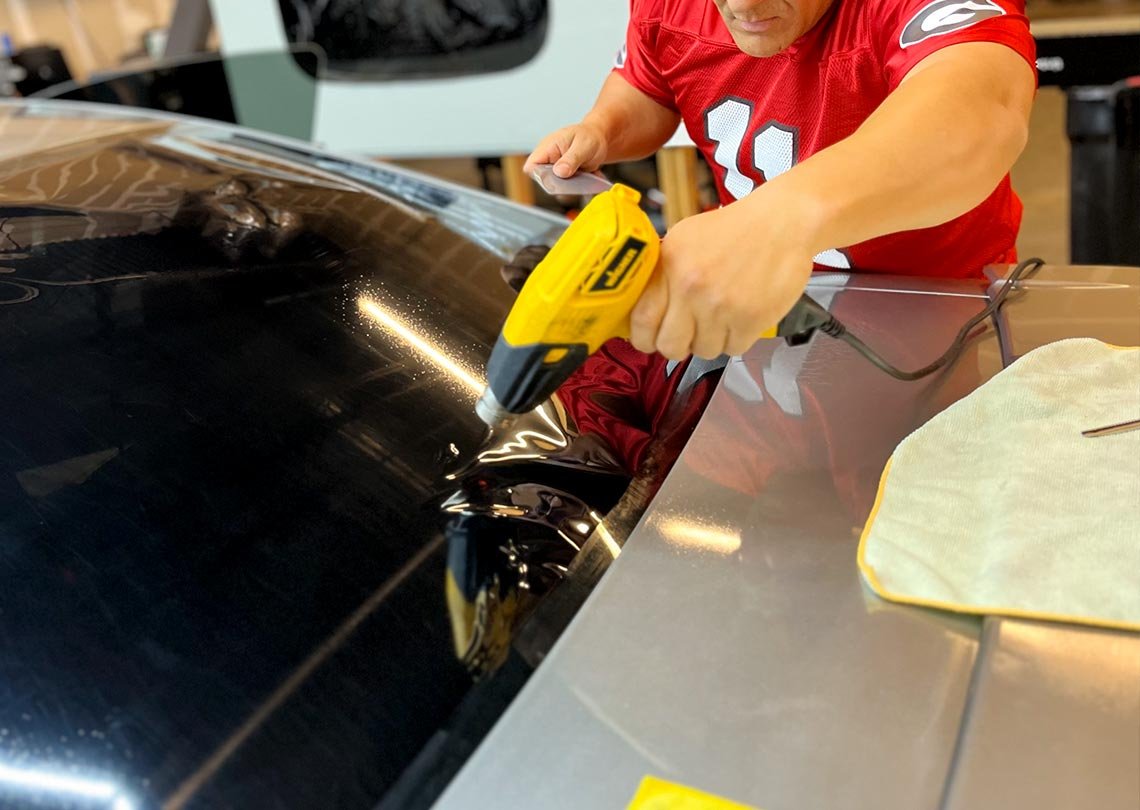
Heat It Up: Using a heat gun, they’ll carefully warm up the film, making it stretchy so it can mold to the glass’s shape.
-
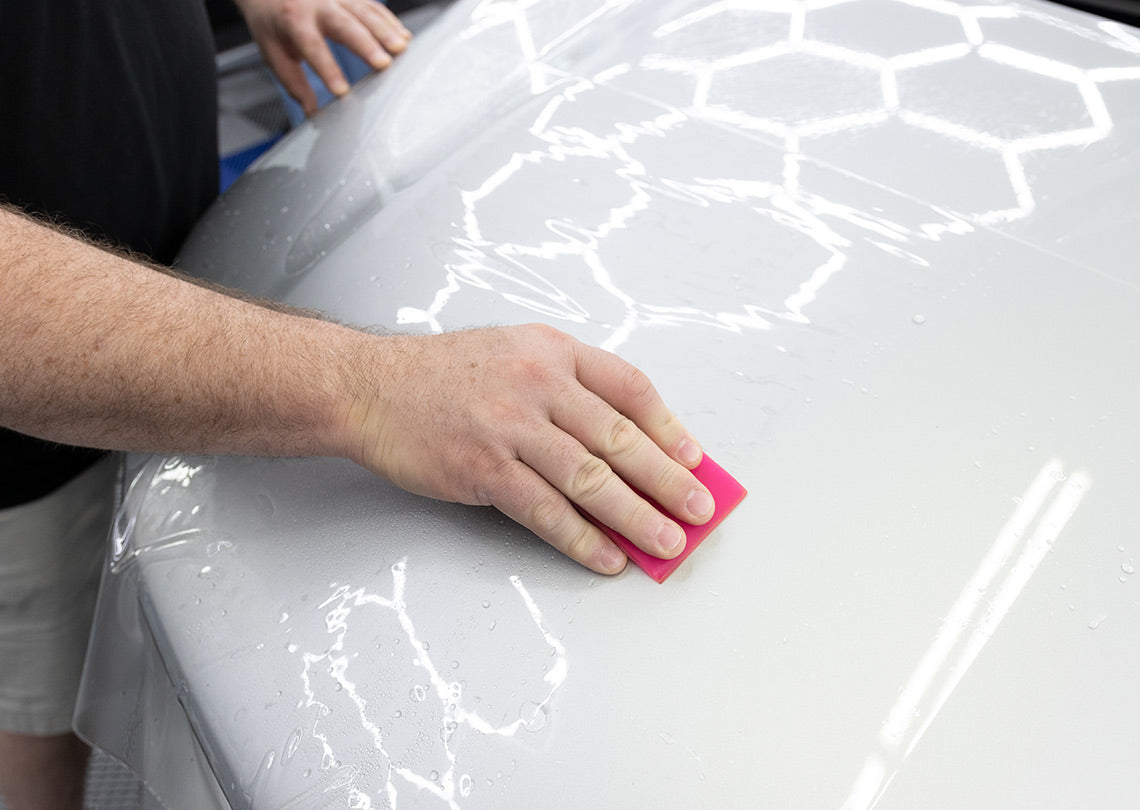
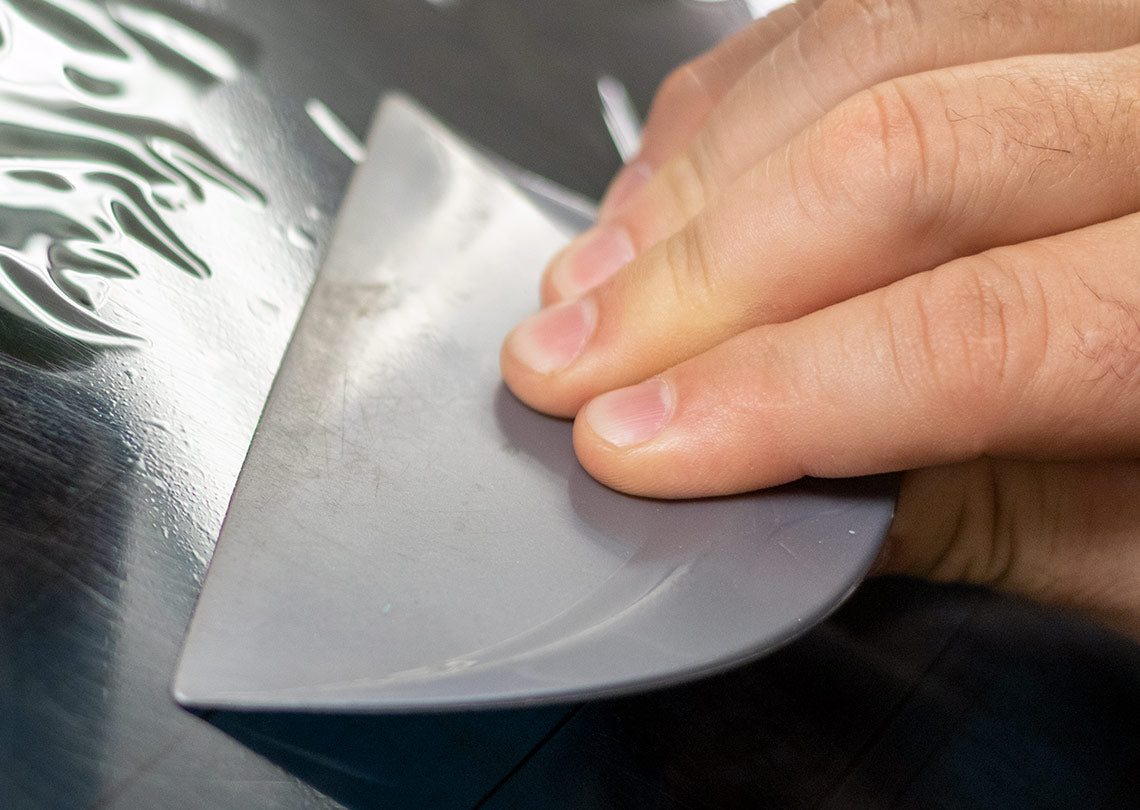
Smooth It Out: As the film shrinks, they’ll smooth it out against the glass, getting rid of any wrinkles or bubbles.
-
Final Touches: Once the film fits just right, it’s trimmed to the exact size and installed on the inside of the window.
Should You DIY or Go Pro?
While it might be tempting to try shrinking and installing window film yourself, it’s a bit of an art. Small mistakes can lead to a less-than-perfect finish, so if you want that flawless look, it’s a good idea to hire a pro. They have the experience and tools to get the job done right.

Wrapping It Up
Shrinking window film is key to getting that smooth, professional look on your car’s windows. Knowing whether your windows need shrinking can help you make better decisions when tinting your vehicle. And whether you’re thinking about doing it yourself or hiring someone, remember that a well-installed film not only looks great but also works better in the long run.
Got questions or thinking about tinting your car? We’re here to help! Drop us a line, and we’ll make sure you get the perfect tint for your ride.
Video Playlist
And to make things even easier, we’re including a playlist along with this blog article with some really helpful videos on the topic of shrinking. Whether you’re a DIYer or just curious, these videos will walk you through the process and give you some pro tips along the way. Happy tinting!

Dealer Rewards
Start earning points that can be applied as store credit on your next online purchase.

Order Online 24/7
Shop our products online and check out anytime, 24/7, from anywhere!

Call To Order
Call us directly to place your order during business hours, Monday - Friday, 8:00 AM - 4:00 PM CST.
