

Cómo instalar una película arquitectónica para ventanas
Instrucciones de instalación paso a paso para tu lámina para vidrio plano.
Elige cómo quieres leerlas.
o desplácese hacia abajo para ver las instrucciones.

Antes de comenzar
Instalar película para ventanas arquitectónicas por tu cuenta es muy factible si te tomas tu tiempo, trabajas con limpieza y sigues cada paso con atención. Para obtener los mejores resultados, lee la guía completa antes de empezar. Practicar con una pieza pequeña primero también es una buena idea. Dos personas harán el trabajo mucho más fácil, especialmente en ventanas grandes.
Aplicar cuando el cristal esté frío
Aplique la película sobre vidrio frío y sombreado cuando la temperatura de la ventana se encuentre entre 45°F y 90°F.
Evite la luz solar directa y las condiciones de congelación.
No instalar bajo la luz directa del sol o en condiciones de congelación.
Mantenga un espacio de trabajo limpio y libre de polvo.
Un espacio de trabajo limpio y libre de polvo le dará el mejor resultado, así que apague los ventiladores y mantenga el área de trabajo lo más limpia posible.
Herramientas necesarias
Solución de deslizamiento
Permite que la película se deslice a su lugar antes de bloquearla.
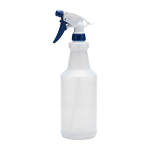
Pulverizador
Aplica la solución deslizante uniformemente sobre la superficie del vidrio.

Enjugador de goma
Se utiliza para expulsar el agua y las burbujas de aire para lograr una unión suave y segura.
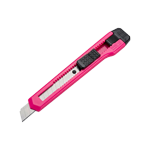
Cúter
Se utiliza para cortar la película de forma limpia hasta los bordes de la ventana.
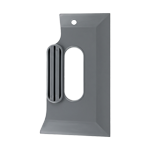
Guía de recorte
Mantiene los cortes rectos y uniformes a lo largo de los bordes de la ventana.
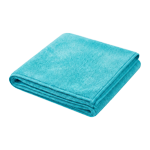
Toalla de microfibra
Limpia el vidrio y los bordes para mantener todo limpio y seco.
Artículos Domésticos Útiles

Cuchilla de afeitar de un solo filo
Elimina la suciedad persistente, la pintura o los residuos del vidrio antes de la instalación.

Regla o cinta métrica
Asegura mediciones precisas antes de cortar la lámina.

Cinta Transparente
Ayuda a separar el protector de la película sin dañarlo.

Tijeras
Se utiliza para cortar el metraje en bruto antes del recorte final.
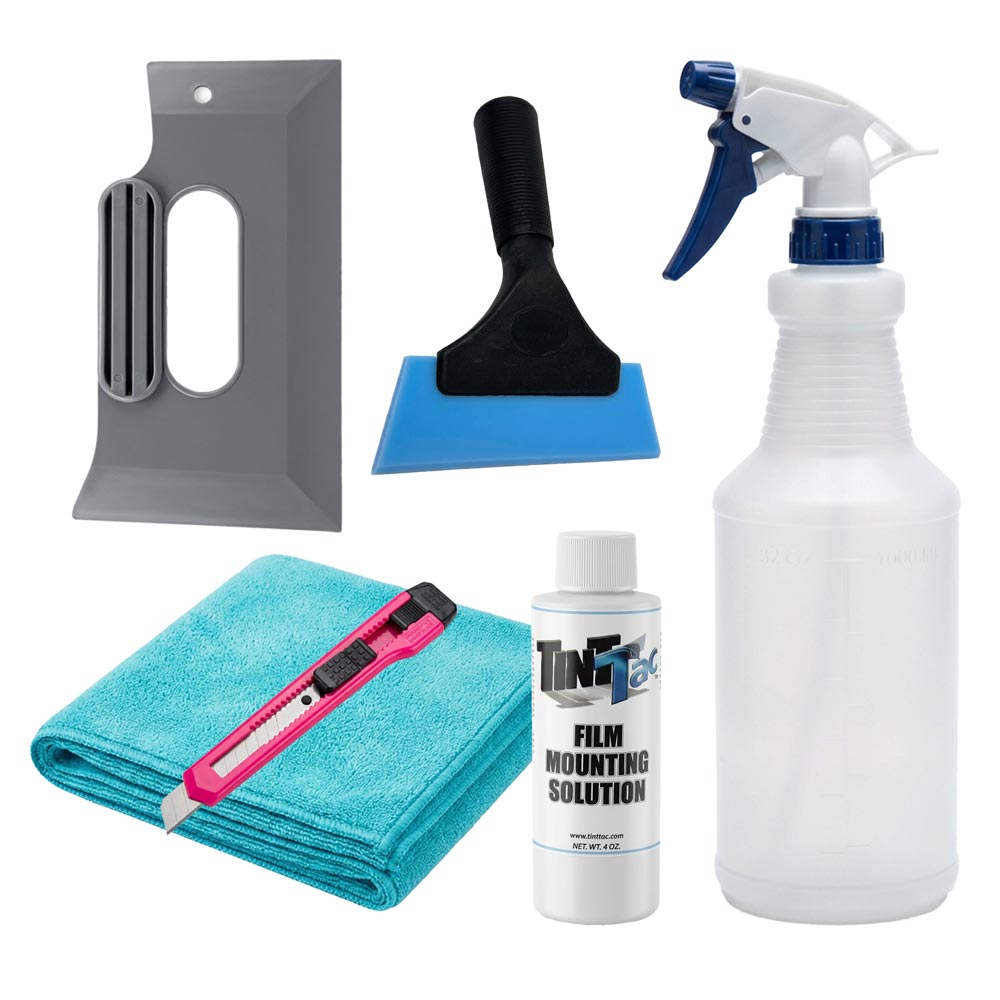
¿Necesitas las herramientas también?
Nuestro kit de instalación de láminas para ventanas DIY incluye las herramientas principales necesarias para la instalación en una sola caja.
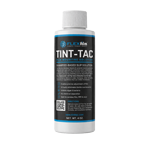
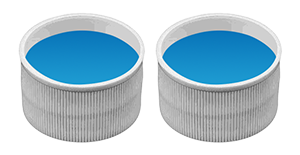
Mezclando su solución de deslizamiento
Una solución deslizante es esencial para una instalación exitosa de su lámina para ventanas, ya que permite que la lámina se deslice fácilmente sobre el vidrio, lo que permite un posicionamiento preciso sin que se pegue prematuramente.
Tinte-tac
Dos tapones por botella de spray de 32 oz.
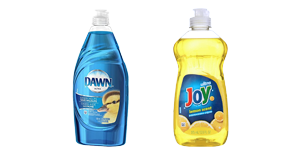
Jabón para platos
Apriete ligeramente durante 3 segundos por cada botella de spray de 945 ml (32 oz). Use solo la fórmula original. No utilice versiones concentradas ni multiplicadas.
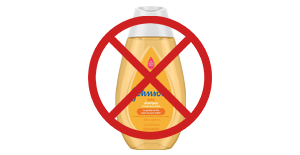
Champú para bebés
No recomendamos utilizar champú para bebés como solución antideslizante.
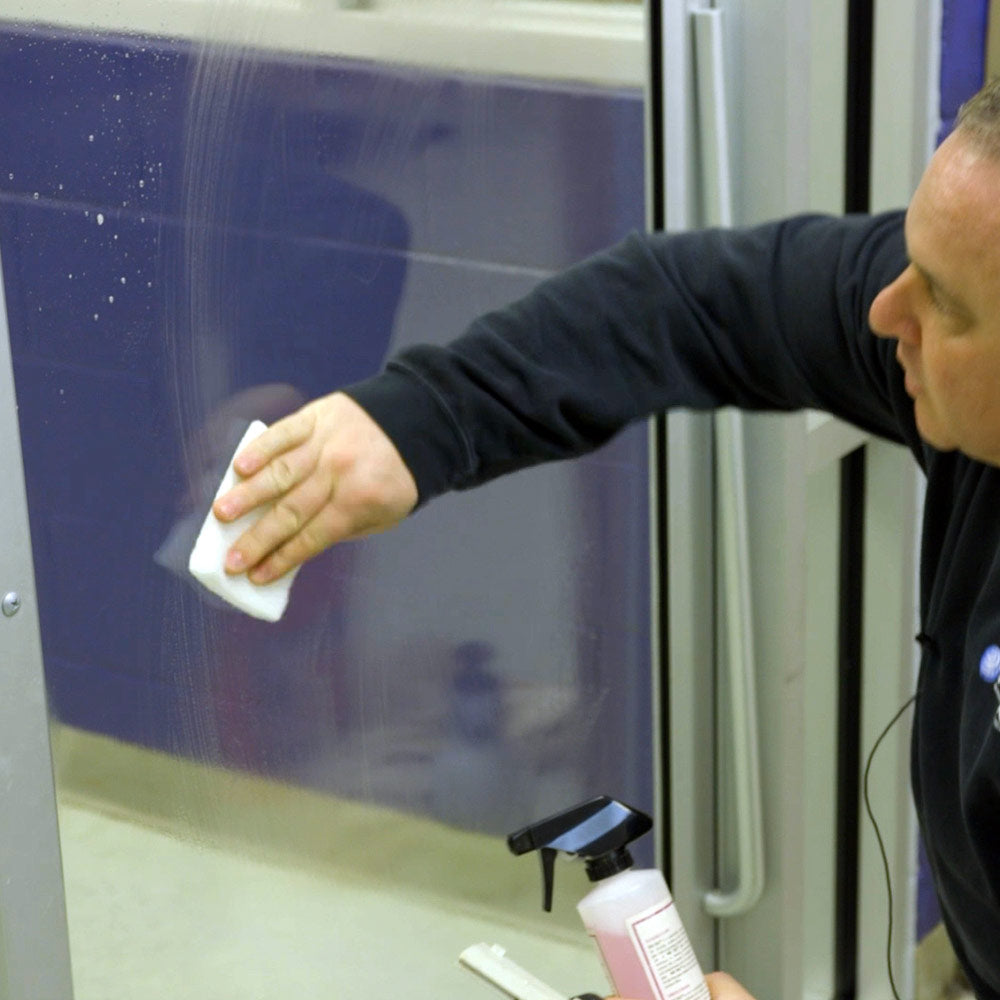

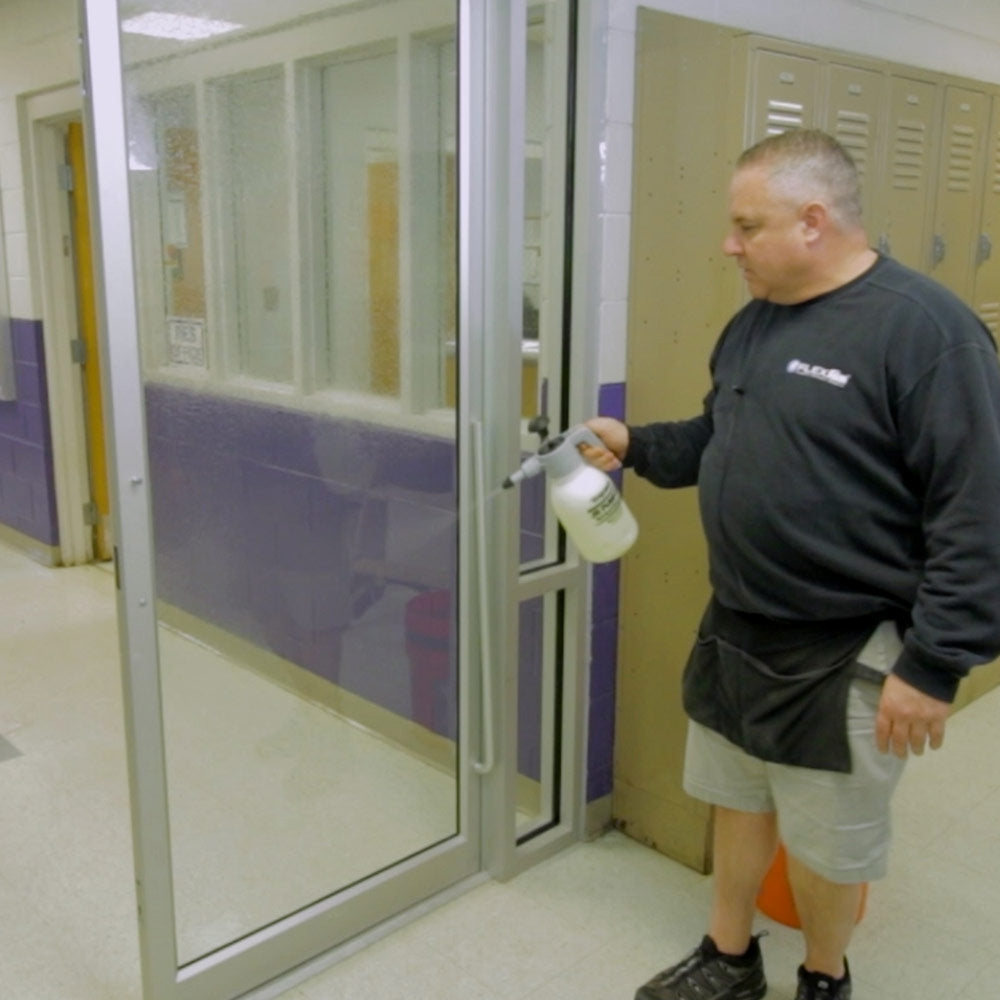
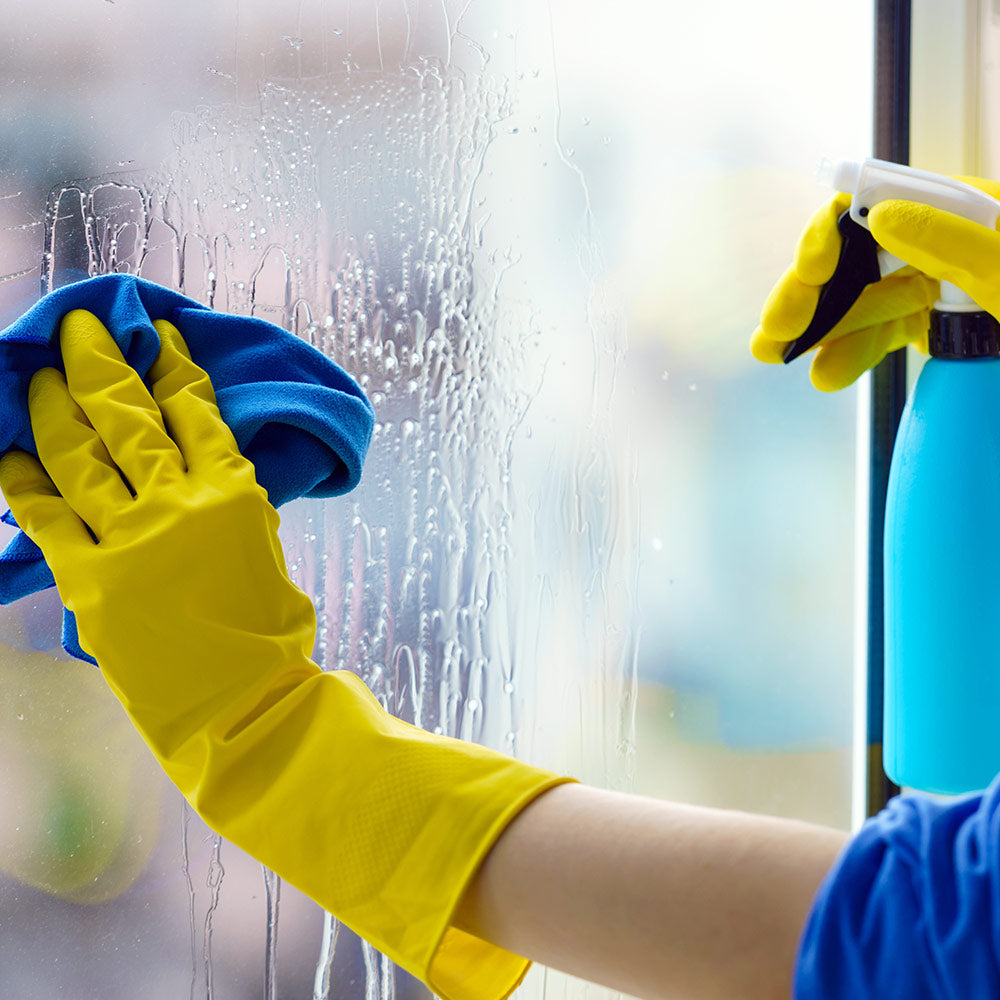
Limpiar la ventana
Rocía generosamente el vidrio con la solución deslizante. Usa una cuchilla de afeitar para eliminar cualquier suciedad, pintura o residuo persistente, prestando especial atención a las esquinas. Vuelve a humedecer la ventana y luego pasa el limpiacristales hacia abajo. Limpia la junta o los bordes de la ventana con un paño suave. Para obtener la mejor claridad final, limpia también el exterior de la ventana.
Consejo: Si el vidrio tiene grasa o residuos de humo, límpialo primero con un limpiacristales estándar y luego enjuágalo bien con la solución deslizante antes de instalar la película.


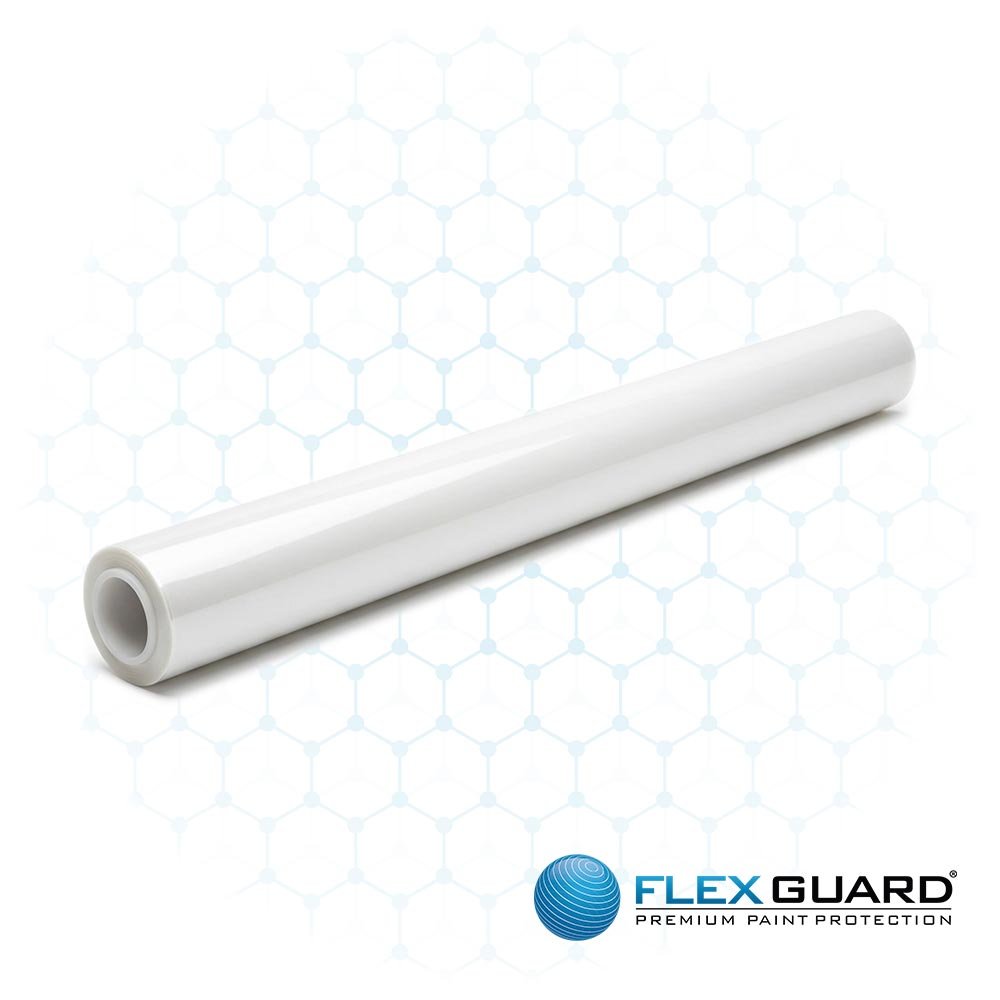
Mida y corte la película
Desenrolle la lámina sobre una superficie limpia y plana. Mida la ventana con cuidado y, a continuación, corte la lámina al menos 2,5 cm más grande que el cristal por los cuatro lados. El material sobrante se recortará una vez instalada la lámina.
Consejo: Utilice al menos un borde de fábrica siempre que sea posible. Esto puede facilitar el posicionamiento y darle un resultado final más limpio.
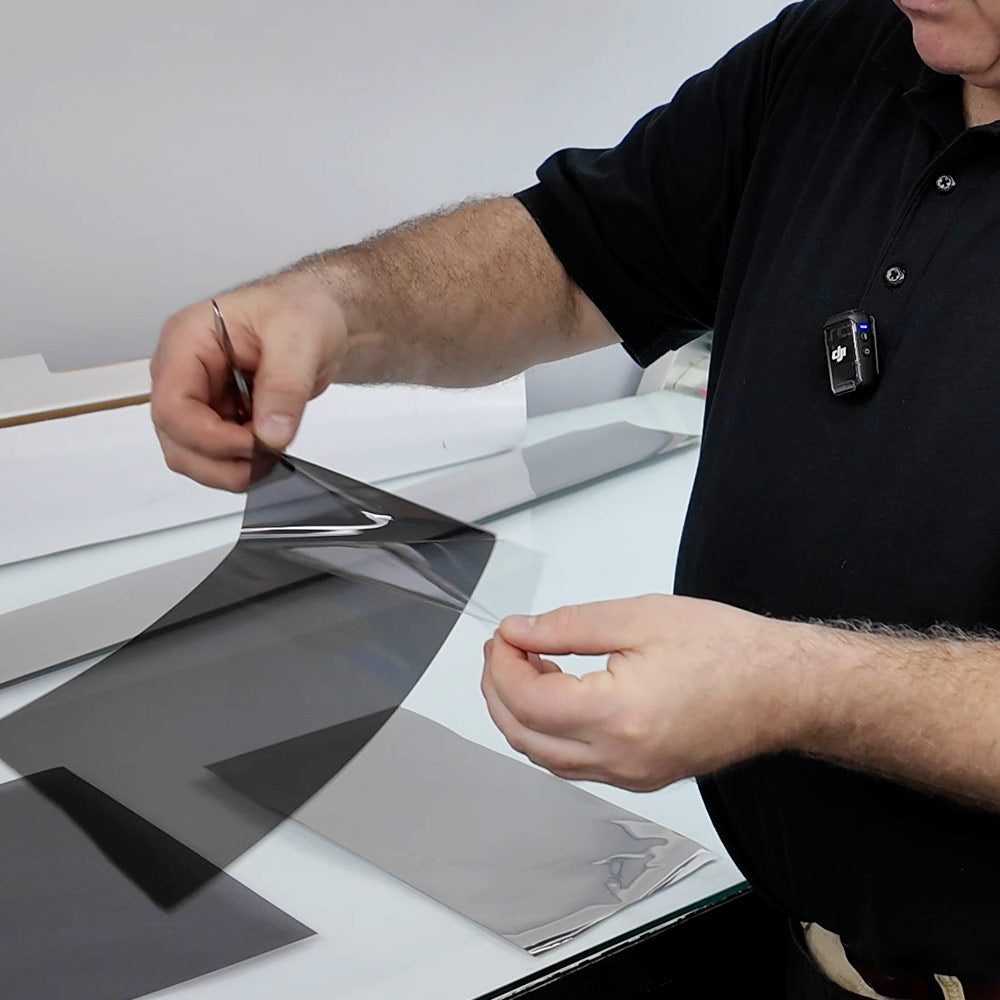

Identifica el liner transparente
Coloque la lámina sobre una superficie limpia y plana. En una esquina, coloque dos pequeñas tiras de cinta transparente, una en la lámina y otra en el protector, dejando aproximadamente una pulgada colgando por la esquina. Presione firmemente las cintas y luego sepárelas rápidamente para comenzar a despegar el protector transparente del lado adhesivo. Deje la cinta en su lugar una vez que la haya encontrado.
Consejo: Para la mayoría de las láminas arquitectónicas, el protector se encuentra en la parte interior. En la lámina cerámica arquitectónica, el protector se encuentra en la parte exterior. Doblar los extremos de la cinta sobre sí mismos puede ayudar a evitar que se vuelvan a pegar.

Moja la ventana y el film
Rocíe ligeramente la solución resbaladiza sobre la superficie interior de la ventana y en ambos lados de la película. Esto ayuda a reducir el rizado y la estática, facilitando el manejo de la película.
Consejo: Es útil que otra persona sostenga la película por los bordes mientras usted rocía ambos lados.

Retire el protector transparente
Separe las dos tiras de cinta para liberar el forro de la esquina. A medida que retire el forro, rocíe la parte adhesiva expuesta de la película con solución deslizante hasta que el forro se retire por completo y la parte adhesiva esté completamente mojada. Evite que la película se toque a sí misma durante este paso.
Consejo: Una segunda persona es muy útil aquí. Una persona puede sostener la película mientras la otra retira el forro y rocía.
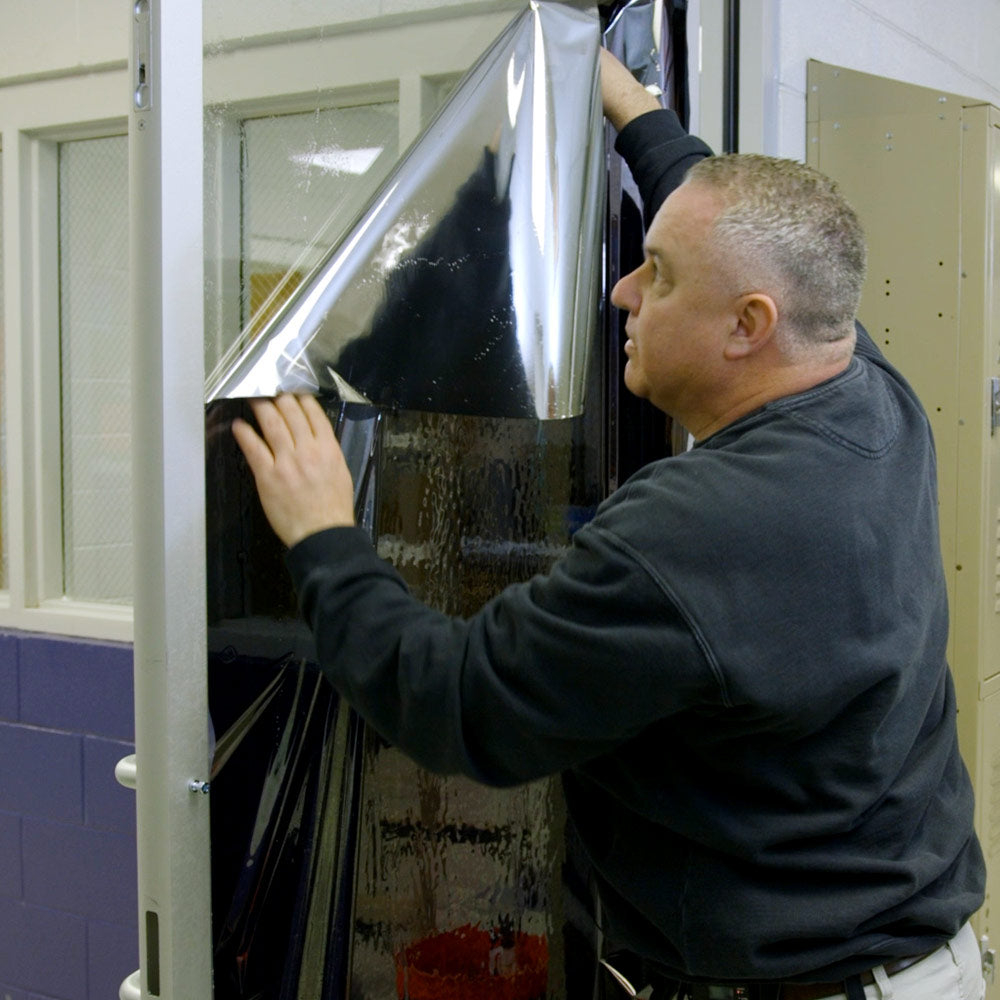

Aplica la película al vidrio
Sostenga el film con el lado adhesivo hacia el cristal y colóquelo sobre la ventana. Use las manos para alisarlo y colocarlo de manera que el film se superponga al cristal de forma uniforme aproximadamente 2.5 cm en los cuatro lados.
Consejo: Si está usando un borde de fábrica, alinee ese borde con la ventana primero. En piezas más grandes, puede ser útil dejar parte del forro puesto mientras lo posiciona, luego retire el resto una vez que el film esté en su lugar.
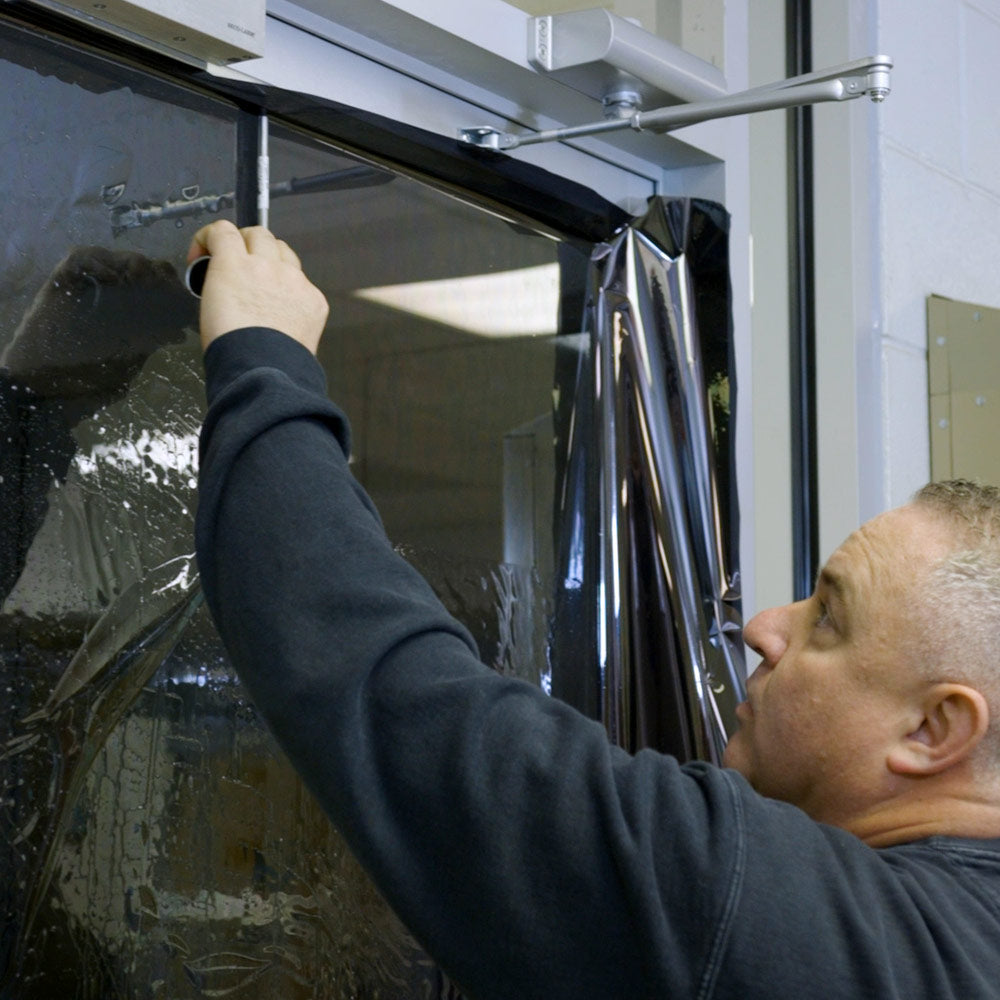

Alise la película
Rocíe la superficie exterior de la película con la solución lubricante. Envuelva la escobilla de goma con un paño que no suelte pelusa y deslice ligeramente la escobilla desde arriba hacia abajo para fijar la película. Luego, comenzando desde arriba, deslice la escobilla desde el centro hacia el lado derecho a medida que avanza hacia abajo. Deje un perímetro de aproximadamente 5 cm sin raspar alrededor de los bordes por ahora. Repita en el lado izquierdo.
Consejo: Si ve burbujas largas o "dedos" a lo largo de los bordes, envuelva la escobilla con un paño que no suelte pelusa y empújelas con cuidado hacia el borde de la película.
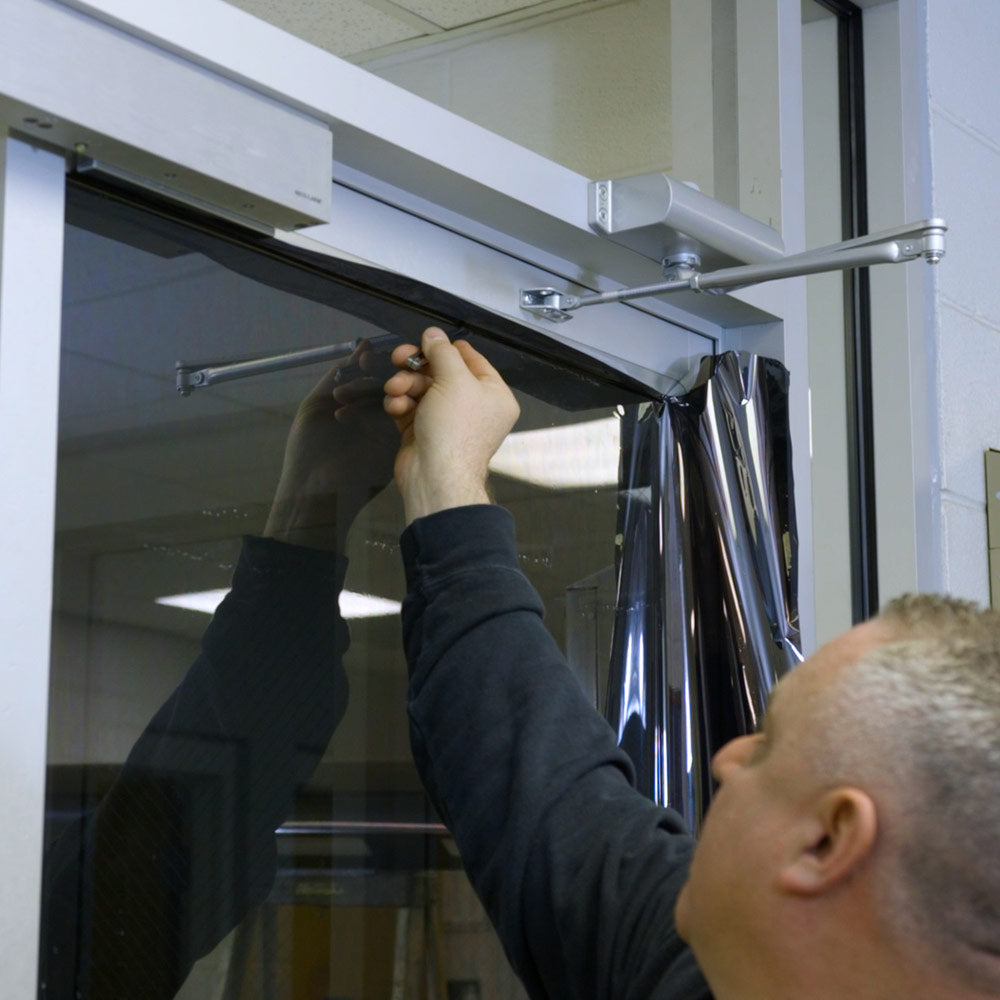

Recorta la película
Coloca el cúter en la ranura de la herramienta de ribeteado. Comenzando por una esquina superior, alinea la herramienta y tira de ella lentamente hacia abajo por el borde de la ventana para cortar la película. Vuelve a colocarla según sea necesario en las esquinas, retira la tira cortada y repite el proceso en los cuatro lados.
Consejo: La herramienta de ribeteado deja un espacio de aproximadamente 1/16 de pulgada entre la película y el borde de la ventana, lo cual es necesario para una expansión térmica adecuada. Reemplaza la cuchilla después de cada 10 pies de corte. Una cuchilla sin filo puede rasgar la película.
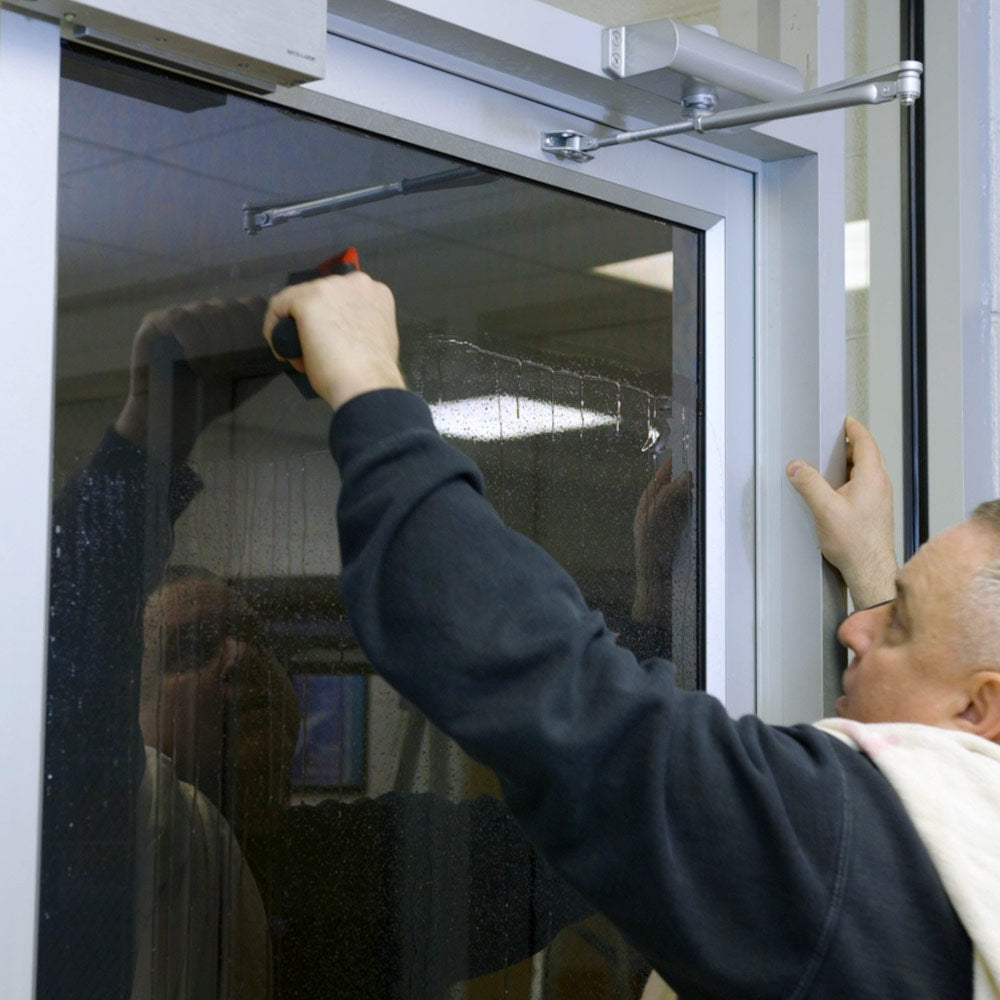
Secar con espátula
Vuelva a humedecer la lámina. Vuelva a pasar la escobilla desde el centro hacia afuera, trabajando de arriba a abajo en cada lado. Aplique presión firme para eliminar la mayor cantidad de agua posible, de modo que el adhesivo pueda curarse limpiamente. Cualquier pequeña burbuja de agua restante deberá evaporarse durante el curado.
Consejo: Si aparecen imperfecciones, despegue el área afectada del vidrio, elimine los residuos o burbujas con la escobilla o la punta de un cuchillo, vuelva a rociar tanto la lámina como el vidrio con solución deslizante y vuelva a aplicarlo. Este consejo solo es aplicable para nuestra lámina reflectante doble que tiene adhesivo seco. No lo intente con adhesivos sensibles a la presión.

Deja que seque bien
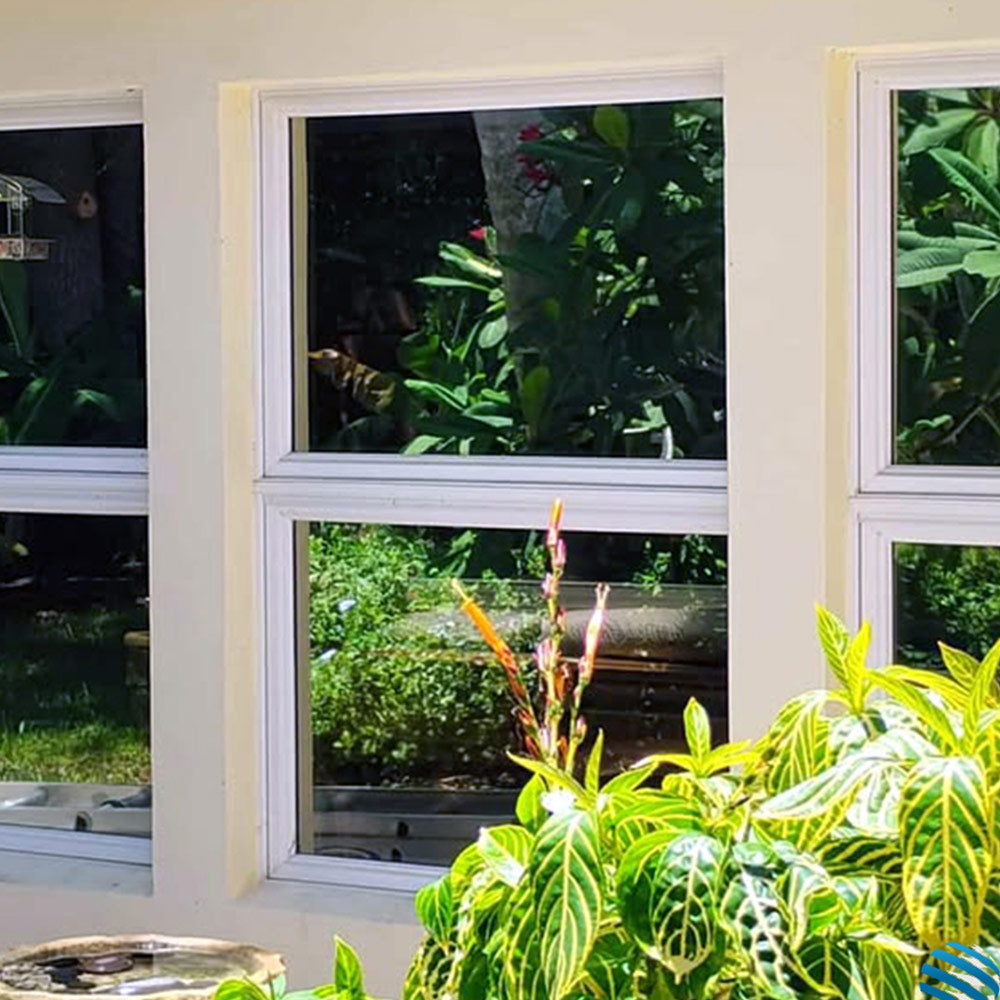
Su lámina está instalada. Normalmente se curará por completo en unos 7 a 10 días. El clima cálido y soleado suele acelerar el proceso de curado. Las pequeñas burbujas de agua que queden deberían desaparecer a medida que la lámina se seque.

Cuidado y mantenimiento
Para la limpieza, utilice la solución de preparación Pre-Tac de Flexfilm siempre que sea posible. Limpie la película con una escobilla de goma o un paño que no suelte pelusa. Si utiliza un limpiador de cristales a base de amoniaco, no lo deje sobre la película durante más de 2 minutos.
Limpiar la ventana
Rocía generosamente el vidrio con la solución deslizante. Usa una cuchilla de afeitar para eliminar cualquier suciedad, pintura o residuo persistente, prestando especial atención a las esquinas. Vuelve a humedecer la ventana y luego pasa el limpiacristales hacia abajo. Limpia la junta o los bordes de la ventana con un paño suave. Para obtener la mejor claridad final, limpia también el exterior de la ventana.
Consejo: Si el vidrio tiene grasa o residuos de humo, límpialo primero con un limpiacristales estándar y luego enjuágalo bien con la solución deslizante antes de instalar la película.
Mida y corte la película
Desenrolle la lámina sobre una superficie limpia y plana. Mida la ventana con cuidado y, a continuación, corte la lámina al menos 2,5 cm más grande que el cristal por los cuatro lados. El material sobrante se recortará una vez instalada la lámina.
Consejo: Utilice al menos un borde de fábrica siempre que sea posible. Esto puede facilitar el posicionamiento y darle un resultado final más limpio.
Identifica el liner transparente
Coloque la lámina sobre una superficie limpia y plana. En una esquina, coloque dos pequeñas tiras de cinta transparente, una en la lámina y otra en el protector, dejando aproximadamente una pulgada colgando por la esquina. Presione firmemente las cintas y luego sepárelas rápidamente para comenzar a despegar el protector transparente del lado adhesivo. Deje la cinta en su lugar una vez que la haya encontrado.
Consejo: Para la mayoría de las láminas arquitectónicas, el protector se encuentra en la parte interior. En la lámina cerámica arquitectónica, el protector se encuentra en la parte exterior. Doblar los extremos de la cinta sobre sí mismos puede ayudar a evitar que se vuelvan a pegar.
Moja la ventana y el film
Rocíe ligeramente la solución resbaladiza sobre la superficie interior de la ventana y en ambos lados de la película. Esto ayuda a reducir el rizado y la estática, facilitando el manejo de la película.
Consejo: Es útil que otra persona sostenga la película por los bordes mientras usted rocía ambos lados.
Retire el protector transparente
Separe las dos tiras de cinta para liberar el forro de la esquina. A medida que retire el forro, rocíe la parte adhesiva expuesta de la película con solución deslizante hasta que el forro se retire por completo y la parte adhesiva esté completamente mojada. Evite que la película se toque a sí misma durante este paso.
Consejo: Una segunda persona es muy útil aquí. Una persona puede sostener la película mientras la otra retira el forro y rocía.
Aplica la película al vidrio
Sostenga el film con el lado adhesivo hacia el cristal y colóquelo sobre la ventana. Use las manos para alisarlo y colocarlo de manera que el film se superponga al cristal de forma uniforme aproximadamente 2.5 cm en los cuatro lados.
Consejo: Si está usando un borde de fábrica, alinee ese borde con la ventana primero. En piezas más grandes, puede ser útil dejar parte del forro puesto mientras lo posiciona, luego retire el resto una vez que el film esté en su lugar.
Alise la película
Rocíe la superficie exterior de la película con la solución lubricante. Envuelva la escobilla de goma con un paño que no suelte pelusa y deslice ligeramente la escobilla desde arriba hacia abajo para fijar la película. Luego, comenzando desde arriba, deslice la escobilla desde el centro hacia el lado derecho a medida que avanza hacia abajo. Deje un perímetro de aproximadamente 5 cm sin raspar alrededor de los bordes por ahora. Repita en el lado izquierdo.
Consejo: Si ve burbujas largas o "dedos" a lo largo de los bordes, envuelva la escobilla con un paño que no suelte pelusa y empújelas con cuidado hacia el borde de la película.
Recorta la película
Coloca el cúter en la ranura de la herramienta de ribeteado. Comenzando por una esquina superior, alinea la herramienta y tira de ella lentamente hacia abajo por el borde de la ventana para cortar la película. Vuelve a colocarla según sea necesario en las esquinas, retira la tira cortada y repite el proceso en los cuatro lados.
Consejo: La herramienta de ribeteado deja un espacio de aproximadamente 1/16 de pulgada entre la película y el borde de la ventana, lo cual es necesario para una expansión térmica adecuada. Reemplaza la cuchilla después de cada 10 pies de corte. Una cuchilla sin filo puede rasgar la película.
Secar con espátula
Vuelva a humedecer la lámina. Vuelva a pasar la escobilla desde el centro hacia afuera, trabajando de arriba a abajo en cada lado. Aplique presión firme para eliminar la mayor cantidad de agua posible, de modo que el adhesivo pueda curarse limpiamente. Cualquier pequeña burbuja de agua restante deberá evaporarse durante el curado.
Consejo: Si aparecen imperfecciones, despegue el área afectada del vidrio, elimine los residuos o burbujas con la escobilla o la punta de un cuchillo, vuelva a rociar tanto la lámina como el vidrio con solución deslizante y vuelva a aplicarlo. Este consejo solo es aplicable para nuestra lámina reflectante doble que tiene adhesivo seco. No lo intente con adhesivos sensibles a la presión.
Deja que seque bien
Su lámina está instalada. Normalmente se curará por completo en unos 7 a 10 días. El clima cálido y soleado suele acelerar el proceso de curado. Las pequeñas burbujas de agua que queden deberían desaparecer a medida que la lámina se seque.
Cuidado y mantenimiento
Para la limpieza, utilice la solución de preparación Pre-Tac de Flexfilm siempre que sea posible. Limpie la película con una escobilla de goma o un paño que no suelte pelusa. Si utiliza un limpiador de cristales a base de amoniaco, no lo deje sobre la película durante más de 2 minutos.
Video Instructivo
Notas importantes
Esta guía está pensada para aplicar film a la superficie interior de cristales estándar de panel simple de 1/8 de pulgada y cristales de doble panel, incluyendo puertas de patio, puertas francesas, medias lunas y paneles de tormenta exteriores extraíbles. No debe aplicarse a ventanas de vehículos de motor, cristales esmerilados, cristales grabados, cristales emplomados, cristales agrietados, cristales defectuosos o cristales de más de 40 años.
Para ventanas grandes
Si la ventana es más ancha que la película, superponga dos piezas verticalmente. Utilice una regla como guía y corte por el centro de ambas capas. Retire la tira superior suelta, deslice el sobrante de debajo, luego vuelva a humedecer, vuelva a aplicar y escurra. Una semana después de la instalación, impermeabilice la costura con una capa de esmalte de uñas transparente.
Eliminación
Para retirar la lámina, despéguela del cristal. Si ha estado instalada durante varios años o no se desprende fácilmente, es posible que necesite una solución removedora y/o una cuchilla de afeitar.
Preguntas frecuentes
¿Lo instalo por dentro o por fuera?
Interior.
Nuestra película está diseñada únicamente para instalación interior.
¿Necesito una solución resbaladiza?
Sí.
Lo necesita para posicionar la película y evitar que se adhiera demasiado rápido.
Recomendamos usar Tint-Tac o una solución deslizante adecuada.
Las instalaciones en seco no funcionan aquí.
¿Puedo usar agua y jabón en su lugar?
Sí, pero es inconsistente.
Demasiado jabón = la película no se adhiere bien.
Muy poco = se adhiere demasiado rápido.
Una solución de deslizamiento adecuada lo mantiene predecible.
¿Es esto para las ventanillas del coche?
No.
Está diseñado solo para vidrio plano como:
- Ventanas de casa
- Vidrios de escaparate
- Vidrios de oficina
¿Puedo instalarlo yo mismo?
Sí, pero los resultados dependen de ti.
Tómate tu tiempo. Mantén todo limpio.
Si te apresuras, se notará.
¿Y si me equivoco?
Tiene tiempo de trabajo.
Despegue, limpie el cristal, vuelva a mojar y vuelva a aplicar.
Esto es normal durante la instalación.
¿Por qué veo burbujas después de la instalación?
Escribe contenido para responder a preguntas frecuentes que tus clientes puedan tener sobre tus productos, políticas de envío...
¿Cuánto tarda en curarse?
Aproximadamente 7-10 días.
Puede que observe:
- Nebulosidad
- Burbujas pequeñas
Eso se aclara a medida que se seca.
¿Una película más oscura bloqueará más calor?
No siempre.
Algunas películas más claras pueden rechazar más calor que las más oscuras.
Sombra ≠ rendimiento.
¿Es esta una privacidad unidireccional?
Durante el día, sí (para películas reflectantes).
Por la noche, no.
Si hay más luz dentro que fuera, se verá hacia dentro.
¿Puedo instalar esto en cualquier ventana?
No.
El tipo de vidrio es importante.
No instalar sobre:
- Vidrios dañados o agrietados
- Vidrios especiales (a menos que estén verificados)
Si no está seguro, compruebe primero el vidrio.
¿Cómo sé qué tipo de vidrio tengo?
Busque:
- Un sello en la esquina
- Información del fabricante
- O pregunte a un profesional
Si no lo sabe, no adivine. Visite nuestra página de seguridad del vidrio para obtener más información.
¿Puedo eliminarlo/quitarlo más tarde?
Sí.
Retíralo lentamente.
La mayoría de las instalaciones se retiran limpiamente.
¿Por qué hay un pequeño hueco alrededor de los bordes?
Eso es intencional.
Permite la expansión y ayuda a prevenir el pelado.
¿Cuánta película necesito?
Depende del tamaño de su ventana.
Un rollo de 91 cm x 4,5 m cubre típicamente:
- Varias ventanas estándar de casa
Mida su cristal antes de ordenar.

¿Necesitar ayuda?
Lunes a viernes | 9:00 a. m. a 5:00 p. m. EST
Si aún necesita ayuda, por favor contáctenos.

Recompensas para distribuidores
Comience a ganar puntos que puede aplicar como crédito de la tienda en su próxima compra en línea.

Haga su pedido en línea 24/7
¡Compre nuestros productos en línea y pague en cualquier momento, las 24 horas del día, los 7 días de la semana, desde cualquier lugar!

Llamar al orden
Llámenos directamente para realizar su pedido durante el horario comercial, de lunes a viernes, de 8:00 a. m. a 4:00 p. m. CST.